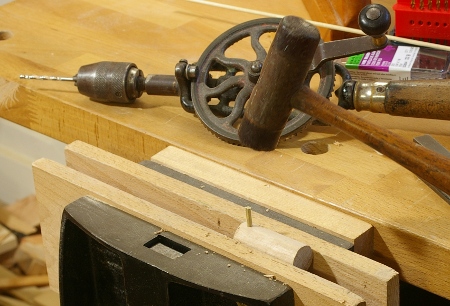
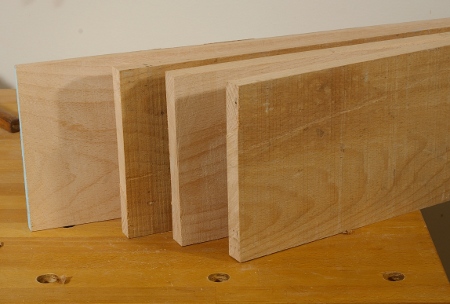
Available time to work on this saw comes and goes, but it’s getting somewhere. After coming up with the template, I grabbed the piece of madrone that I’d worked on before (and made the nightstand drawer pull from) and thought that there might be enough of a solid section to make this handle. I started by ripping down the sides (you can’t split madrone as you can oak, because it does not split terribly straight). I came up with the following ridiculous-looking, yet surprisingly effective workholding arrangement:

I thought that it might be a pain to saw, but it wasn’t that bad. I also have a newfound respect for my front vise. Before long, I had a little board milled.
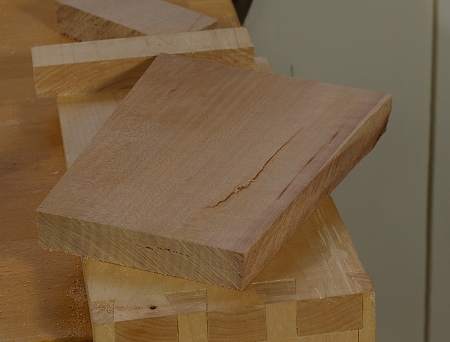
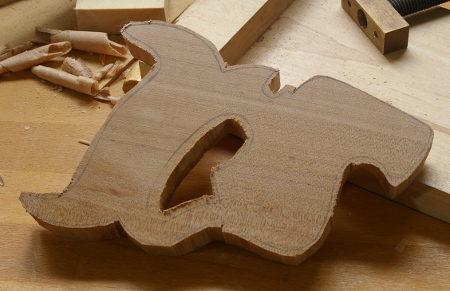
The big question still remained about the checks. I suspected that I would be able to position the handle cutout where the cracks would not extend, so I traced out the pattern:

Yes, this would be unaffected by the check on the top of this photo, but I didn’t know how far in the one at the right end extended. When it was all said and done, a small amount does remain, but its location is inconsequential (details of that might be in a later post).
I cut out the rough template with the coping saw:
As I was doing this, I started to suspect that the shaping process would be somewhat more difficult than my previous handles. There was something about this wood that just felt different.
I made quick work of getting down to the lines on the outside with my saw rasp and sawmaker’s rasp, but the inside was a little trickier because there wasn’t much space to work. I started to wish that I had an inchannel gouge, and after a minute or so, I realized that I did have one, that Taiwanese one I’d bought during the holidays.
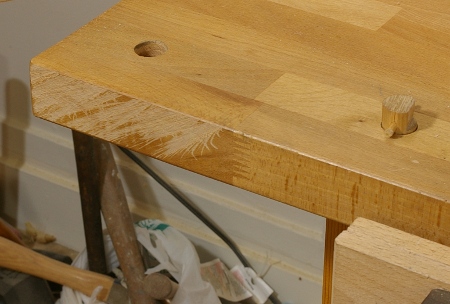
I don’t have a proper mallet for it, so I just banged at it with a marginally not-uncomfortable chunk of the madrone cutoff, and this got the job done (though I think I want a proper mallet):
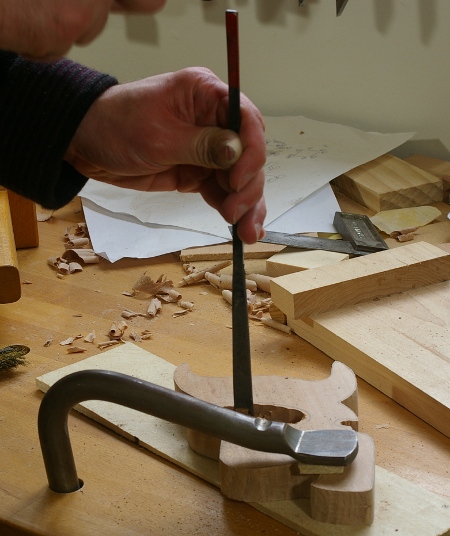
It turns out that this is a really good gouge! (The ones with the red at the ends are supposed to be the better ones.) After all of this chopping, there were no nicks and it seemed just as sharp as ever. I’ll have to pick up a few more of those on my next trip.
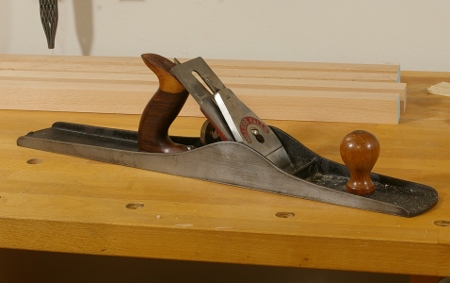
Then it was off to shaping. That, as I suspected, was kind of a pain. Madrone cuts easily enough but its sawdust is really fine and clogs everything quickly. I ended up using a lot of 60-grit Norton 3X sandpaper to fine-tune the shape because that stuff doesn’t clog so easily. I used a 1/4″ chisel for a lot of the nooks and crannies and imagine that some outchannel gouges would have been handy. But I did eventually get it done, and then cut the kerf for the blade using my trusty gents saw:

I also tapered the front with this saw, but made some modifications to the original. Here’s the new handle next to the original:

The new one is tilted slightly counterclockwise to the original in this shot, and there are some perspective issues, but you can see some subtle differences, some intentional, some not quite so. The bottom is a little thicker and the cheek has a little bit more surface area. The front is tapered a little differently. The original’s tapering was uneven, so I decided that I would smooth it out a little on mine. The unintentional change is how the back of the “lamb’s tongue” isn’t as deep as on the original. I can’t figure out how this happened, but I’m not going to bother changing it. (If I didn’t like the way that it looked, I’d change it, but I do like it.)
So now, I suppose I should put some holes in there for the screws and varnish the thing. And I happen to be already varnishing the nightstand at the moment–how convenient.