Auxiliary Bench: Legs Glued, Top Pieces Ripped

So it’s come to this:

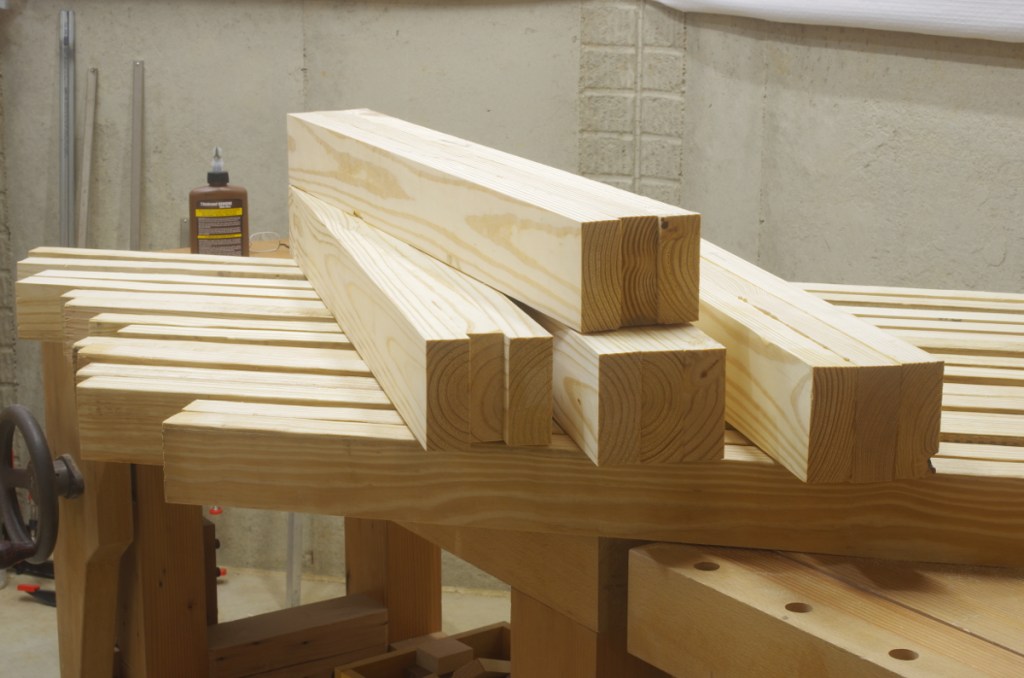
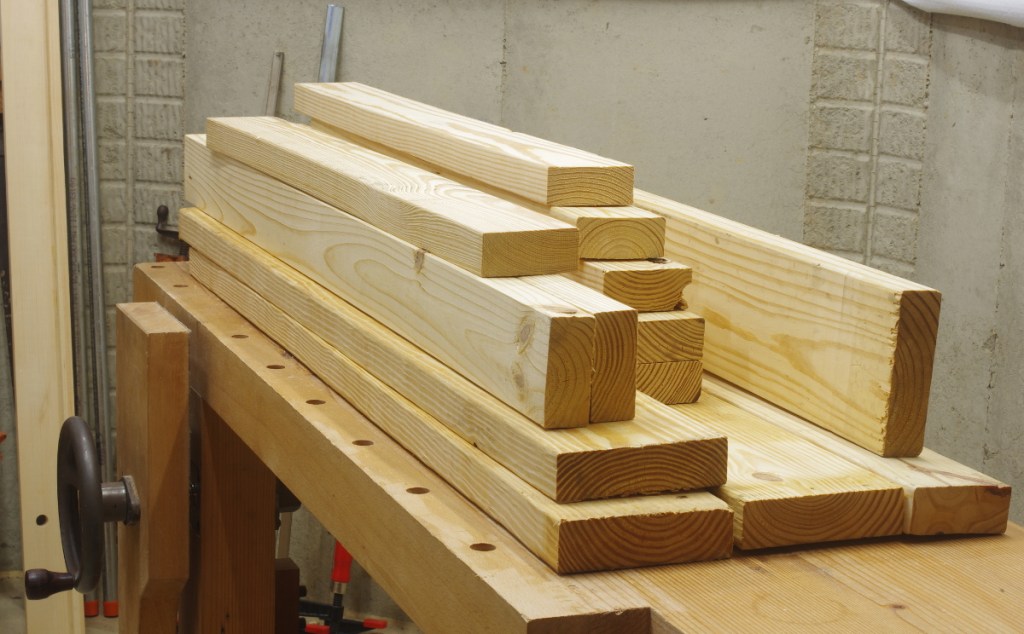
I’ve got the legs glued up (laminated) and close to final dimension, and started ripping boards for the top today. And I almost apologize for the horrible lighting in the front. One of these days, I’ll get an additional light or two for this side of the bench.

I have decided to aim for a thickness of 2.5″ (65mm or so) on the top. I do this with some trepidation; I’d prefer a little thicker, but I just don’t have the wood on hand. My main Roubo-style bench (also shown above) is about 3.5″ thick. But I figure this will be OK, because I don’t actually plan to do much handwork on this thing. I don’t see a reason why I wouldn’t use my main bench for planing, and on the off-chance that I decide to mortise or something on the new bench, I’d do it over a leg anyway.

I have not decided on the width. I was considering around 20″ (510mm or so), but I could go wider, again because this is not my main bench and the problems with wide benches will not matter on this new one.

Another note is that I will likely use a strip or two of hardwood for the front part of the bench, as I did with beech on my main bench. I have some soft maple on hand that should fit the bill.

I’m almost out of glue. I ordered more liquid hide glue, but I do not know when it will arrive, given current circumstances. If that does not ship soon, I do have a backup: hot hide glue. For now, though, I’m going to let those pieces for the top destress a little before I flatten and prepare them for face-jointing.

Auxiliary Workbench: Getting Started

With the coffee table in the finishing stage, it’s time to move on to the next thing. I haven’t quite figured out what the next furniture project will be, but I do have a fairly immediate need in the shop for something to help out with a number of tasks, including assembly, storage, and miscellaneous kinds of work.

There are a few partial solutions to this problem, including framing up a wall to add some shelves for storage, but due to current events, I don’t think I’ll be getting the help I’d prefer with the framing down there.

So I think I’m going to make another workbench, meant as an auxiliary to the Screwbo. The reasoning is that it will solve the immediate organizational problems, and then when I get around to framing the wall or something, I can move the new bench to another part of the shop, where I already know it will be useful.

To that end, I picked through my hoard today to get some wood to get the frame started:

This is southern yellow pine. I don’t have a good source of it here (apparently the closest big-box source is in FredericksburgRichmond), but the borg nearby has “project wood” that happens to be SYP. The catch is that, due to bad planning, it’s cut into three-and-four-foot lengths.

The length should be OK, because I’m imagining something perhaps around three and a half feet (1060mm or so) long. I haven’t decided on the benchtop thickness yet.

This will be the first “big” thing that I’ve done in SYP. I made a stand with it about a year ago and was happy the way that turned out (even if it was sort of a quickie).

In any case, it’s a fair amount of wood to mill. Time to get rolling.

Coffee Table: Drawers Trimmed and Completed

After gluing up almost any dovetails, you normally trim away the excess on the ends to make everything nice and flush. I make my half-blind dovetails especially proud so that I can get a really good kerf started next to my line. In the past, the main tool I used for trimming this stuff was my block plane. However, I picked up an inexpensive flush-cut saw at a home center in (hmm, I guess it was) Koto a year ago, and decided to try it out here:

This worked pretty well. If you’re not familiar with this kind of saw, it’s got no set (some have set on the top end only); the one I have is a little strange because it has teeth on both edges. I liked the way that this worked enough to go look for a better one the next time I’m in Japan. In any case, when you’re done, you can be left with some pretty amusing cutoffs if you’re doing half-blind dovetails:

(The photo above shows my original clamping method before I switched to clamp it down to the corner of the bench.)

After sawing, you still need to give the ends a final planing, but it’s trivial at this point.

So the drawers are ready for finishing now:

In theory, the project is nearly done. The top has all of its coats of varnish and just needs to be rubbed out. The base needs a few more, and of course, these drawers need the most.

Coffee Table: Drawer Glue-Up

Having applied the glue, I just put the second drawer for the coffee table in the clamps:

I did the first one yesterday. As I expected (because I haven’t glued up any kind of carcase construction in quite some time), that one took some wrangling, but it got there. This second one went smoothly.

Part of the trouble yesterday was in clamping. Most of my stronger clamps are also quite long and heavy, making it difficult to clamp smaller gaps at the top of a piece without tipping over or at least having difficulty manipulating them. To help matters a little, I bought a pair of shorter pipes for my pipe clamps today, which I put to use here.

But as it happens, I do find myself somewhat clamp-challenged at the moment. Back in California, I was fortunate to have been able to borrow a number of pipe clamps from a friend when I needed them. The two that I have now came from a yard sale about a year ago. I’d like to pick up a few more this year. I guess the PATINA Damascus sale is in two weeks, though I’m a little skeptical about finding clamps there. I’ve had the best luck with clamps at yard sales; I just haven’t gone to many lately.