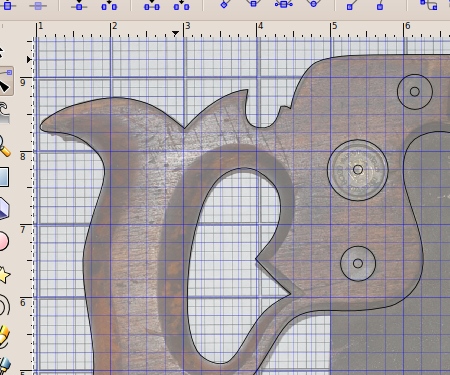
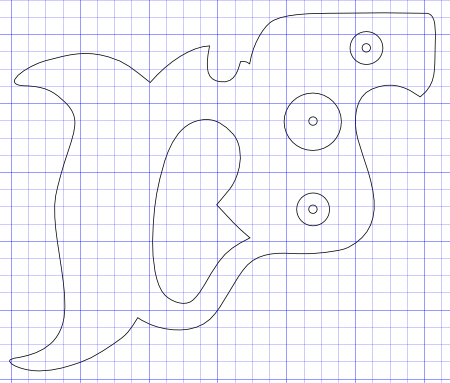
Progress on my new little saw was puttering along, but with the nightstand finished, I found the time to proceed. The handle was done, the sawplate was pretty much to size but not toothed or sharpened, and then there was the matter of the hardware. I decided to tackle this last matter first.
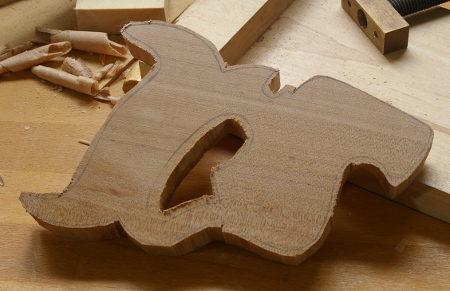
I wanted to do something a little special for this project because the handle is a more traditional style. However, I still wanted to use the furniture connectors that I’d used for my other saws because, well, I like them. Some time ago, and somewhere in the dark corners of my mind, I began to think of a plan to spice up those things. And out of whatever means, I came up with a ridiculous scheme to make sort of a pseudo-lathe out of an eggbeater drill.
The following is what happens when you do unholy things to a Millers Falls #2:
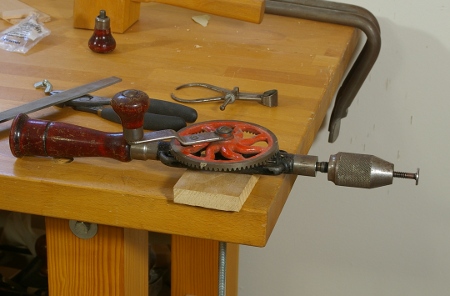
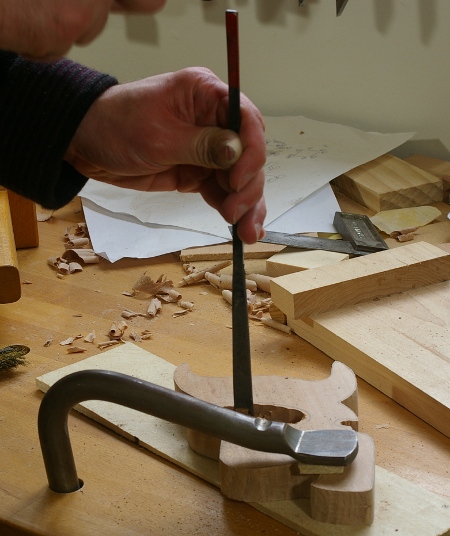
A few notes on this hand-cranked bit of absurdity:
- I removed the side handle (seen in the back above) and bolted this through a spacer and a dog hole with a threaded rod and a wingnut.
- I used the hacksawed-off tip of the sawplate for this project as a washer underneath. Turns out that the hang hole is useful for something!
- The connector bolt is chucked directly into the drill.
- I used a pretty coarse file for sizing the head, and a finer one for polishing.
- The calipers were really handy for getting a consistent size.
I don’t know why this worked, but it was surprisingly effective. Here’s the transformed hardware (with an original nut next to the handle in the background):
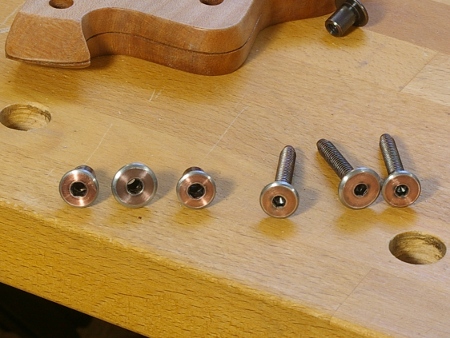
It turns out that the “antique bronze” finish had a bit of copper plating underneath, and when I put some very fine-grit sandpaper to the head while it was turning in the drill, it exposed a decent-looking surface.
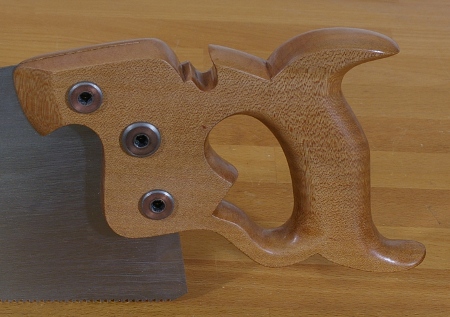
Notice that one of the nuts and one of the bolts have bigger heads. Those are my “medallions” to match the original. Although, I suppose that if I were being ultra-correct, I’d size the bolt down to the other ones because the bolts on saws are all the same size. Meh, too much work now–I should have thought about that sooner.
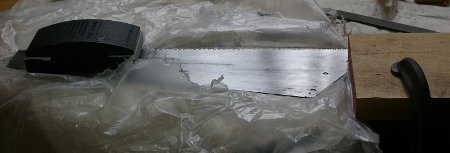
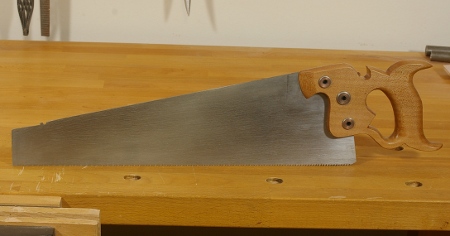
I sprayed a protective coat of lacquer on the hardware and then set out to finish the sawplate. For whatever reason, it took me longer to sharpen this one because it was difficult to get past the remnants of the original teeth. Maybe I wasn’t paying attention. Then I sized up the heel of the plate, drilled the holes for the hardware (with that same eggbeater), and put it together. It was finished:
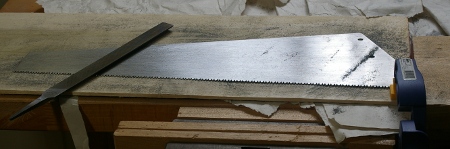
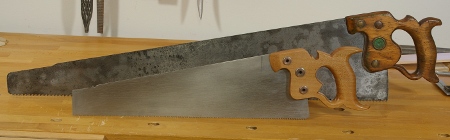
It’s a little difficult to get a sense of scale from the preceding photo. This is a small saw, having just a 16″ blade. Here’s a photo of how it compares in size to my 28″ No. 7:
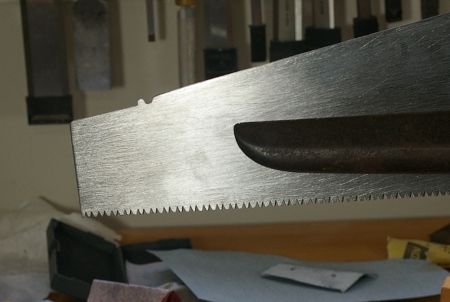
And here’s a close-up of the handle, showing the ray pattern of the nearly-quartersawn pacific madrone that it’s made from, as well as how that goes with the hardware (if it actually goes):
I guess this is all fine and good, except there’s one question that I might not have answered so well: What’s this silly little thing used for?
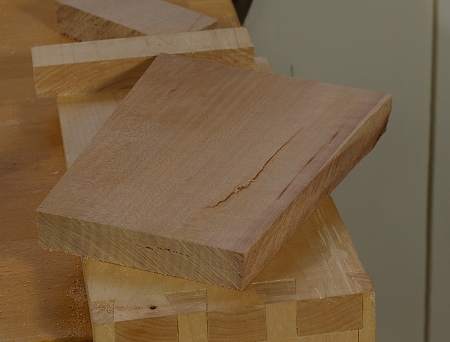
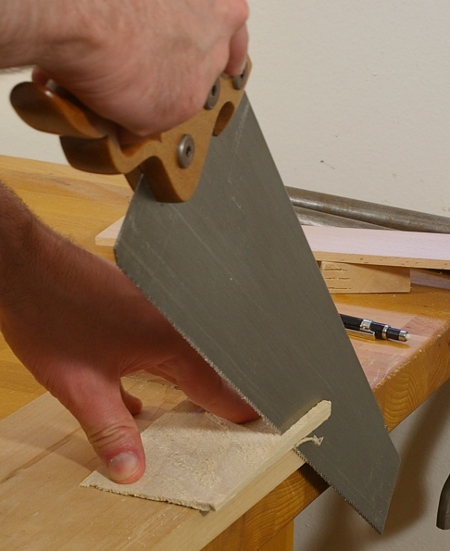
In some earlier posts, I’d mentioned that I’d been having a little trouble ripping panels and drawer bottoms (I use my Pax saw for crosscutting them). Although this is not a frequent operation for me, every time I did it, it was annoying. And I’m happy to say that it works wonderfully for this type of thing, as shown in the test cut below:
All of this said, I would not have made this if not for two things. First, I’d wanted to make that saw handle for as long as I’ve had the original saw. And second, I had that “Kobalt” saw sitting around the shop doing nothing but taking up space. If neither of these had been true, I may have just bought a ryoba for the task.
I will mention, however, that if this saw were filed crosscut, it would make a nice kid’s saw.