Auxiliary Bench: Finished (Mostly)

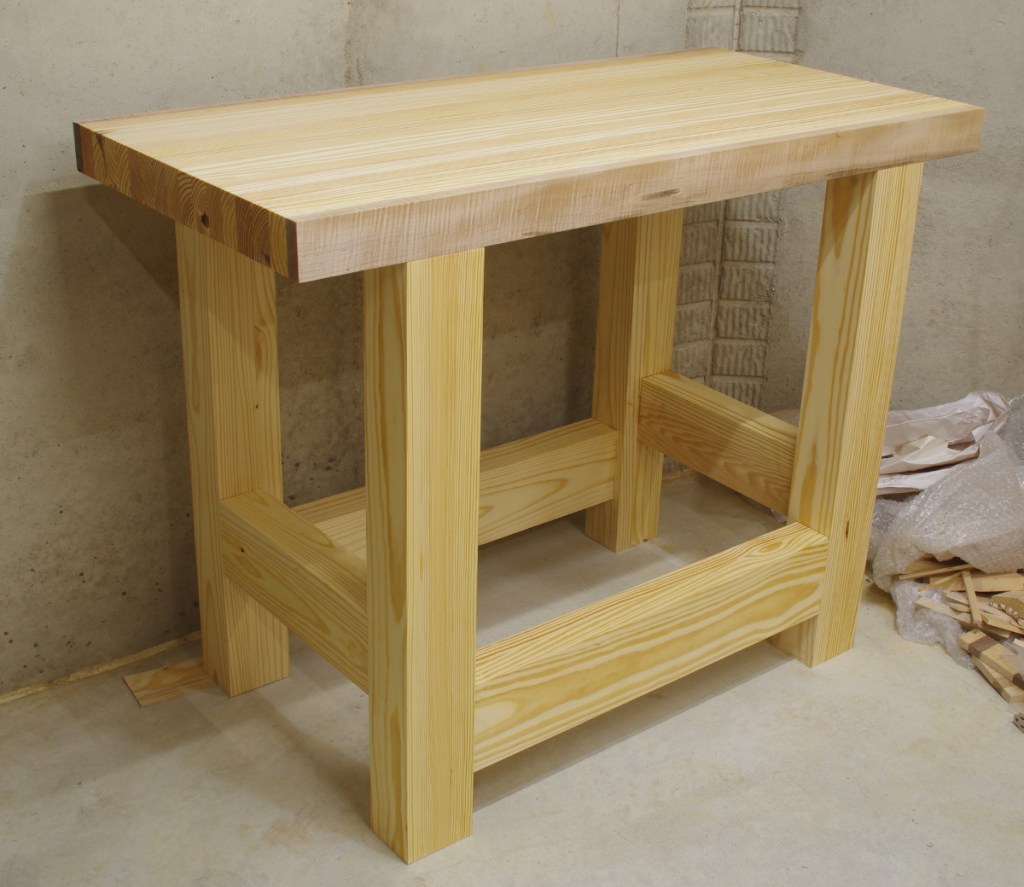
A few final steps after glue-up remained to move the new bench to this state:

Those steps were:

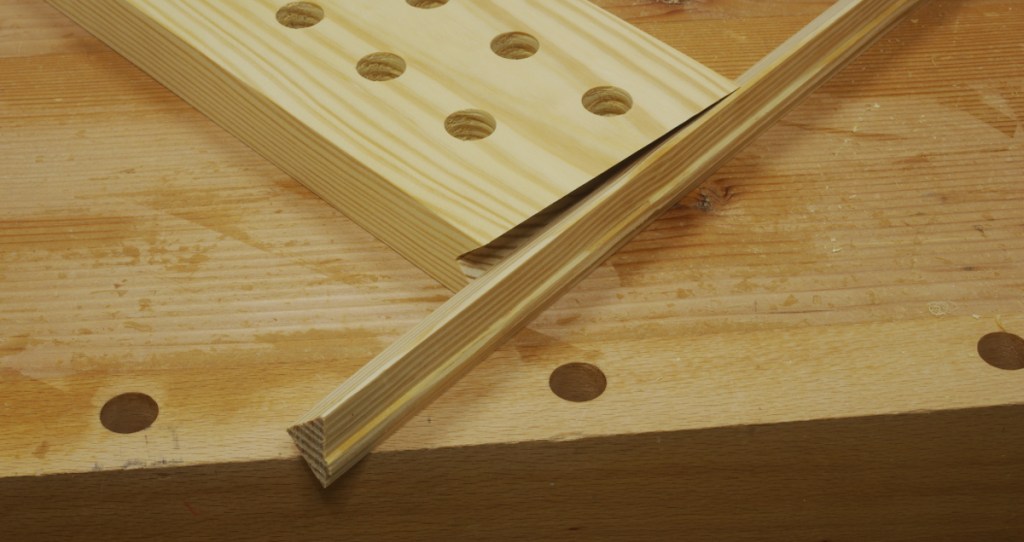
  • Trimming the ends. I used a long-ish panel saw because it had the finest tooth pitch, in theory. Then I sanded coarse-medium-fine to get a smooth finish on the endgrain.
  • Flattening the top. This was the easiest thing I’ve ever done a flattening job on. Wish it were always like that.
  • Applying a quick finish, a varnish and tung oil blend. Yes, the tung oil is real tung oil, and yes, it takes forever to cure. I didn’t have any boiled linseed oil, and I didn’t care.

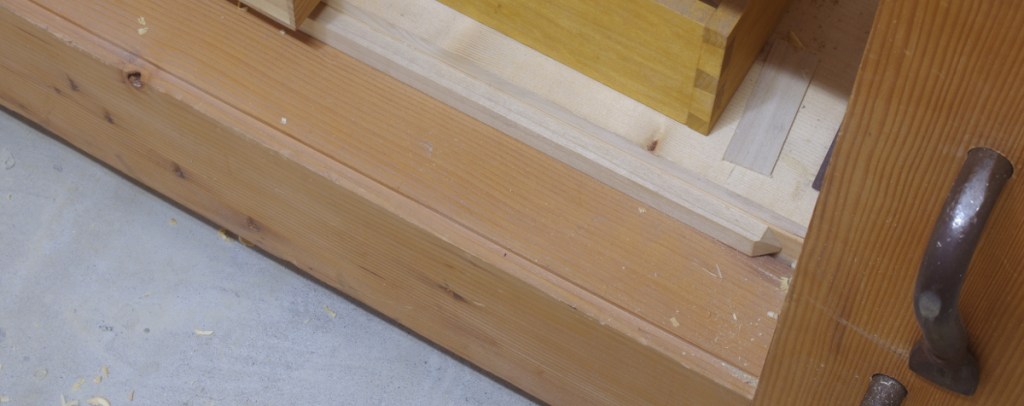
The two pieces of soft maple that I chose for the sides of the top are curly. I didn’t anticipate that, but I guess it looks fine. In this case, I only really cared if the grain reversed or not. On the front, it did not. On the rear, it did a little, but it doesn’t seem to be of much consequence.

This is the first somewhat large thing that I’ve made with southern yellow pine. I might post my thoughts on that later.

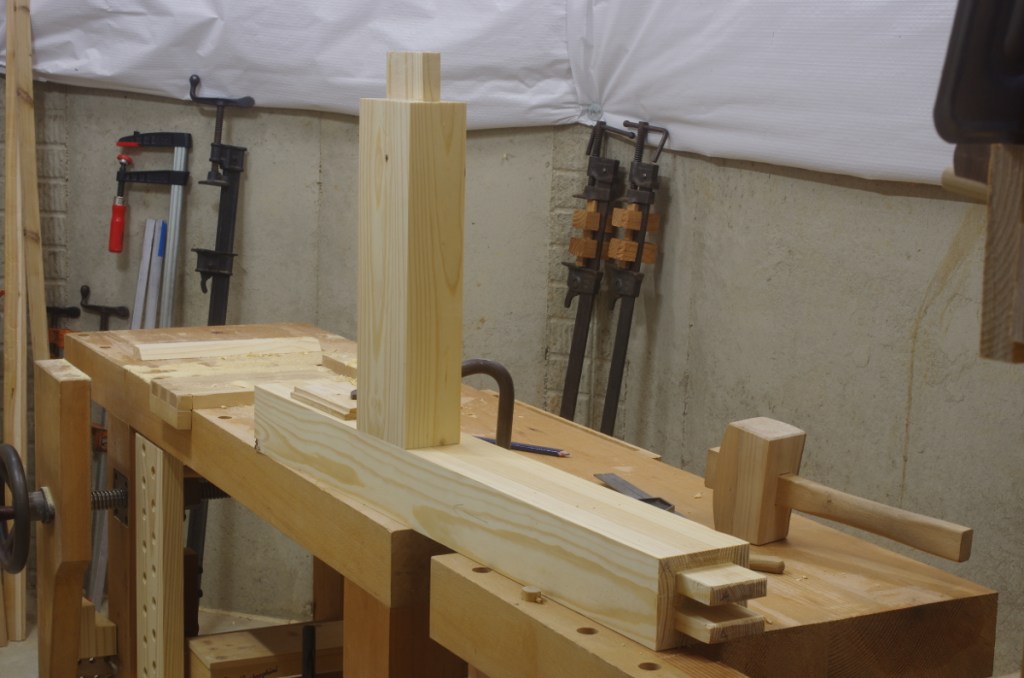
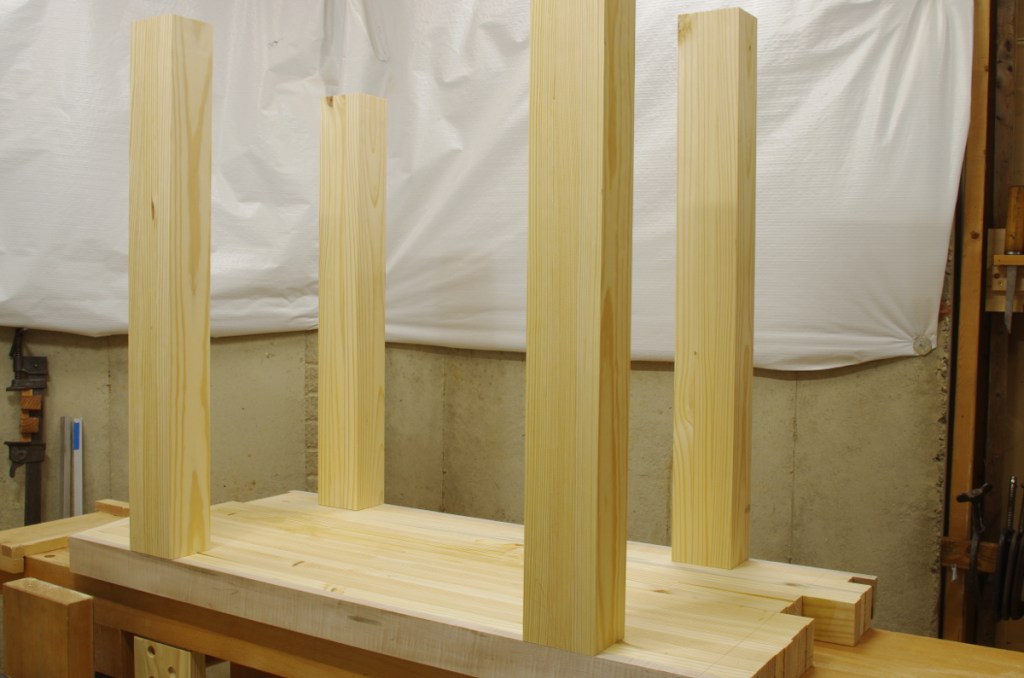
The size is a departure for me. I knew that it wasn’t going to be very long, but I also made it 33″ tall, which is a bit tall for someone my size. Well, at least for planing, but I don’t plan to plane much on this thing (I think it would work fine for small pieces, though).

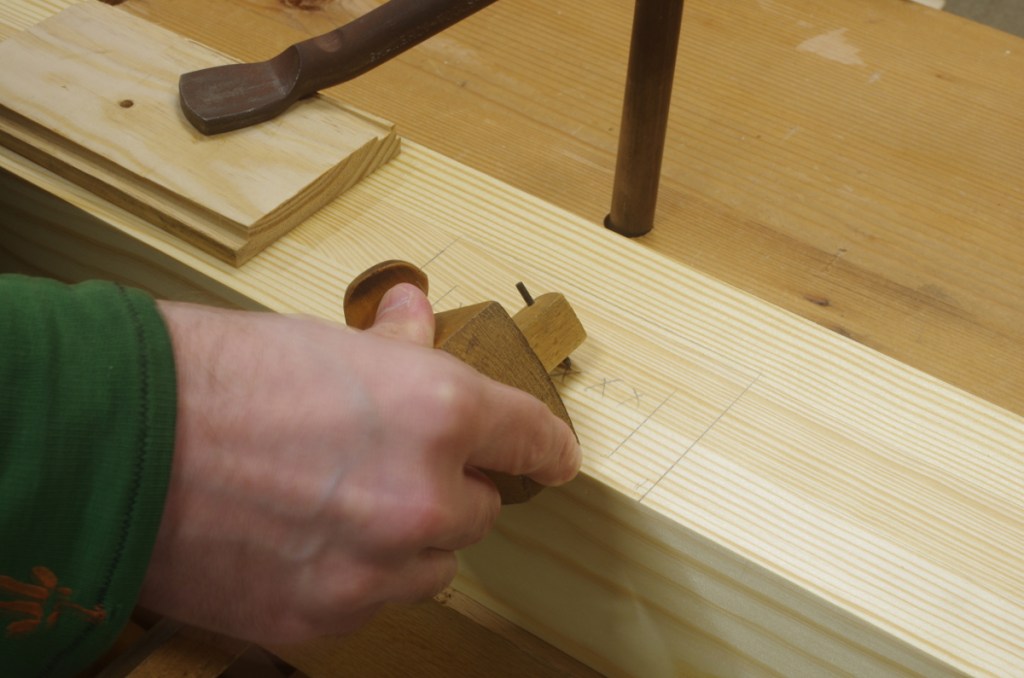
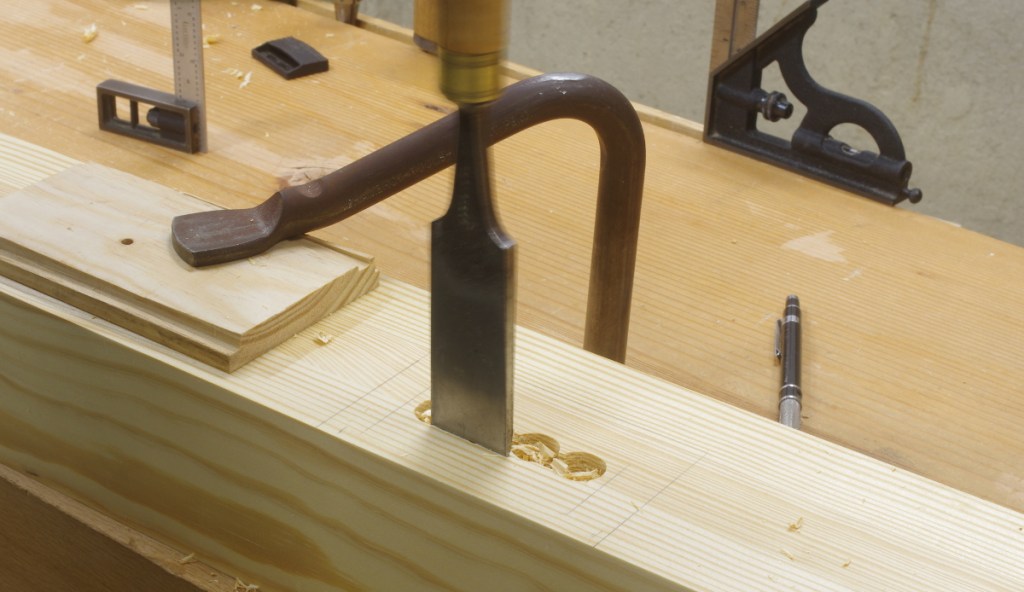
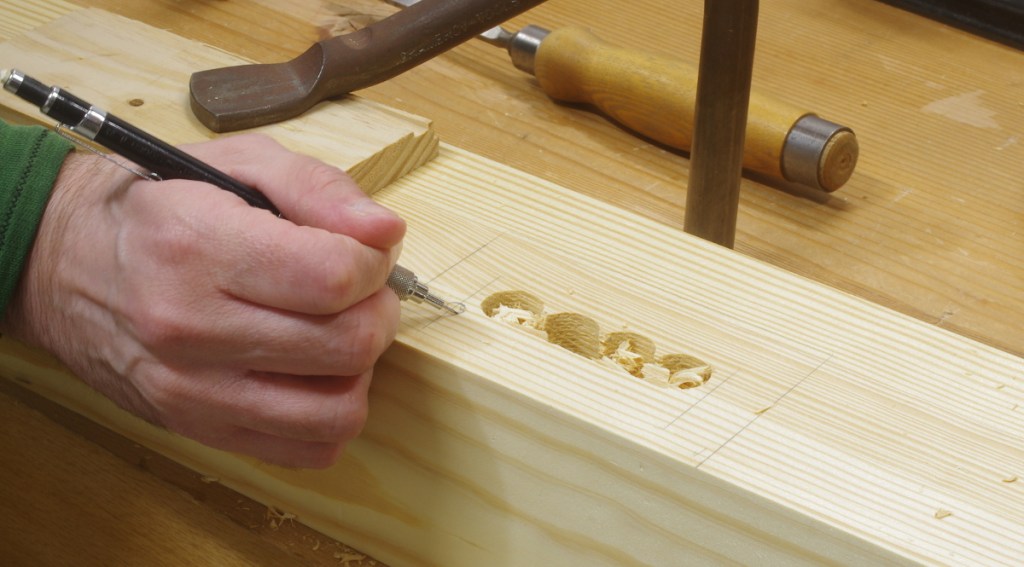
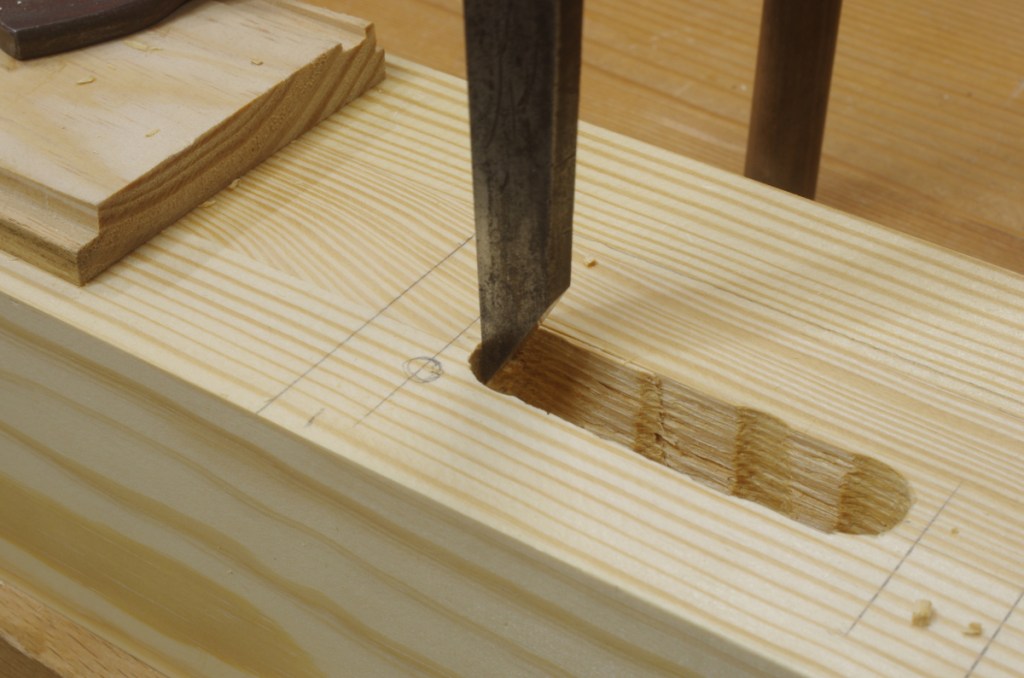
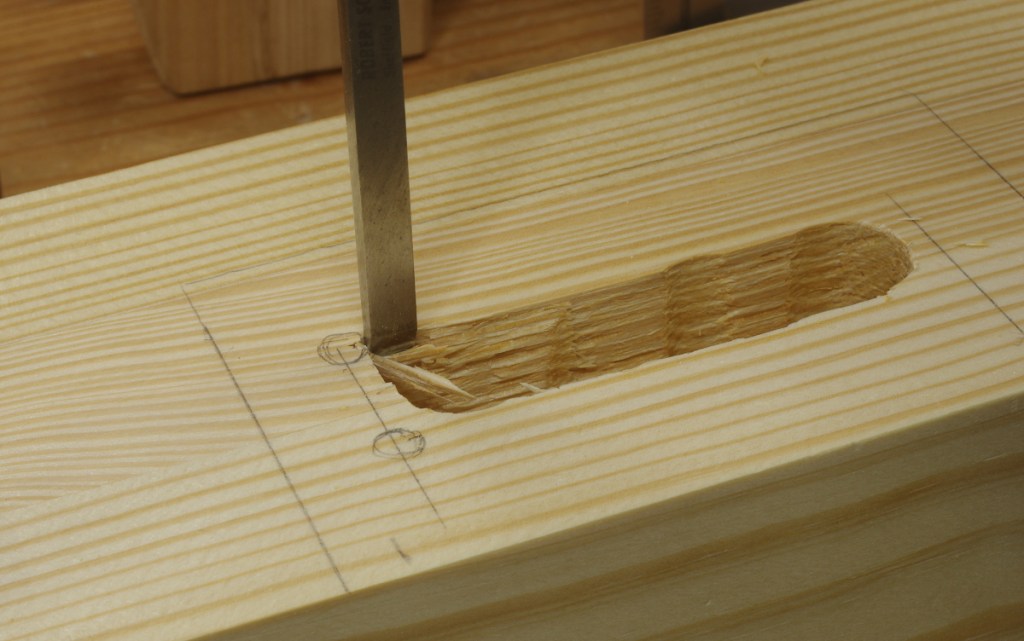
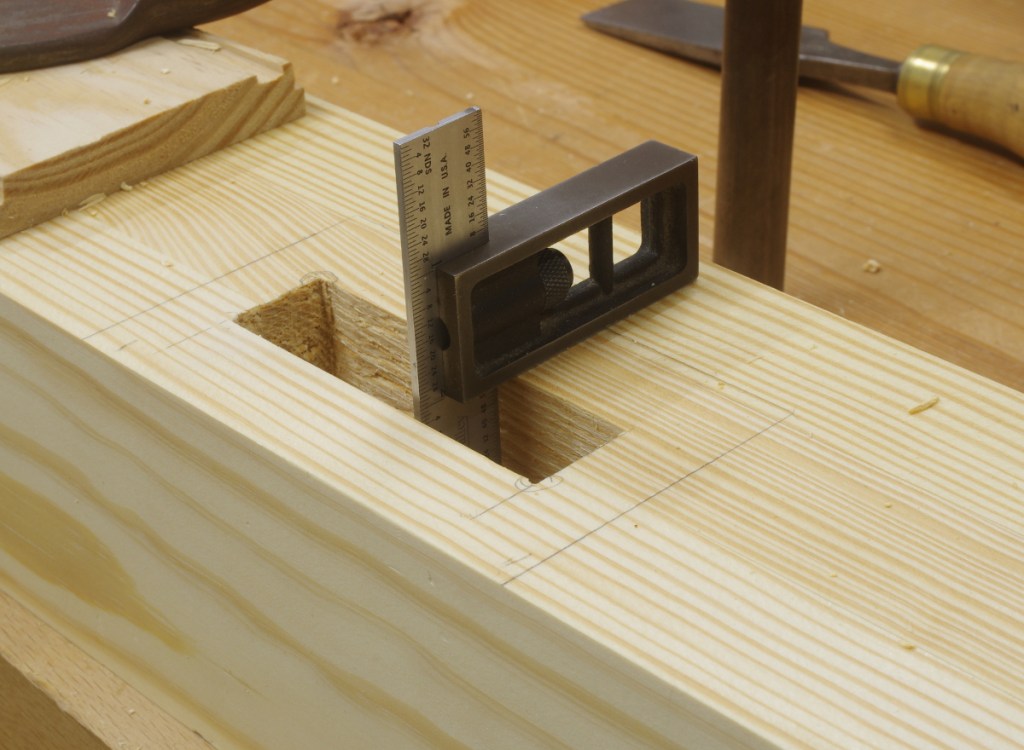
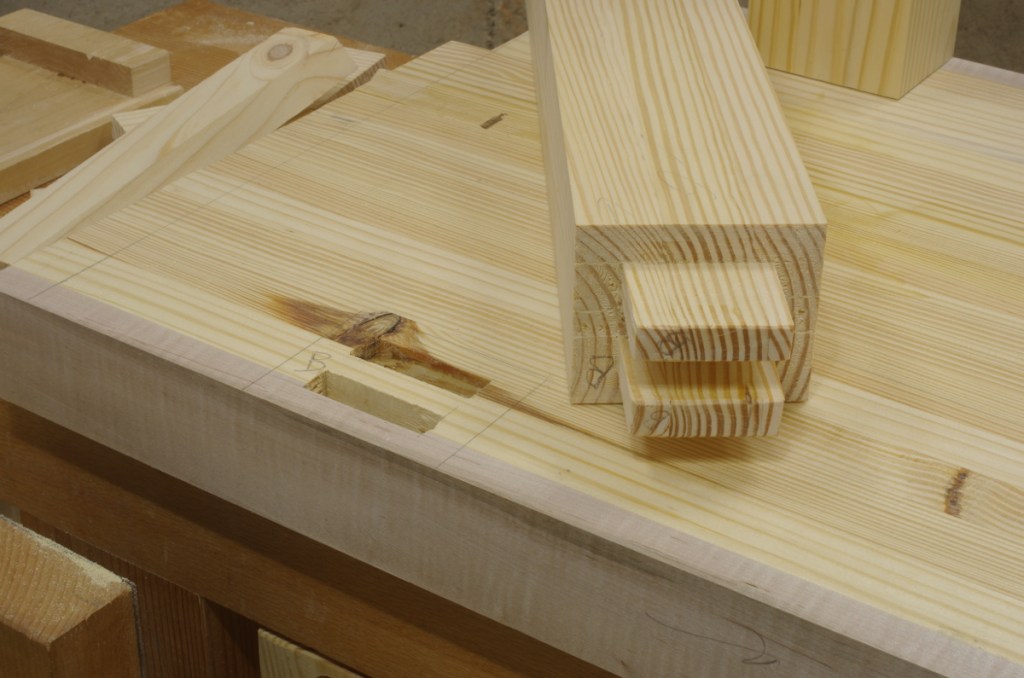
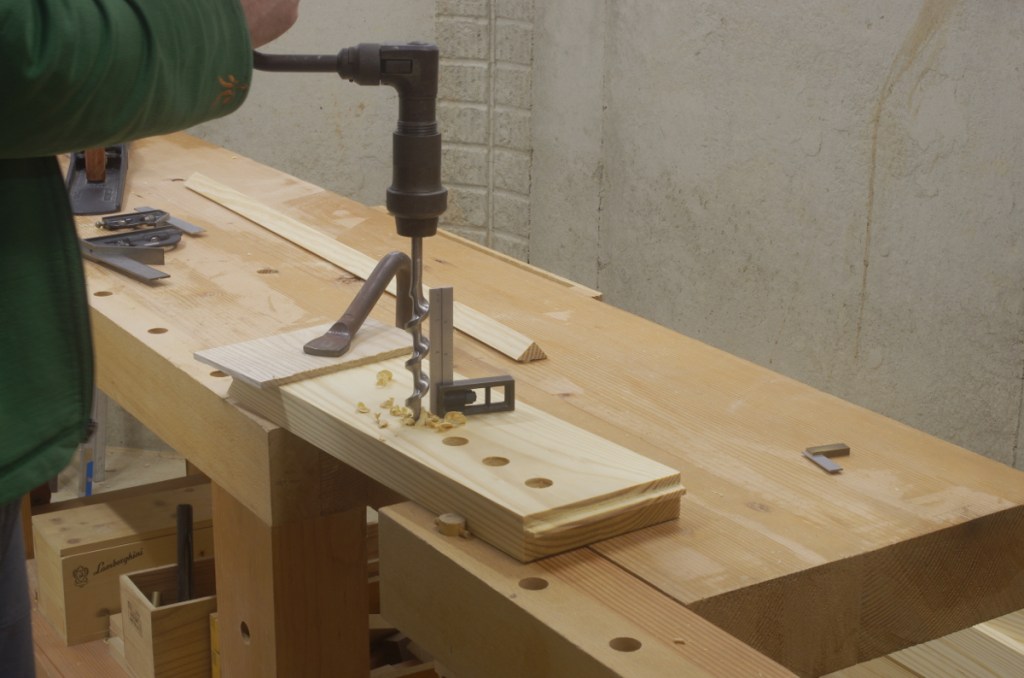
Another note on the frame is that I made the side stretchers offset from the long ones on the front and rear. This allowed me to use longer tenons because they don’t meet in the middle of a leg, which I like. Wearing illustrates this in “The Solution At Hand,” though he uses through tenons.

I slapped on a temporary shelf and immediately loaded it up:

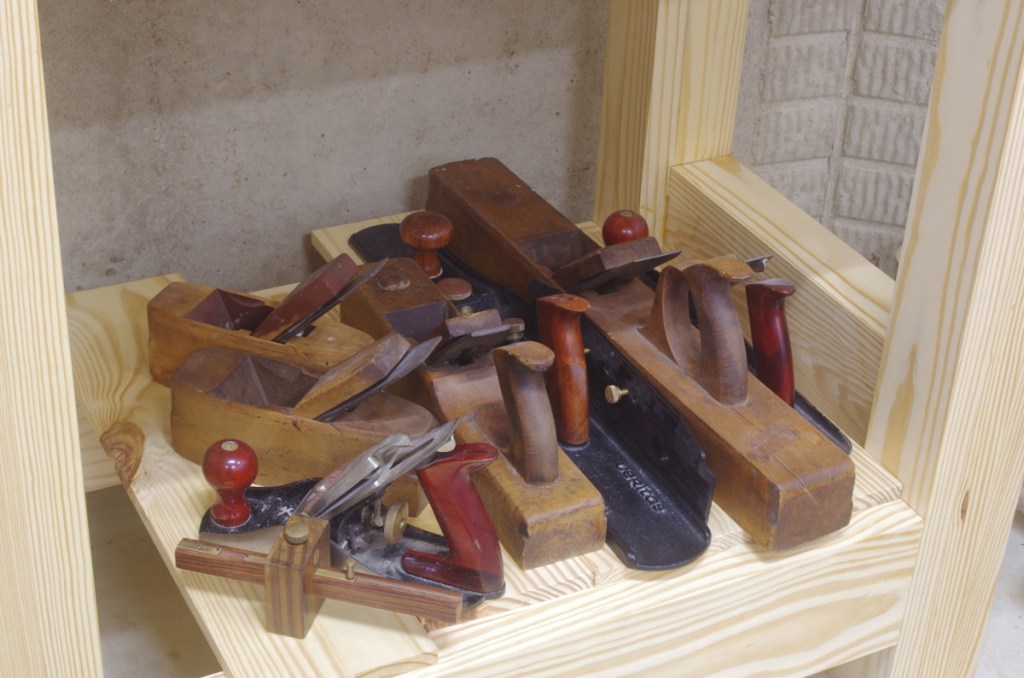
I hated this situation under my main bench, because the shavings and sawdust were always getting into the nooks and crannies of the planes. I’ll have less of that going on over here, so it should be a little better. I don’t expect the shelf to be there forever, though. I’d like to put a box of drawers in there, albeit one that doesn’t go anywhere near all the way to the top.

But I still don’t like it. I’m doing it now because these things were getting in the freakin’ way all of the time, but my thoughts are turning to the tool chest idea. It seems there’s a lot of merit in that, but I don’t have the time right now.

I probably won’t be working on much of anything wood-related for at least a week or so. There are some other things to take care of, but after that, I do have some plans to use this bench on a few diverse tasks.

Cutting Big Mortises

[Edit: I made a video that includes this technique in action.]

The mortises in the new bench/whatever-it’s-called are pretty big, and I can’t do them like my usual ones, because I don’t have a mortise chisel that large. So I’m using the old “bore holes to get rid of most of the waste and chop down all sides” method.

This got me thinking that there are a few extra things I do for these that might be useful to someone. So let’s go through them. First, when marking out the mortise, I scribe a line along the center of the mortise:

This is useful for the next step, boring out most of the waste with brace, because I know exactly where to put the lead screw of the auger bit:

Notice that I’m using a square to help keep the bit parallel to the long sides of the mortise direction, and a piece of painter’s tape on the bit to mark the depth. I liked these particular mortises a lot more than the ones in the top, because there was plenty of room to spare when boring down. Going a bit beyond your tenon depth with the brace makes it a lot easier to get out the required amount of waste. (And through mortises are cheating.)

Another note on the holes is that I’m staying a bit away from the ends by, say, 5mm or something. This makes it easier to chop the ends later on.

Next it’s time to get most of the waste off the sides. I’m using an old W. Butcher, uhhh, I guess it’s a firmer chisel, for the sole reason that it’s beefy:

You don’t want to go all the way to the side yet, and while you’re doing this, pay attention to the grain on your initial cuts. Because the wall of the mortise is longer than the chisel, the wood will split in the grain direction past the end of the chisel. If it splits in the wrong direction, you could split it out past your marks for the wall of the mortise.

Now that you’ve figured out the grain direction, mark the “low corners” of the mortise. What I mean by this is that the corners where, if you start splitting the grain at that point, the split will extend into the waste part of the mortise.

And of course, here I am, marking an incorrect corner:

In this board, the correct ones are the top left and bottom right. You’ll see this mark “move” later on in this post after I figured out what was going on.

If it’s just a normal, single piece of wood that you’re mortising, these “low” spots should be at opposite corners. Your grain could reverse or do some other horrible thing, though. And the piece above has the mortise spanning two laminated boards, so it’s possible that it wouldn’t follow that rule, either.

In any case, once you’ve got this done and enough of the walls wasted away, you’re ready to work into those “low” corners. Start with cross-grain chopping on the ends, but don’t go quite all the way to the side, and keep some wood left on the ends (remember that I’m ignoring that first erroneous mark here):

Then, when you’re close, chop down the side with a narrow chisel:

Notice how the waste is splintering out to the waste side of the mortise wall. You might need to do a little back-and-forth to get to your line on the side, but it shouldn’t be too bad with a narrow, sharp chisel.

You also might need to be a little cautious if your wood is uneven. This is (southern) yellow pine, and the darker latewood in this stuff can really shove your tools around. Douglas-fir can do that, as well.

When you’re all the way to the bottom of that corner, grab a wider chisel and chop the wall right next to the corner:

Work your way to the other side in this direction. The wood will continue splitting into the waste, as you can see above. When you reach the end, you can square it off like the “low” corner; when chopping the wall over there, it should not split because you can overlap the stuff that you’ve already done; the chisel will slice instead of tearing out at the border of where you already worked if you keep it flush to the wall.

Then you can go all the way to the ends. I don’t have any photos or anything of this; just use the standard practice of working your way back to the ends until you have enough left that you can cleanly chop it without bruising the wood. Though it’s not so relevant here, it really matters on a through mortise.

You’ll probably need to tune the walls a little due to the way that chisels tend to cut. One nice thing about these big mortises is that it’s really easy to stick a square down there to check to see if it’s complete:

Notice how the “low spot” mark on the near wall has migrated from the left to the right in this picture. Sigh.

So maybe this is helpful. I don’t know. Mortising can be time-consuming. I really understand the reason that hollow-chisel mortising machines exist. And I have to admit that they are kind of tempting.

In any case, the joint that I made in this post was the last one for the new auxiliary bench:

It’s ready for glue-up.

Auxiliary Bench: Leg Joints

Now I don’t know if it will be 12 joints or 16. Do twin tenons count as two joints? Something tells me no.

Of course, both of the joints on the front just happened to land on the two areas near the shallow knots on the only board of the top that contains a little bit of resin. Yuck, but I guess the one upside is that most of parts that are a little tacky will be covered by the leg.

Here’s what we’re looking at now:

In the end, the legs will not be this long, but I’ll trim them to length just before glue-up.

Now for the stretchers. 8 joints. For sure this time; I’m not doing any more twin tenons, and if I do double tenons, those probably only count as one.

Sliding Deadman

When I built my workbench, I did not include a sliding deadman because I was tired, lazy, etc. I said to myself that I’d add one when I needed it (or I actually felt like doing it), and just put some grooves inside the front frame of the bench.

I’d been tempted to make it several times over the past few months, but last week, as I was working on the stretchers for the new auxiliary bench, I found myself trying to square off the top of some medium-sized stretchers and not having a very good time of it. I thought to myself that I’d try the old “prop up the other end of the work with something” trick, and that was not at all pleasant.

So it was time. As I mentioned, I’d been thinking about this and had read the description in the Chris Schwarz book, and that had me worried. See, I had only plowed a measly little 1/4″ groove on both the stretcher and the underside of the workbench:

But the benches described everywhere have a triangular-profile rail (or “track”) on the bottom, and Schwarz says to plow a big, deep 1/2″ or so groove in the underside of the top so that you can clear that thing. He also integrates the track into the stretcher at times. I was worried, because I thought that maybe this was going to be a lot of work, or I otherwise screwed up in some massive way–it wouldn’t be the first time. The triangular-profile rail is a really good idea because it keeps shavings, dust, and small children out of a groove.

So in a fit of nervous twitching, I looked for a way around this. I made a rail in a triangular profile, and put a tongue on the bottom so that it would fit into the groove on the stretcher. Here’s a photo of how that looks (along with the deadman, showing the mating profile on the underside of that):

The theory here is that when you install the deadman, you do it in a unit with the rail. This way, only the tongue on the bottom of the rail needs to clear the stretcher when installing. Because this is significantly shallower than the really deep thing on the deadman, it would require far less of a groove in underside of the top.

Much to my surprise, this actually worked. Cutting that tongue on the bottom of the rail was a pain that I’d rather not recount (note to self: just tack the offcuts from the other side to my sticking board next time.).

I should mention that though I made the tongue with hand tools, I cheerfully turned to my bandsaw to do the profile on the top of the rail, as well as the channel on the bottom of the deadman. I guess I did all of the holes with a brace and auger bit (despite actually owning a drill press now):

With all of this done, it was time to see if it actually works in practice, and in that respect, it’s certainly an improvement:

There is a lingering question I have, though. In the first Schwarz book, when describing the deadman of the French bench, he says to cut a curve on each side so that you can get a hand between the deadman and a leg when up against a leg. I don’t get this; why would you need to put your hand there? It’s not to facilitate moving the deadman; you can just grab it from the other side and pull it over with zero effort.

In later work (the LVL bench), Schwarz says that a straight board will work but that a straight board is boring. I will admit that the curve makes it look cooler. But I’ve never been very cool. So I’ll leave it as-is until I have a real reason to change it.