Here’s a quick little note on how I cut the mortise-and-tenon joints for the frames of projects such as the nightstands and the stool (though to be honest, I didn’t really do it this way until the latest project).
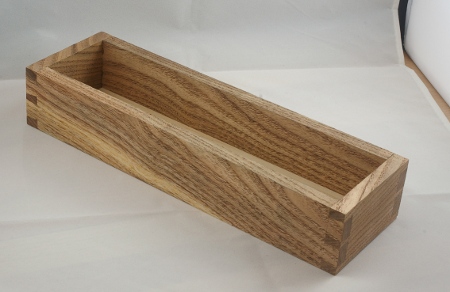
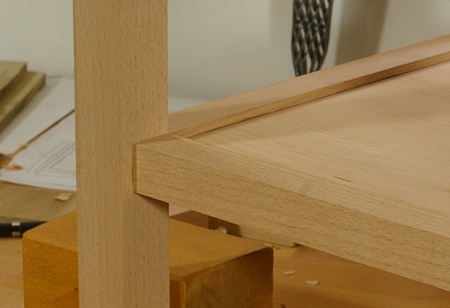
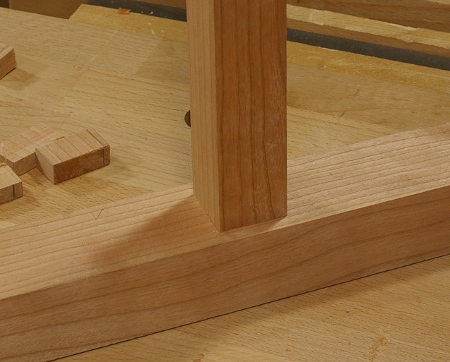
Normally, you arrange a mortise-and-tenon joint so that the faces of the two members that you’re joining are flush. However, you can recess the tenon member so that you get more of a three-dimensional look. In part, I’ve done this to frames that hold panels. My panels aren’t typically raised, so getting a little extra depth is nice:
Start by milling your pieces and figure out roughly where the mortise ought to go. You don’t need to be too precise about it; just make sure that your tenon member covers the mortise fully, and try to even out the shoulders as much as makes sense, because tenon shoulders make your joint significantly tougher. You can mark the area with pencil if you like.
Then mark out a line with a marking gauge for one wall of the mortise. If you really want to, you can set a mortise gauge for the width of your chisel and mark both walls, but I don’t do that because I set my mortise gauge from the mortise itself after I’m done chopping one.
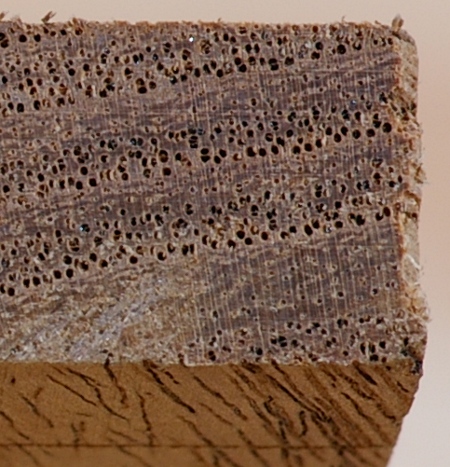
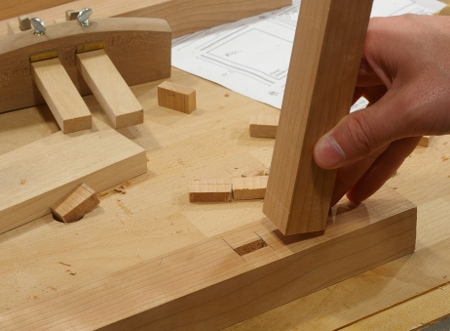
Chop your mortise. The following photo shows a completed mortise, and the tenon member roughly at the depth it will eventually go:
Set your mortise gauge if you haven’t already. Set it from the mortise piece, as if you were going to chop another mortise:
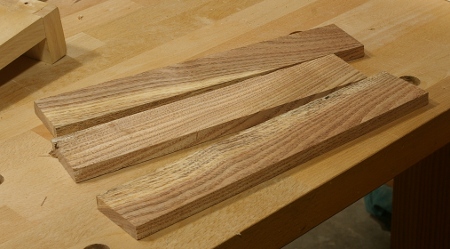
Now, figure out how much of a recess you want. Set another marking gauge to this depth. Mill a thin, flat piece of wood to this depth by marking the piece all around with the gauge, sawing, and planing to the line (normal practice for milling wood if you do it by hand; feel free to use an electrobeast if you like).
This piece of wood will be your spacer, and is really the whole trick to putting the tenon in the correct place.
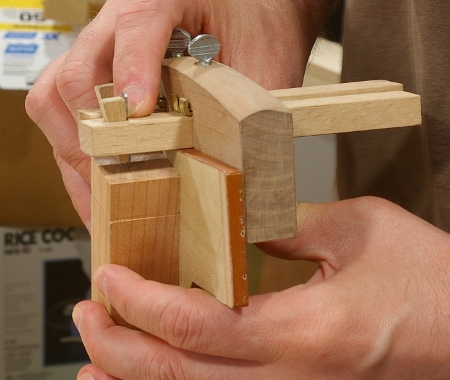
Mark out your tenon the usual way with your mortise gauge, but put the spacer between the stock and the tenon member as you’re marking. Mark from the face side.
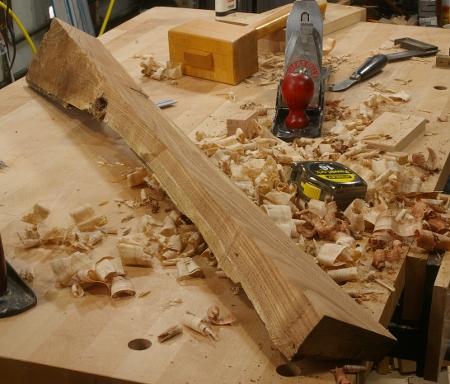
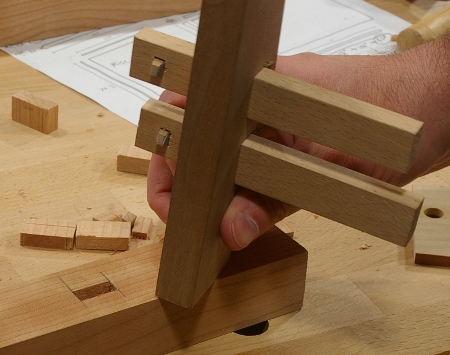
Now, saw your tenon (the following photo is gratuitous, but just in case anyone’s forgotten how to saw a tenon cheek):
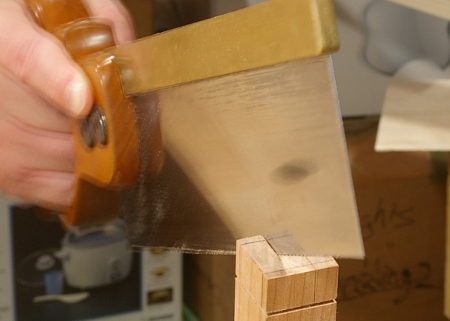
And you’re done.
The point to making the spacer is that once you have it made, you can use it over and over. I had to make dozens of these joints for the new project but needed only set the mortise gauge once. I just used it with the spacer for all of the joints I needed. (Obviously, you don’t use the spacer when marking the mortise; only the tenon.)