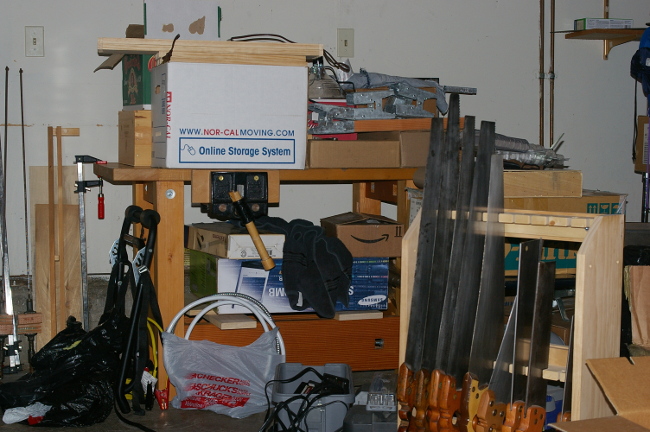
There’s been very little time to get the shop in order since the move. Between the day job, getting the rest of the house looking less of a total wreck, and some mandatory snowboarding last weekend, the only thing I’d managed was to string up the lights. At this point, I have to thank the designers of the compact fluorescent lamp (CFL). I was able to string up five full-spectrum bulbs, each with the brightness equivalent of a 100-watt incandescent bulb, combining for just over 100 watts of consumption and very little heat. The task would have been horrible with anything else because I don’t have the space for a big fixture, and the power situation in the shop is not terribly ideal, anyway.
My first order of business was to get the saw till up, and I decided to use French cleats to accomplish this and other tool-storage tasks. There’s been a lot written about these cleats on other blogs and elsewhere, but most of them talk about making them with the dreaded tbls*w. I will admit that the machine makes this particular task easier, but I don’t use one, so it was off to the races with what I had at hand.
The plan was to use the cheap 3/4″ thick mystery softwood that I’ve managed to collect. I originally thought that I would cut the bevel for the cleats with the chamfer attachment for my Veritas low-angle block plane, but I quickly realized that it cut far too slowly and the attachment wasn’t wide enough for such a large task anyway.
So I grabbed my little rip panel saw to remove most of the waste:
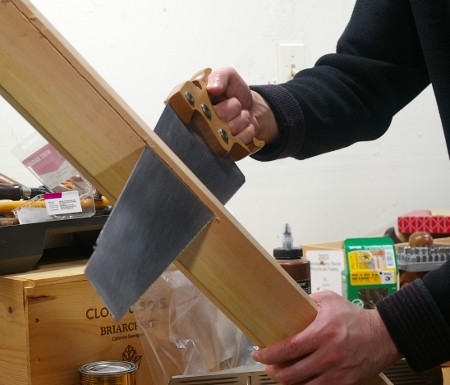
Though awkward (because I couldn’t get a decent angle of attack), it didn’t take that long. Next, I used my jack plane with the deeply-cambered blade to zap and smooth off most of everything up to the lines, and finally, a jointer to go up to the lines. The nice thing about cleats is that you really don’t have to be that precise with the angle.
In retrospect, I should have probably used my drawknife to rough it out, but unfortunately, I would have had no idea where it would have been, anyway.
The first cleat turned out to be pretty painful to make for a couple of reasons. First, I hadn’t secured my benchtop onto its base yet, so the top insisted on sliding all over the place. Second, because I managed to tweak my wrist a little while snowboarding a week before (as I said, you gotta do what you gotta do), sawing was a little painful, as was shoving around those metal planes. The biggest problem was that I just didn’t have full wrist strength.
Before long, the first cleat was made, and it was time to put it into the wall. I’d bought some big 3″ wood screws with Torx heads for this purpose, and I leveled and pre-drilled everything, so putting the screws in was going to be a piece of cake, right?
Well, not exactly; even pre-drilled, driving those screws was a lot of effort and I couldn’t twist my wrist hard enough, nor did I want to. So I dug out my handy-dandy brace driver bit adapter, put a T20 Torx bit in, and promptly realized that I had no idea where any of my braces were. This was just a recurring theme–needing a tool and realizing that it was in one of those boxes around me.
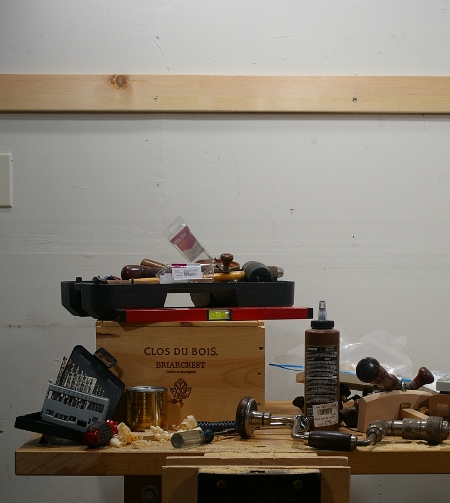
It took a long time to find a brace, but when I did, you can imagine the grin on my face when I pumped those screws into the wall with that thing. And there it was, the first cleat was up (note the Millers Falls 8″ sweep brace with the Lion chuck that I used, lying on the bench):
After securing the benchtop to the base, I made another one that day, but not without discovering a bunch of resin around a knot in one of the boards. (That sure made it easy to saw, let me tell you.)
Taking it up again today, I put up a few more cleats and put up the saw till:
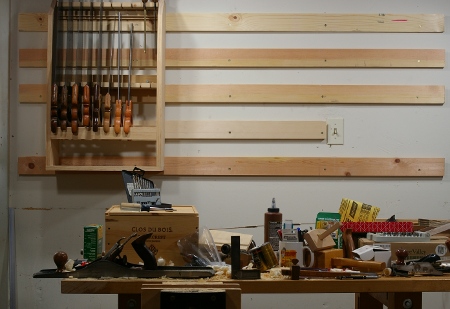
I was thrilled with this development, because my goal for the weekend was in fact to get the saw till up on the wall. That thing is my single-most important tool container. After taking this photo, I made a few more tool holders and put them up.
I even found my drawknife, so I put it up on a cleat to celebrate. Next, I’ll put the chisels up, provided that I can find them.