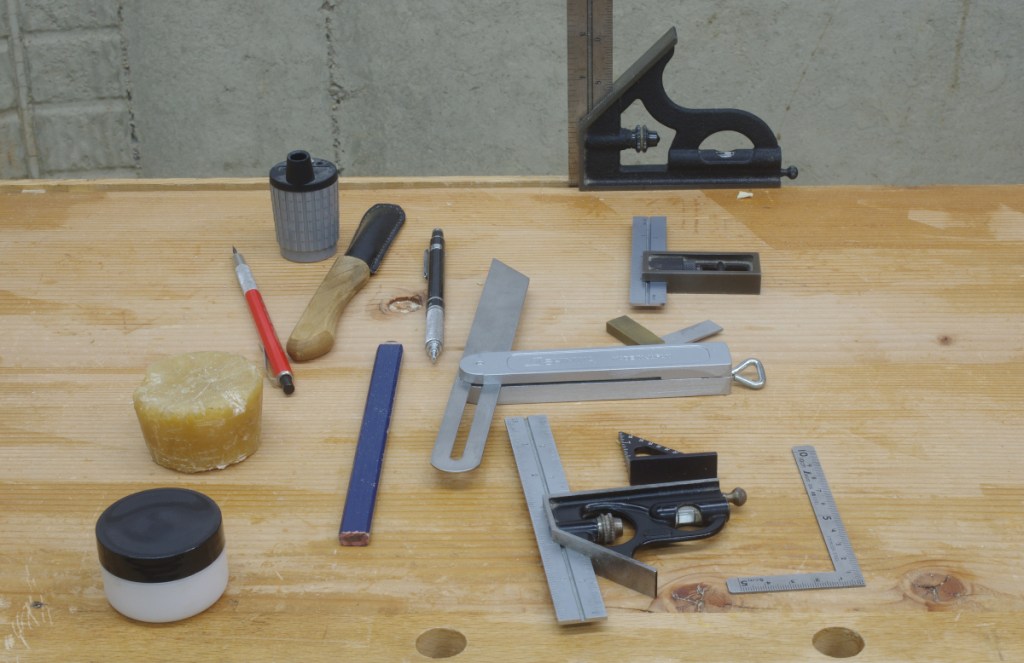
I’ve got a dumb problem that’s been lurking for years (with the exception of when everything was in storage). It’s this:
I use these tools regularly, yet I have no regular places to store them. So they inevitably end up lying on the bench. I only managed to isolate them because I just finished most of the small chest build, and cleaned up everything else.
I’ve decided that I should fix this. The long-term plan is to make a “Dutch tool chest” that should end these kinds of shenanigans once and for all, but I’m waiting on the Fitz Treatise because I haven’t thought about how to approach it. Besides, waiting to see what she writes seems like a lame enough excuse to put off building it for a while. In the meantime, I’ve started building a stopgap thing that will hopefully take care of it in the interim. It will not be a “drawer off on one side” that you see in some old illustrations–I promise that it will be far more idiotic.
What I wonder is, how does this even happen in the first place? It’s not like these are uncommon tools. I’ve just had a really hard time finding the way I’d like to store them.
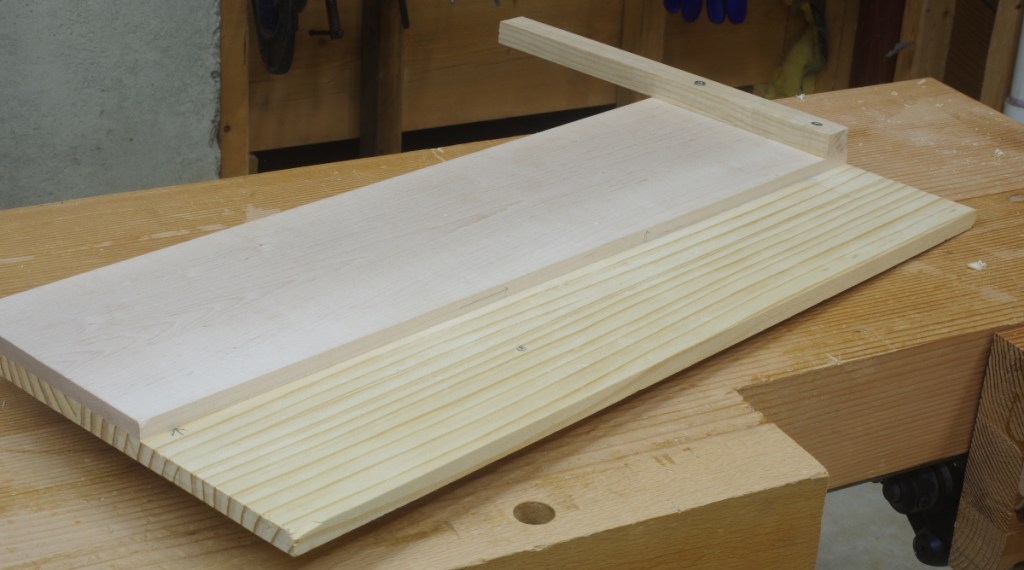
Earlier, I’d spewed some psychobabble about making a new shooting board, and I finally followed through on it. After reading through all of the relevant articles in “The Woodworker Volume IV” book and thinking through the inadequacies of the board I made a long time ago, I got to work and came up with this:
The articles all generally said to build it out of a “hard wood.” This makes sense for the stop, and the attachment to the top, because you can easily flex it out of true. However, most of the hard woods that I have on hand are flatsawn and I am worried about seasonal movement. So I made a base out of quarter(ish)sawn yellow pine, and laminated a thinner piece of maple to the top. I don’t know if the base will be durable enough for all the metal that will be sliding on top of it, but we’ll see.
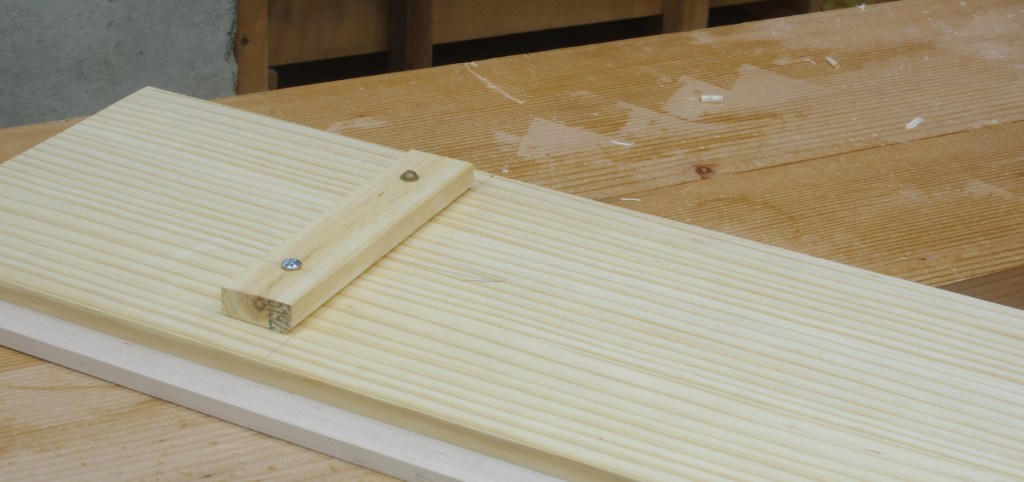
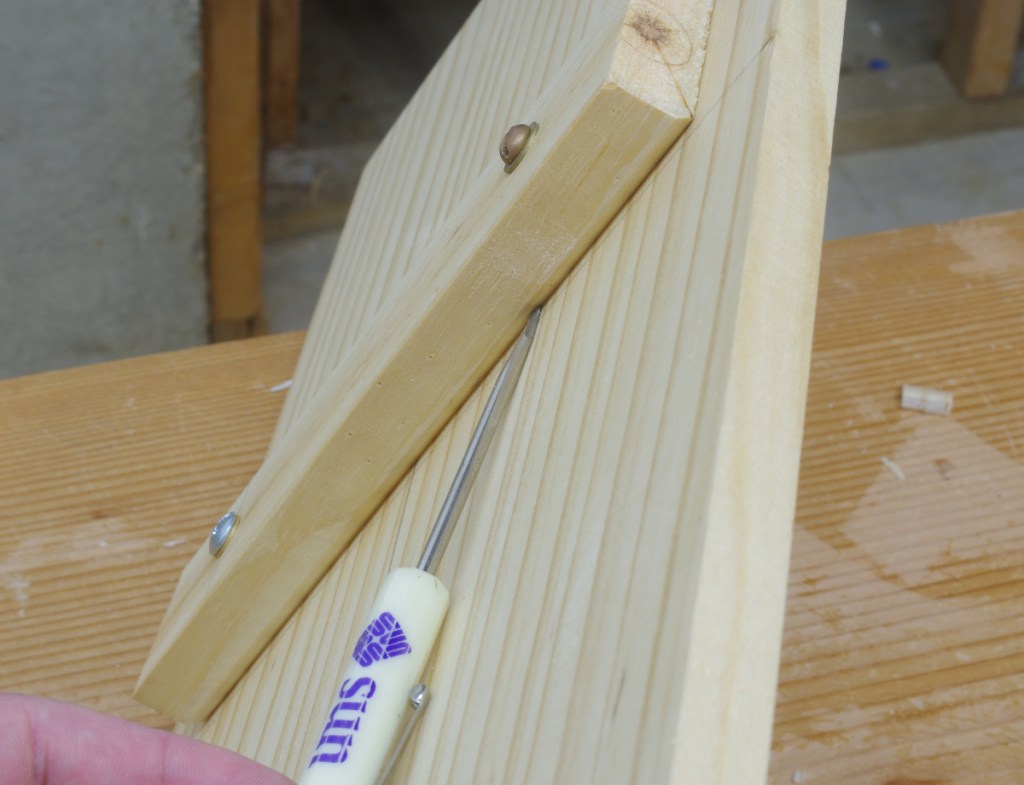
The bottom has a stop for butting up against the bench, and I made that bench stop just a bit smaller than the gap that my tail vise can open, so that I can lock it in place with the vise. I attached this with threaded inserts, with the thought that I could easily change the location if it didn’t work out:
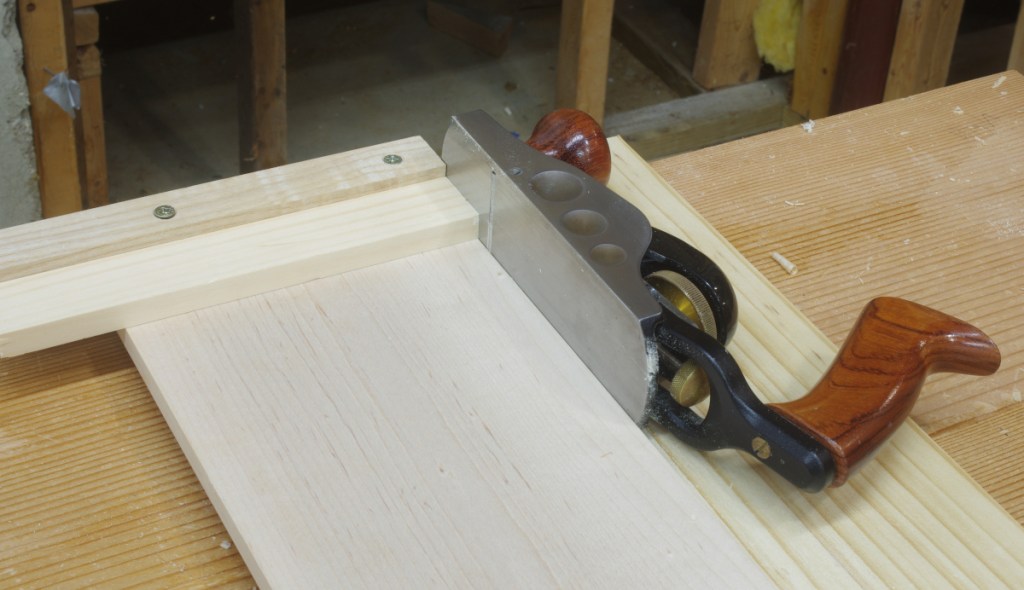
Here’s the shooting board in the vise position on the bench:
So far, so good. Here it is in use:
Yeah, I’m still using a low-angle block plane for shooting. Maybe I’d like to get a specialized chute board plane or miter plane sometime. For now, this works.
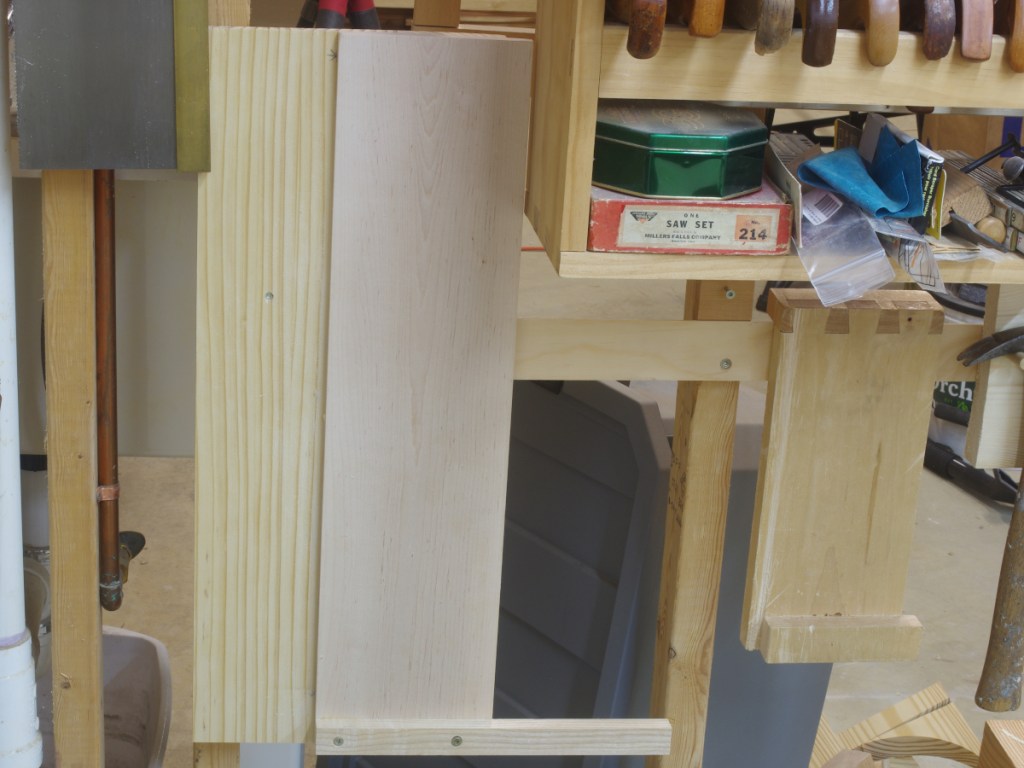
The “eagle-eyed” may have noticed the small chamfer that I’d planed to the bench stop’s interior face:
This allows for hanging the shooting board on a french cleat:
I retrofitted that modification to my bench hook on the right.
I made another shooting board, this as described in “The Woodworker” for (basically) jointing smaller work. Having no experience with that kind of board, I decided to make a quickie prototype in “hem-fir” to see what I could learn from it. I have nothing to share about this at the moment; I’m planning out improvements for the next version.
After doing that tongue-and-groove stuff, I nailed on the bottom of the chest:
I guess I sawed off the ends with a panel saw. I don’t remember. In any case, I’ve been looking through not just the “ATC,” but also “The Woodworker” articles on traditional chests, and noted that some of the articles in the latter had said to use screws on the bottom. I went with cut nails, especially encouraged by the fact that I actually have some cut nails on hand.
Then it was on to the plinth and lower dust seal. These are just dovetailed bits and pieces and are pretty much standard fare. Pictures of those are a little later down.
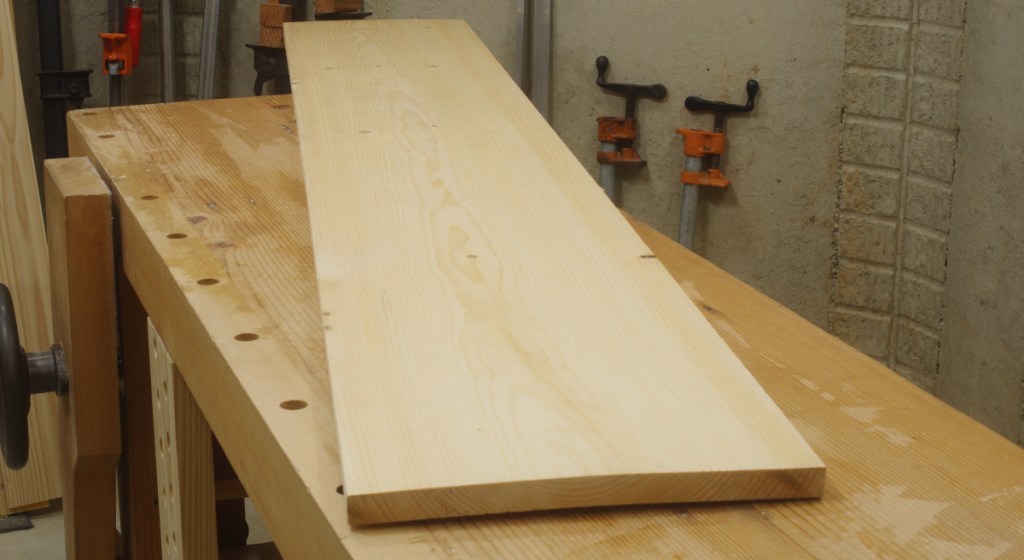
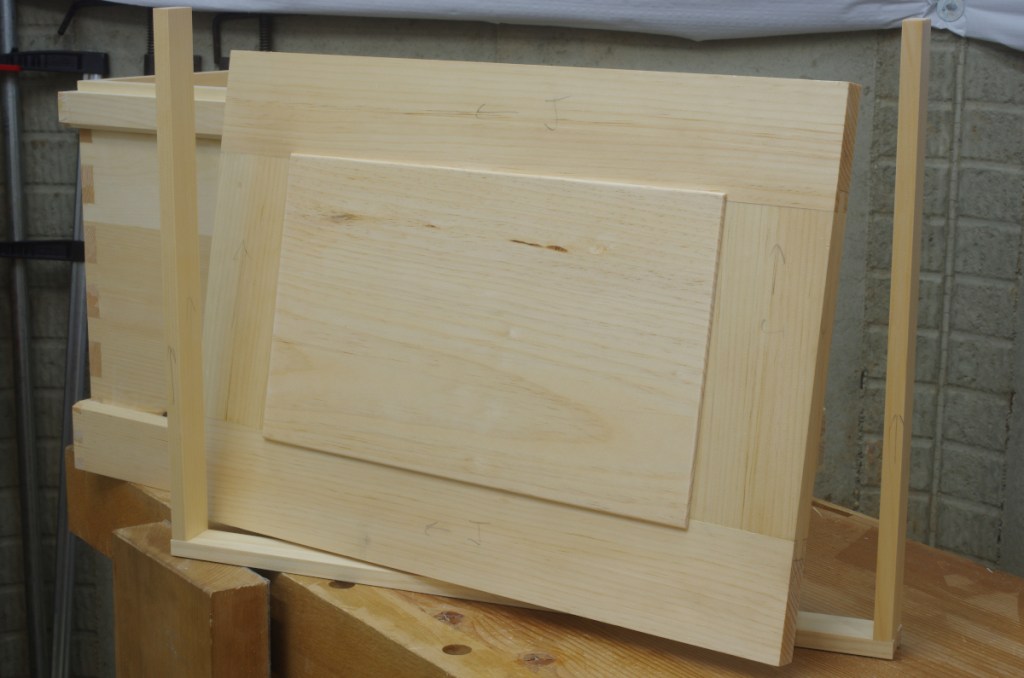
The lid frame and panel presented another typical situation: determining which boards to use for the frame and panel. You normally want frames to be rift- or quartersawn because they’re more stable, and of course, those cuts are difficult to find if you’re just looking superficially (which is close to what I was doing when I bought most of the white pine that I have on hand). Fortunately, I had this one:
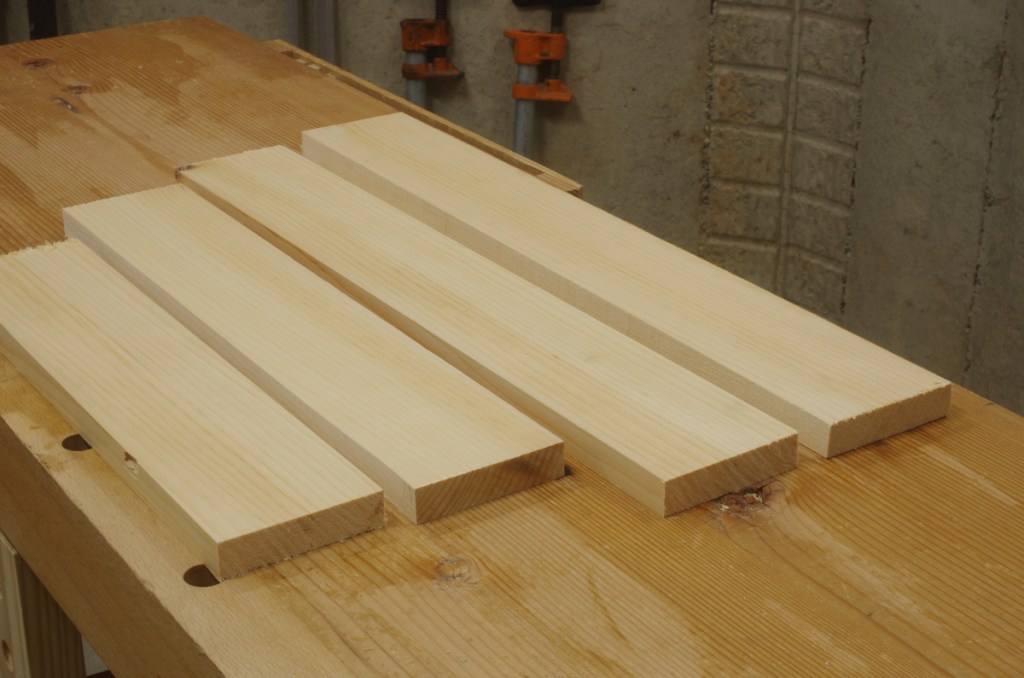
At first glance, this looks like a board with a lot of knots and an obnoxious cup. But slice out the center part, make some cuts here and there, and you get this:
That kind of riftsawn cut is what I was looking for.
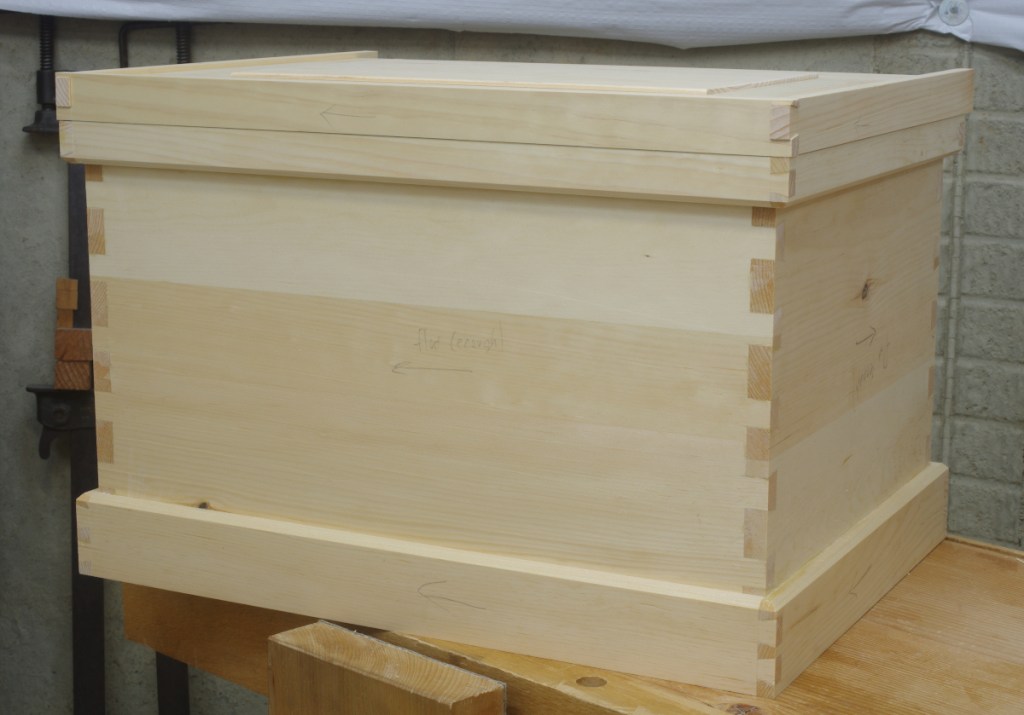
I made the frame using through mortises (something I rarely do), did the joinery for the upper dust seal, and am now close to finished with the outer shell:
In a case of not following directions, there’s a small knot on one side here. It doesn’t show much sign of wanting to fall out, but if it does, I could repair it, or something. Because this is not a tool chest, it may not be important.
A look at the lid:
The upper dust seal is not attached or trimmed to final dimensions. This is because to really finish off the lid, I need to install the hinges, which I do not have at the moment. These are allegedly in transit.
I’ve already selected the wood for the sliding till runners and the sides of the tills themselves. I haven’t decided if I want to make some kind of divider in the bottom yet. Again, this isn’t for tools, so I don’t know if that kind of compartmentalization is appropriate here.
But it looks like I’m getting somewhere. In theory, this project shouldn’t take much longer.