It’s been so long since I talked about the second nightstand project that I sometimes wonder if I’m making any progress. So I looked back at that last post and realized that since then, I’ve done the following:
- Made the rest of the cabinet components.
- Glued up the cabinets.
- Made all of the drawer sides, fronts, and backs.
- Resawed and milled the pieces for the drawer bottoms.
- Milled half of the tops and roughed out the other half.
The drawer sides and backs were a pain because for some bizarre reason, I chose birch to be my secondary wood. Don’t do this. Use yellow-poplar, pine, or something that people who should know better would use. The stock I had a ridiculous number of grain reversals, leading to a lot of tearout when planing, so milling this stuff took forever. It also dulled my plane blades quickly, so I was constantly resharpening. But even after I milled it, the dovetails took longer than they should have because it seemed like I needed to sharpen my chisels after every couple of swipes.
So it took forever, but I finished, and that left the drawer bottoms. I haven’t really talked much about how I’ve been making drawer bottoms, though I did one particular post that kind of touched on panels in the tool cabinet. So I figure I could post something on that.
First, I mill the wood to thickness, preferably a little thicker than the grooves that they’ll fit in. I always need to glue them together.
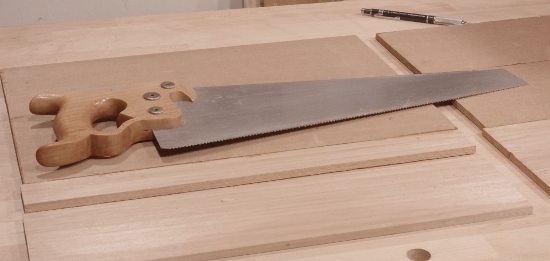
Next, I saw the glued-up panel to rough depth–about a half-inch wider than it will eventually be. In the following photo, I ran out of wood in one board of western redcedar and had to use another very differently-colored board for the last little bit at the end. The rip panel saw that I use is on top.
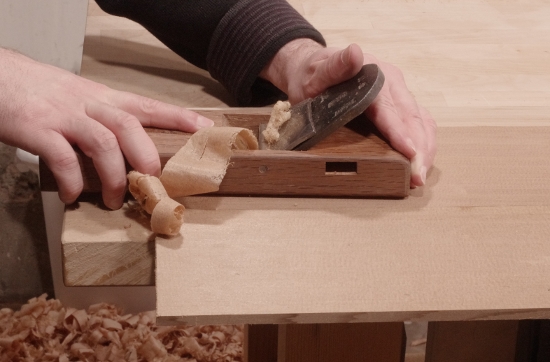
Now I plane the top of the panel to remove excess glue and get a finished surface. I do this after trimming the depth because I often use the cutoff somewhere else, so I want that cutoff to be as thick as possible to start.
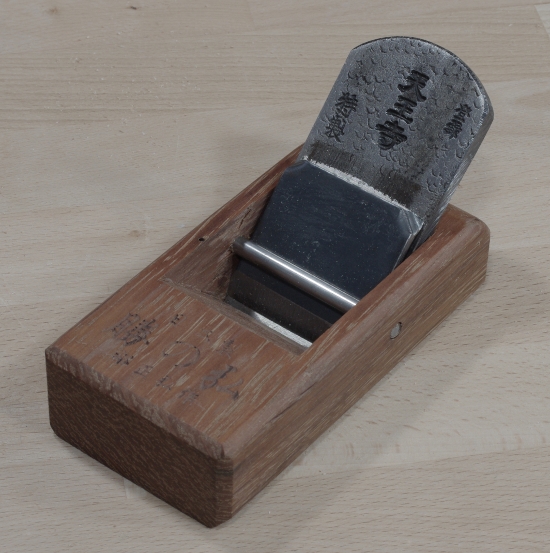
I used a Taiwanese plane for this because it was sharp and the blade is nice and wide.
With the surface planing done, I trim one of the sides square to the front with a plane. I used a Milllers Falls #11 (this is like a Stanley 5 1/4) because it’s easy to control (and its blade happened to be sharp).
Then I take the drawer front and mark off the width:
I mark this side square to the front as well, and after verifying that it is in fact square, I trim it off as well.
As I mentioned earlier, the panels are typically a little thicker than the grooves that will house them. I don’t measure them because I care only about the face side being reasonably flat. Now it’s time to get three of the edges to fit into the grooves.
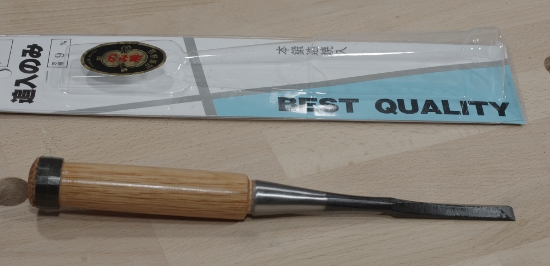
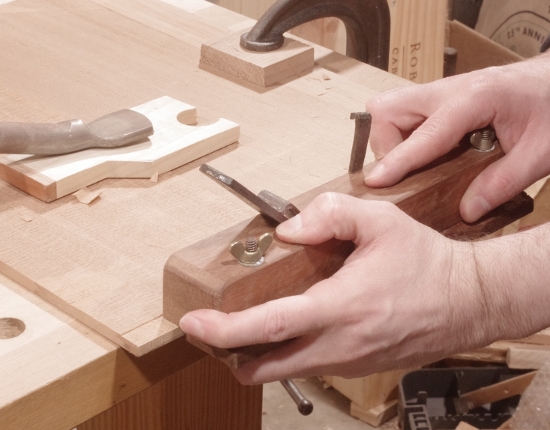
To do this, I make a rabbet. I was thrilled to be able to use my new Taiwanese rabbet plane so soon:
I start with the sides, going across the grain. Every so often, I check the thickness by seeing if the rabbeted edge fits in the groove that I’ve plowed in the drawer side. When going across the grain, it definitely helps to take out a little bit of the end of the rabbet with a chisel so that you don’t blow out the grain.
I then make an identical rabbet on the other side, and then do it for the front edge, this time checking against the groove in the front drawer.
Now it’s time to trim the panel/bottom to final depth. I assemble the drawer front and sides without the back, and slip the panel in. (This is also a good time to verify that the panel isn’t too long.) I make sure that the panel goes all the way into the groove on the drawer front. Then, I mark off where I think I should cut the panel:

I make marks on both sides, draw a line between them, and then saw and/or plane to that line. Then I test-fit the panel into the 3/4 assembly again, and measure the depth with my double square:
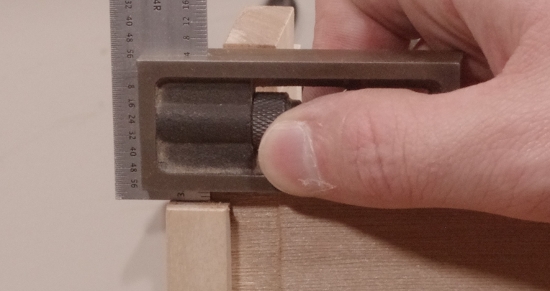
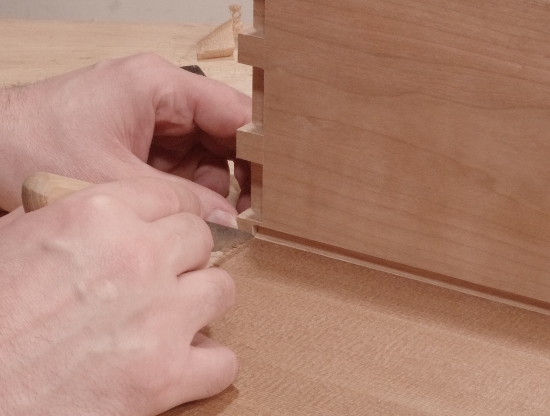
With the square set, I drop this end into the groove on the rear of the drawer to see how close I am to the bottom:
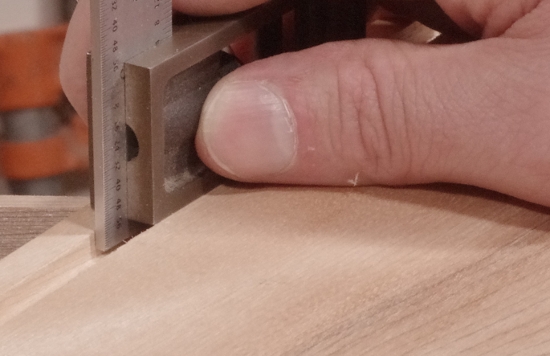
You can see the gap; you want a gap so that the panel has room to expand in the groove. I usually go for somewhere around 1/16″-3/32″, but it’s never exact, just the kind of thing you know when you see it.
With the final depth trimmed with a plane, I rabbet the underside of the rear panel edge like I did earlier for the sides and front.
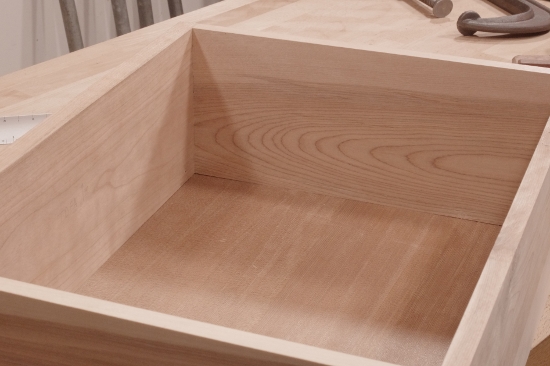
Then, the final test-fit comes; here’s the view inside showing the face surface:
and here’s the underside that no one sees, with the rabbets and saw marks that I’m too lazy to clean up:
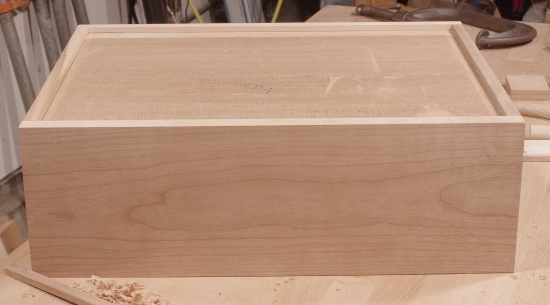
So there are the drawer bottoms. I have two done and I’ll do the other two when I get back from the ski trip I’m on now.
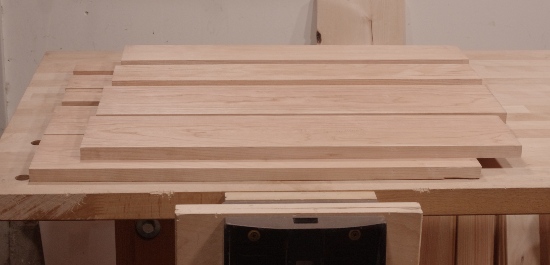
I’m also making some progress with the tops. Here are the pieces that will form the tops. I had to do a lot of sawing around defects to get to this point: