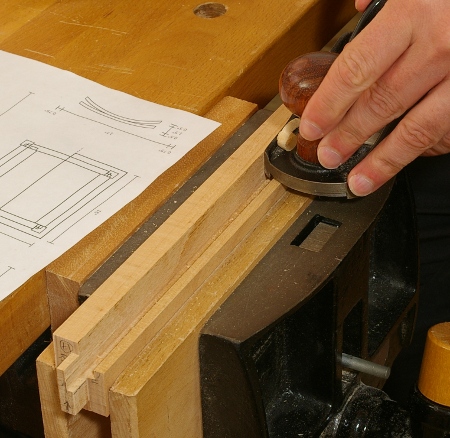
I’m in the process of gluing up various components of the nightstand. I started with the rear panel, and actually did this with a rubbed joint (because I trust my rubbed joints enough to put them in a place where no one will see them).
The shelf on the bottom is made of two thicker pieces. I got out the clamps for this job, and it went about as well as it usually goes. My old bar clamps went underneath and I put a couple of F-clamps on the top. The bar clamps constantly fell over as I was working, as usual, and they’re really heavy, but eventually, I got the thing together.
Then it was time for the top, and a little voice in my head told me that if the bar clamps weren’t always falling over when I was trying to get stuff glued up, they might be a lot more pleasant to use. So I cut off a few sections of a 2×4 and made some stands. What a difference this made!

This took very little time to get set up and in place; because the screws to tighten the clamp are at the ends of the bars and free of obstruction, it was a piece of cake to swing the handles around. I also began to appreciate the impressive clamping power that these things have. The additional F-clamps I started with were the smaller, light-duty ones. Then I noticed that the bars on those were bowing a bit, so I switched to a heavier-duty clamp that was a little bit better (see above), but nothing like the bar clamps. It did not occur to me to use a couple of pipe clamps that I’m currently borrowing, sigh.
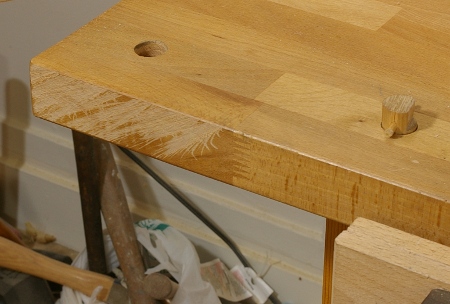
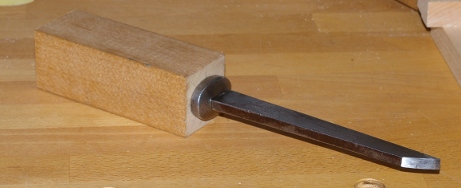
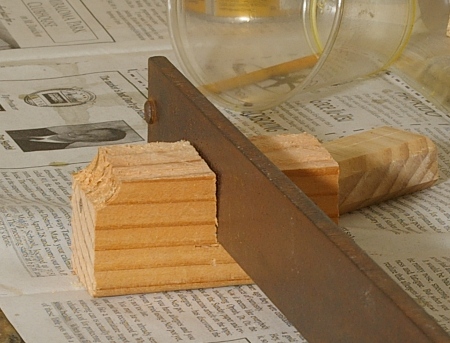
Let’s take a closer look at those clamp stands, made from a typical douglas-fir 2×4. You can tell that I really went all-out with the details on these. It’s funny how something so simple and cheap can make so much difference.
After going through all of this, I started wondering to myself how much it would cost to get a few more bar clamps, because I’ll be needing something to help out with other glue-ups in the future. Yikes, they sure do cost more than the $2 that these cost me. I guess I’ll be either borrowing clamps more or trawling more estate sales to get my fix.