Sharpening has been a sore point ever since I moved into the current shop. I had a good spot next to a sink in the shop, but didn’t have any kind of stand or surface to put the stones. So I ended up putting them on a counter on the near-opposite side of the house. This was an unfortunate situation, not just because I’d have to ramble all the way over there every time I wanted to sharpen something. The lighting was bad, the mess I made over there was atrocious, and its temporary nature made me unwilling to organize further.
I had originally intended to make a freestanding sharpening station to put next to the shop sink, but every stand that I made ended up unscrupulously co-opted. Finally, I realized that instead of a stand, I could just put some strong shelf-like brackets into the wall there, making it more of a built-in. It would theoretically be less work than another stand. Then I gave myself some additional “motivation,” saying that I would not sharpen another tool until the sharpening station was in its rightful spot, though I am unsure if this was a good idea or not.
I started by installing a sheet of drywall into the wall framing (it was bare before), and painting it white so that it would reflect light. Then I got to making the brackets themselves:
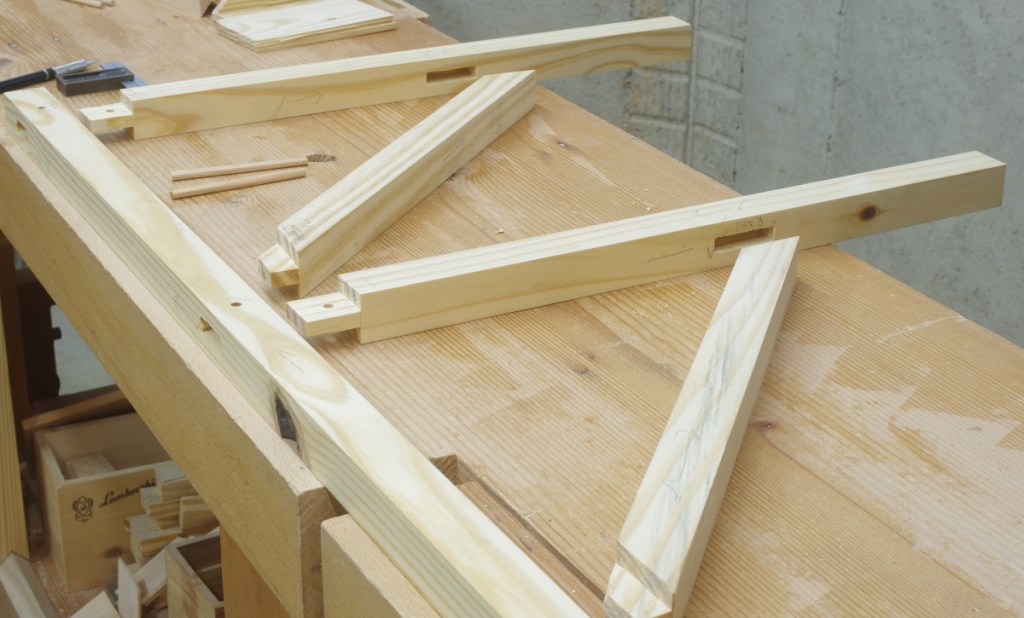
These are sort of mini-timberframe-like things in southern yellow pine. I decided to use drawbores for the shelf support joints, but didn’t bother on the brace joints. (I do not want to talk about how long I spent making those pegs.) There are two stiles, each with upper and lower shelf supports.
I made a stretcher to go between the upper supports so that the upper shelf would be very strong and resistant to movement and racking (this is, after all, where the work would be done). When I glued and drawbored everything into place, it looked like this:

I was somewhat unsure of how easily it would install on the wall, but it turned out to be easy enough when I used double wedges off of a support on the floor to get the stiles plumb and the brackets level:
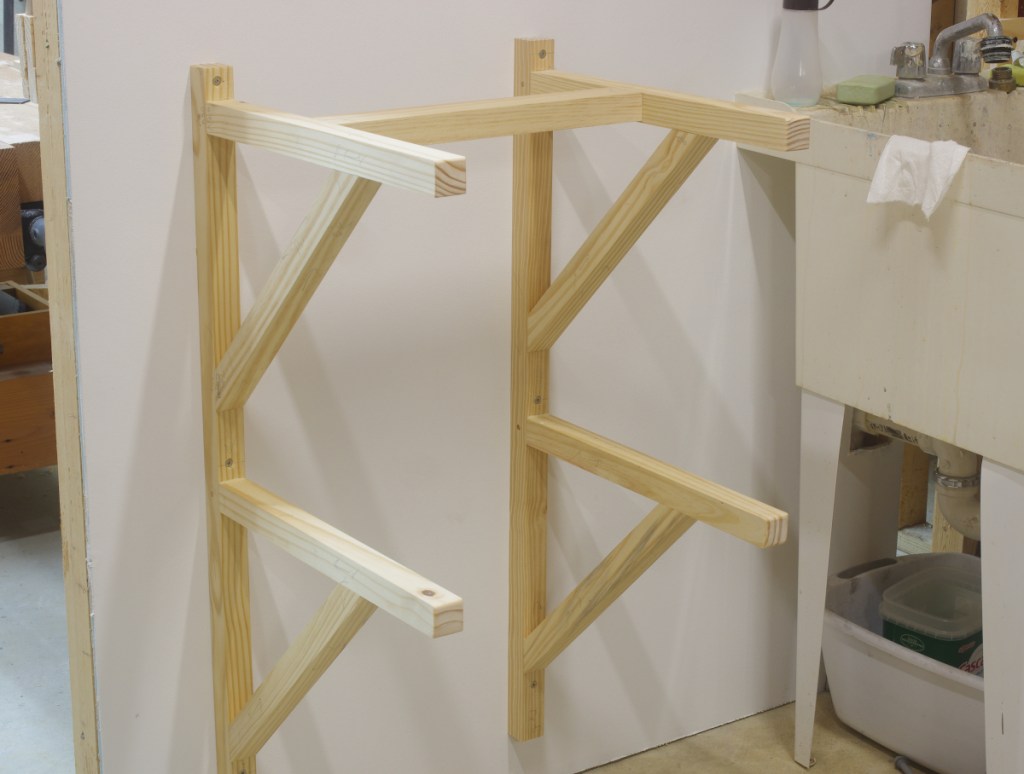
Each stile is screwed directly into a stud behind the drywall in three spots. After a bit of stress-testing, I was satisfied that the top brackets were up to the task, so I added some crappy plywood shelves, put my stone holder and other stuff on the top, infrequently-used supplies (or otherwise questionable purchases) below, and called it done:
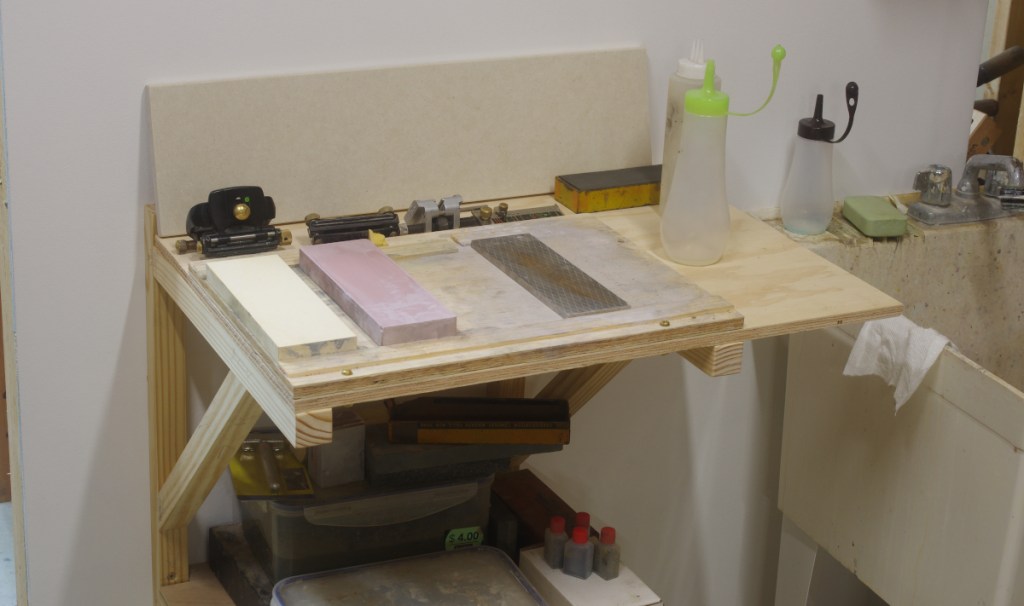
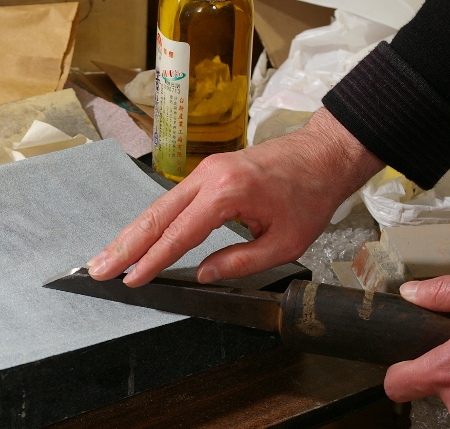
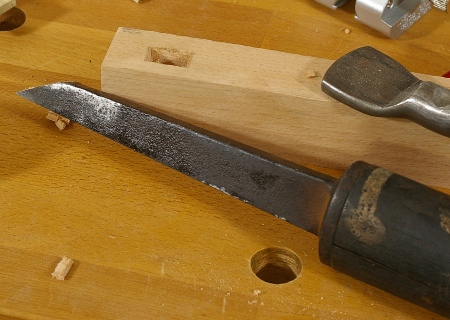
The stone holder is attached to the upper shelf, which is in turn screwed onto the brackets. This should eliminate any kind of slippage without the need for anti-skid pads. Bottles with water and camellia oil are on the overhang to the right, and my two honing guides are behind the stones. There’s even a faux-backsplash that’s nothing more than a leftover piece from a home renovation project.
Then I sharpened a chisel quickly to make sure that I had a functional setup. Anticlimactic, as intended.