Preparing Wide Glue-Ups for the Planer Sled

With its ability to flatten wide stock quickly and effortlessly, one of the things that my planer sled design has enabled is a little more flexibility and ease when I need to glue up something wide. Ironically (or perhaps not so much), the jack plane often comes into play here. A quick treatment with everyone’s favorite “rough ‘n ready” sometimes saves even more time.

By way of example, I’m working with a bunch of suboptimal cedar at the moment. I need 10-inch (~255mm) stock, and I don’t have any. So I glued up sections of three (crummy) 4-inch stock, first roughing out the stock on the bandsaw, then planing slightly “sprung” edges using a jointer plane. I didn’t make the edges perfectly square to the sides because the sides were rough and uneven from the bandsaw (and the thicknessses varied anyway)–all I cared about was getting edges that would join together.

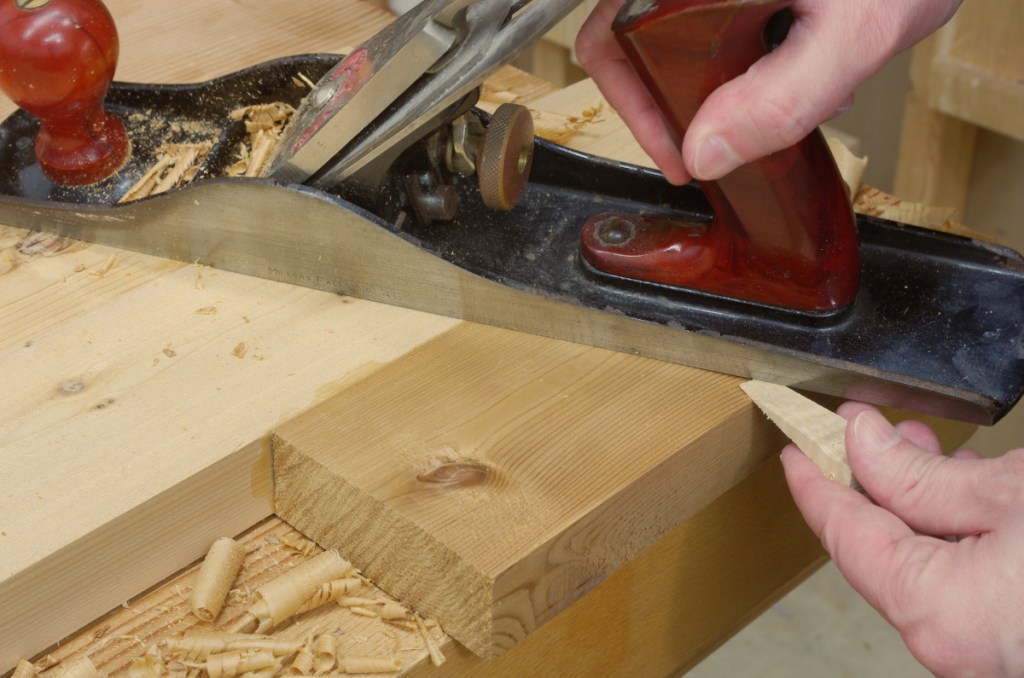
When doing something like that, you end up with a glued-up board resembling something from the Cubist style, for which the conformist cries out to flatten. And we oblige. For the planer sled to work correctly, you want the face you put on the bottom to be “roughly” convex, but there’s no particularly exacting standard. So you can grab a jack plane to (effortlessly) knock off a bit from the sides near the edges:

Wedge shows the part that I planed off.

Now, you can flip it over, pull out the planer sled, and fix the whole mess in place:

Yes, this is a strangely-shaped piece.

And just like that, you’re ready to feed the whole mess into the thickness planer and flatten it in one shot. The process of knocking off the edges, fixing in the planer sled, and flattening with the thickness planer only takes a few minutes (I spent a lot more time taking the photos and writing up this post).

Perhaps there’s a need for a “moral of the story” trope-ish thing in here, so here you go: The jack plane is invaluable. Even though I don’t need to use it nearly as much as I did in my prep-stock-by-hand days, I’d still be lost without it.

The Multiwedge Planer Sled: Inspired by Hand Tool Methods

There seem to be several little camps when it comes to stock preparation methods. There are those who rive arrow-straight oak with a froe and plane it down, the hand plane exclusivity evangelists, the hand plane to flatten/thickness planer on rest, the “hmm, maybe hand planes and a big bandsaw” types, the machine heads who won’t use anything but jointers and planers, the various router sled types, and then, of course, the people who mostly do hand work, but keep a huge jointer in a separate area as a dirty secret. You know who you are.

Doing it completely by hand taught me a lot of things, and switching to a hybrid approach with a thickness planer saved me some time. I’ve never really been religious about stock preparation, so this discussion might start to seem a little out of place on this blog, which is mostly about hand work.

But something inside of me wasn’t satisfied with a few things. First, I wasn’t thrilled about flattening stuff by hand anymore. Second, I didn’t want a jointer. Finally, I wasn’t enthusiastic about my thickness planer being such a one-trick pony. I’d read about planer sleds that could flatten boards, but when I looked into them, I wasn’t too impressed. There was one overriding problem: Holding the work conveniently, yet securely.

Still, the sled idea sat in the back of my mind. I kept thinking to myself that there must be a reasonable way to get a board to stay in place, and that some sort of traditional approach to workholding might work. Maybe double wedges? But how? Finally, about a year and a half ago, something went off in my head and I had a basic design. I built a prototype. Surprisingly, it worked. I was then able to refine it some more.

So without further ado, here is my video describing the multiwedge planer sled.

A video might seem a little unusual for me, but I really felt that it was the best way to illustrate the sled.

I really hope it will be useful to someone else as well. It’s been great for me.