Bookshelf 2: Finished

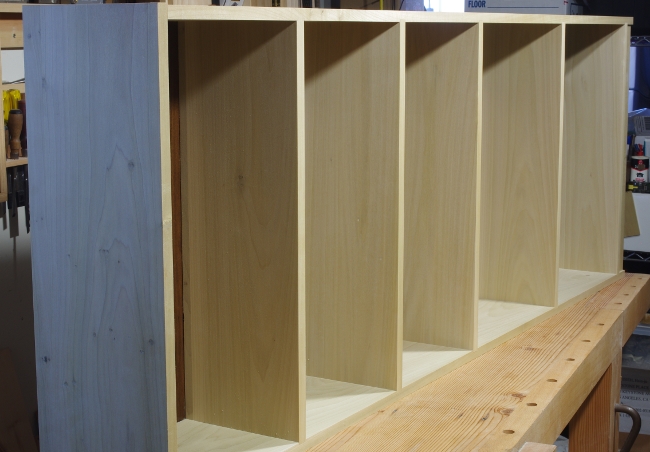
This is sure to be one of the most anticlimactic posts ever; the second bookshelf is done and has been pressed into service.

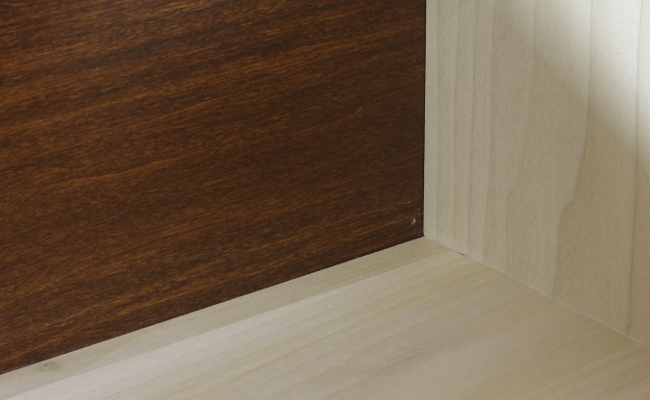
There isn’t much to say about it other than the finishing technique that I used. Rather than building up a film to complete filling the pores as I normally do, I decided to apply only two coats of varnish over the gel stain. This was primarily to reduce the sheen even more than the diffusers in the “satin” varnish already do.

The glue-up and finishing stages were difficult because this thing is so tall. SWMBO helped me here and I’m really thankful for that. It would have been very difficult otherwise, especially given the comparatively small space I had to work in.

It also turns out that you can get away with murder with a dark stain and just a little care when you apply varnish.

I didn’t really bother to take decent photos of the finished bookshelf. It’s just not a showcase piece; it’s there to hold books so that we don’t have to put them into boxes or just leave them on the floor all over the place. Somehow, I felt that this is a piece that should blend into the background; you shouldn’t notice it’s there most of the time.

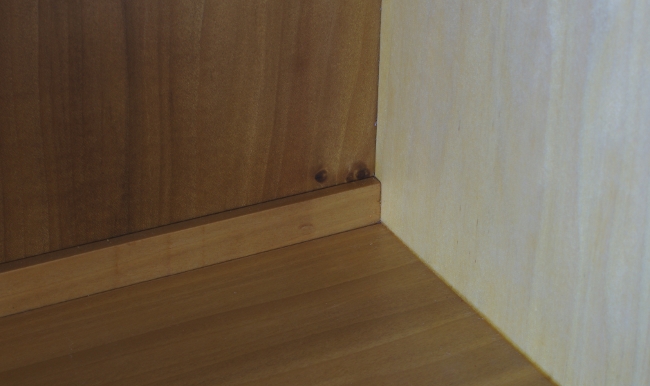
So here’s the top corner, where you can see some of the figure of this exotic yellow-poplar and the highly esoteric literary tastes of this 100% Ph.D. household:

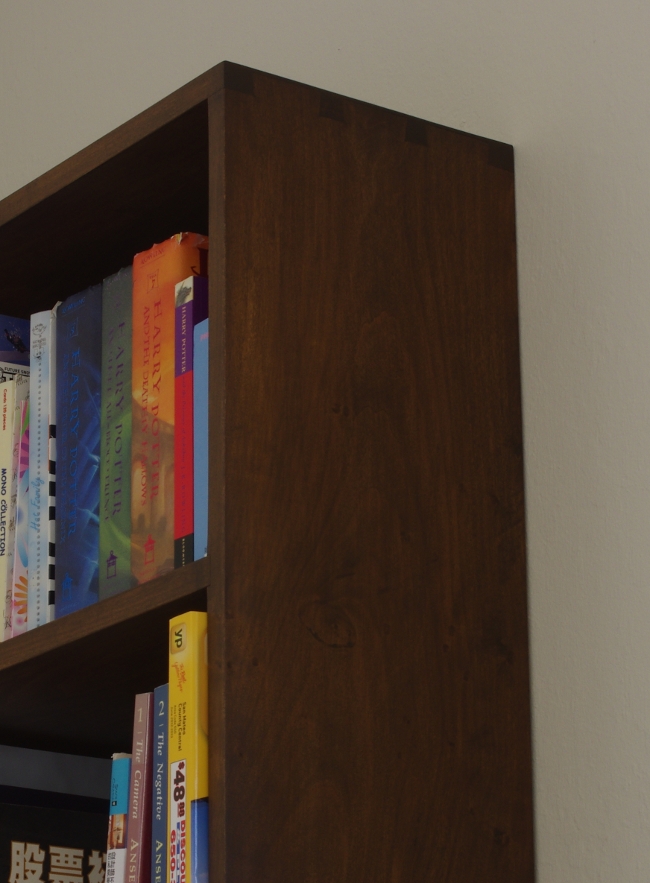
You can barely see the half-blind dovetails at the top. (And, again, I prefer it that way for this piece.)

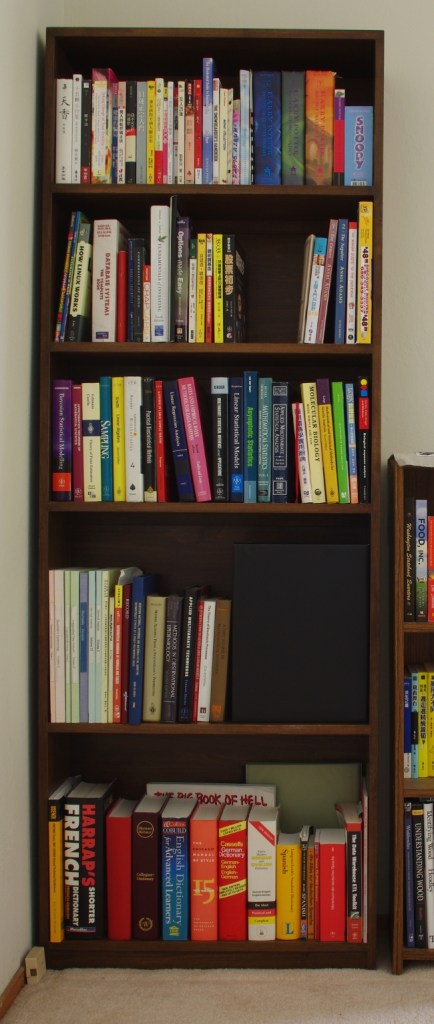
But wait, there’s more. If you thought that was unimpressive, wait until you see the whole thing in its final location, jammed up against a wall and next to a cheapo particleboard bookcase that I’ll make a replacement for one day:

Hmm, it’s really difficult to get those wide-angle shots to look square. Well, off to the next project.

Bookshelf 2: Glued Up

There are times when I feel like I’ve gotten nothing done, and this past month was one of them. It’s not entirely, true, though, as I have the new bookshelf glued up now:

Getting to the glue-up point was nontrivial. I had all of the joints cut more than a month ago. However, I decided that I would try to stain this thing dark, and because of this, there were some components that I should probably stain and varnish before final assembly. I spent a considerable amount of time doing so.

Staining is a nontrivial process. I read Flexner’s book about a hundred times, tried out many samples, and finally jumped in. Because the shelf is made entirely of yellow-poplar, and blotching is a problem on that wood, I decided to use a gel stain, topcoated with the usual varnish. As Flexner will tell you, gel stain doesn’t penetrate much. If you sand it, you’ll cut through in a flash. I used a full-strength coat of varnish right on top of the gel stain to build the initial coat of protection. Because the stain raised the grain and left a fairly rough surface, I wasn’t worried about adhesion problems, especially because I applied the varnish just one day after the stain. At that point, I was able to sand without worrying so much about cutting through, and a couple more coats went on after.

For me, one of the strangest things about using stain (well, pigment stain, that is) is that it seemingly went against everything I’ve learned so far. Normally, I just plane the wood smooth and apply varnish. However, a very smooth surface makes it difficult for pigment to find the nooks and crannies that it needs to stick in the wood. That might be OK if you don’t want much stain color, but I wanted a lot.

So, with this in mind, I did something that might make you cringe. After I planed the surface smooth, I sanded it with #120 grit sandpaper to rough it up a little (in the direction of the grain, of course). The strangest thing about the whole process was that the planing probably made the sanding faster.

There is another thing that I wanted to write about, but I somehow forgot to take photos. You might recall how the joint for the rear panels went in for the first bookshelf that I made; there were just a bunch of cross-members in the rear of the shelves that housed the tops and bottoms of the panels entirely. That worked, but it left me wanting more, mainly because the cross-member would stick up behind the shelf at the rear:

I came up with a way to keep the cross-member (which I like, for added strength), but hide the top of it and instead slip the panel in directly behind the shelf:

(I guess you can see the famous stain color here. Also, I didn’t bother to make the grain vertical in the panels, since it’s unlikely that anyone will really see them anyway.)

This isn’t complicated, but when put into words, it sounds complicated. There’s one rabbet on the top of the cross-member, with the high side being on the back, and then another rabbet is cut into the rear underside of the shelf, so that rear of the shelf rests on top of the cross-member. This forms a gap between the protruding end of the cross-member and the rear of the shelf, and that’s where the panel slips in.

In any case, now the hard part begins: I have to stain and varnish the rest of the piece. It’s taller than I am and barely fits in the shop.

Jointing Narrow Boards (Yet Another Dog Incarnation), Long-Tailboard Dovetails

I decided that the break-in project for my new workbench would be a bookshelf. Because the bench can handle six-foot boards, and I can still reach things that are six feet high, I decided to make the shelves six feet high.

Two workholding problems popped up in the course of the project. One was an oldie, and the other one was new. Let’s start with the old one.

I’ve found it annoying to joint narrow boards because I usually have to make a lot of them. I have a jointer fence for my Veritas jointer, but if a board just isn’t wide enough, something always obstructs the fence because it projects below the opposite edge being planed. For some time, I’ve dreamed of being able to secure a board on the edge of the bench so that I could use my jointer fence on it. I’d been scheming on accessorizing my bench dogs a little more, and yesterday, I finally did it:

This stop is nothing more than a piece of a panel that I’ve bored two 3/4″ holes in, and stuffed two of my bench dogs through and into the holes on the bench. There’s another one with two more holes and two more dogs in the tail vise on the other end of the board. Notice how the board is slightly proud of the edge of the bench.

The whole idea is to keep the stop from rotating around in a hole. I didn’t really expect this to work–I thought that the weight of the jointer would tip the board over. But it did work. I had to ease up the rear hole a little (with a half-round rasp) to keep the front of the stop from lifting off the bench.

What’s kind of funny about this is that Lee Valley released something similar to this for planing panels today, except theirs is supposed to be used perpendicular to the way this one sits on the bench. But I’m happy with my low-profile bench dogs for planing panels.

The other difficult situation I ran into was dealing with a dovetail joint on the end of a six-foot board. To cut the tails, I extended the board off the edge of the bench, marked it, and sawed:

Then I put it in the leg vise (supported on the other side by a holdfast in the other leg) and sawed/pared the tails to completion:

Then I had to mark the pinboard. After a bit of fussing around, I came up with this:

(They’re half-blind dovetails.)