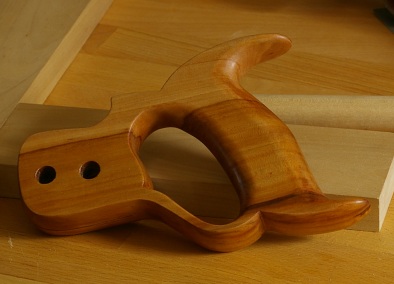
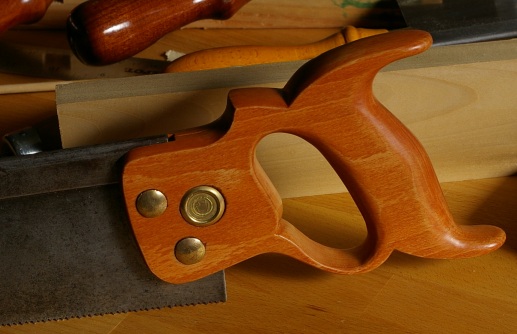
I spent about a million years applying varnish to the handle, and despite many distractions, I finished and rubbed it out today:
Since I was on a roll, I decided to finish the job today, too. First, I cut off the old handle, filed out the notch where the back fits into the handle, and drilled the holes:
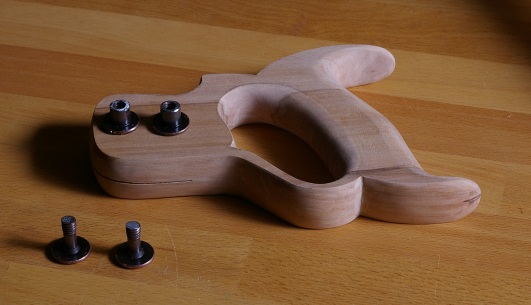
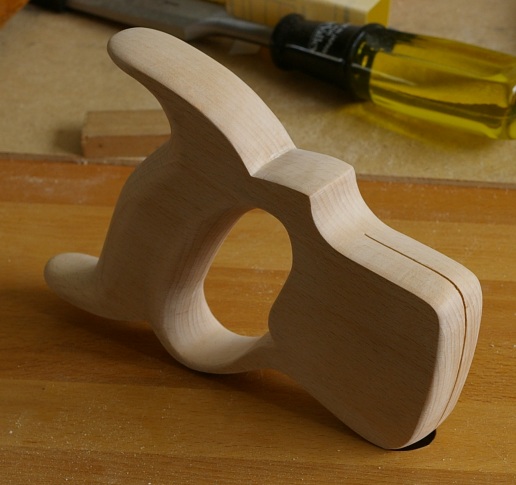
Finally, I filed off the rough edges, put the blade into the saw, and inserted the mounting hardware.
I haven’t had time to really test it out yet, but it seems to feel okay in the hand.
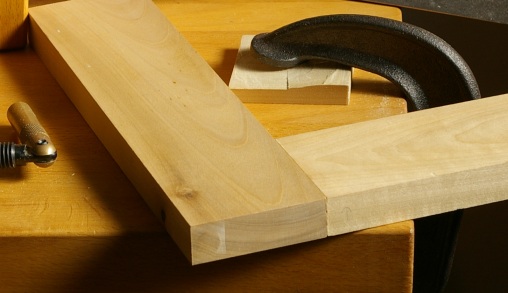
Though I did this a couple of weeks ago, I haven’t had a chance to post it until now. I managed to acquire a small bench vise for metalworking, and bolted it to a board, which I then, in turn, clamp to the bench when needed.
This was necessary to cut the saw screw/nut hardware for the new saw handle:
I used a mini hacksaw to cut these “furniture joiners” down to size, and then a file to smooth them. Then I used a brace to bore the holes in the handle (holes not shown here, but I think you know what holes in a handle look like).
The handle is now in the finishing stage. I’m using a clear satin varnish. It’s almost done; I screwed up the last thick coat, so I’ll need to sand that level and apply one more, but I should have the end product ready next week.
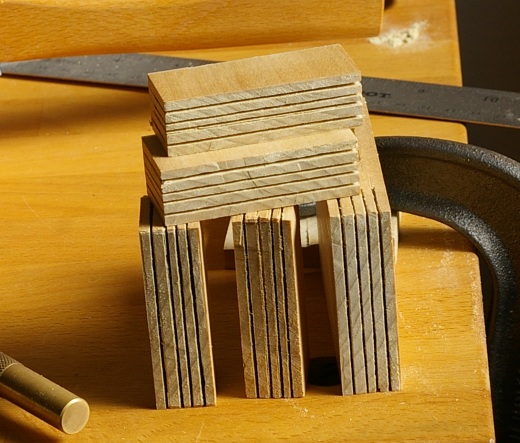
Because my latest saw handle project is now waiting for me to trim the fastening hardware down to size, I decided to practice sawing tenon cheeks. A lot of them.
Most of these kind of stink, but I got a lot better further on. I was using the 14tpi saw that’s my most recent addition.
So I felt, okay, maybe it’s time to give the mortise and tenon joint another go, to see how much it improved. And proceeded to mess up the first tenon horribly. But the second try at the tenon turned out as intended.
This may be the best one of these joints I’ve done yet, but it’s still a lot less than ideal. My plan now is to go back to the 20tpi dovetail saw for fine sawing like this. One upside of all this practice is that I’m now much better at using the finer saw. The 14tpi saw is far more difficult to control. The blade is too wide for such a fine pitch, and the blade is also very deep. So I’m going to redo the teeth on that one, down to 12tpi or 11tpi.
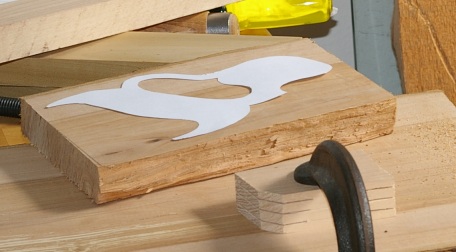
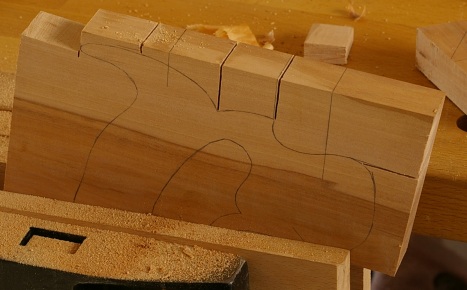
I decided that since I had the momentum, and that since I had the drawing ready, that I would start a new saw handle, this time in apple. It will be for one of my small tenon/carcase saws, but I’m not sure which one yet.
First, I cut a piece of the board and fit the pattern:
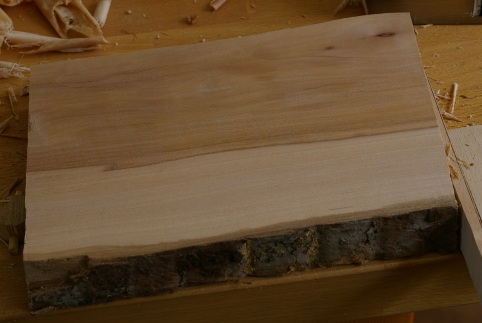
Then I milled the board. Here’s one face flattened:
The entire board is mostly clear, but the pith runs near the center. So when I cut the piece out, the pith is on one side. This is, in theory, not a problem.
At this stage, it was evident that apple is unlike any wood I’ve worked with in the past. The grain is kind of wavy, but it’s not a problem with sharp tools. The grain is also very fine, and when planed, it is very smooth.
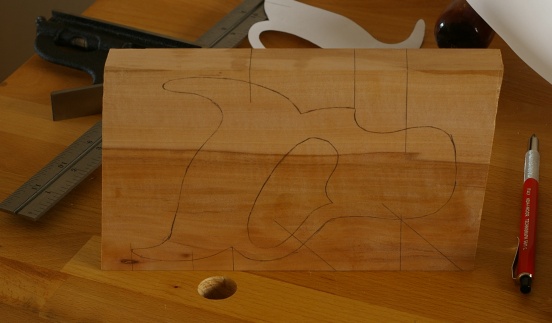
It was also unusual because I did not mill the board four-square. Rather, I made the faces trapezoidal, just taking care to get the edges square to the faces, and that the thing was of course of uniform thickness. Once that was done, it was easy to transfer the pattern to the wood.
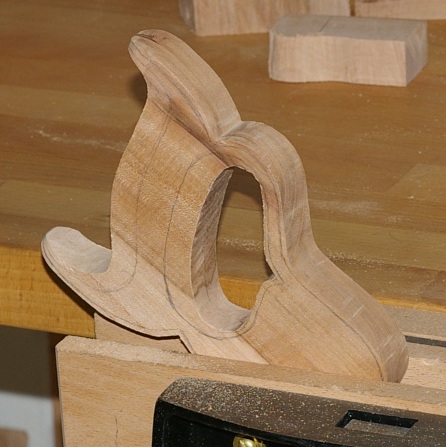
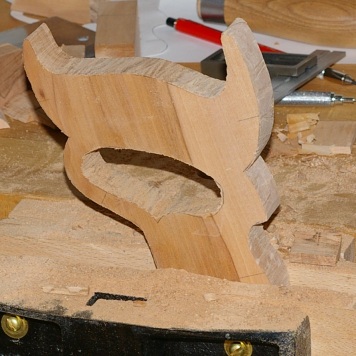
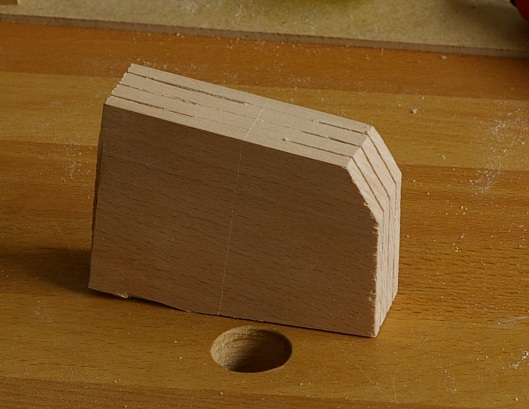
I still used a coping saw to cut out the pattern, but I used a few other saws to mark out sections. This made sawing easier.
It still wasn’t super-fast, but again, I don’t have power tools. But I did finish sawing today.
I’ve been away for the last two and a half weeks. Just before I left, I put the final coat of finish on the saw handle. When I returned, I rubbed out the finish and put it back on the saw.
Everything turned out perfectly save one detail: I messed up the centering on the screw holes. Especially on the medallion. I could fix it, but I have two reasons not to. First, it serves as a reminder that I will need to practice that next time. Second, the saw itself is not worth it; I found out that the back is slightly bent. I don’t know if this happened recently or no, but it doesn’t really matter.
There’s also another good reason not to fool around with this one any longer–I want to get cracking on handles for my good saws. To that end, I bought a board of apple in Pennsylvania during my visit. It’s a pretty board and I don’t think I’ll want to stain it at all.
I also retrieved a brace from my mom’s place. The ratchet mechanism seized up, so I chucked in a sort of wide-bladed screwdriver bit, placed the blade in a vise, put in some wd-40, and turned. This freed it, and now it’s bleeding rust. Soon I’ll be able to give this one to a buddy.
The mortise for the blade’s back was pretty much a piece of cake. I marked it off with a marking gauge on both sides, sawed down the lines, and chiseled it out.
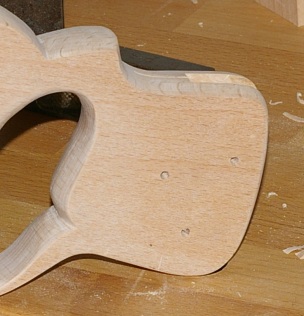
After verifying that everything fit, it was time to drill and shape the holes for the saw screws and nuts. This was sort of a complicated operation, because there are several different sizes of recesses to cut. I started with some small pilot holes in the correct locations. Amazingly, I got them straight working freehand:
The fun part was next, because I got to use both of my braces and two auger bits to cut the recesses for the screws and nuts. Most of the shallow ones are 1/2″ in diameter, but the one for the medallion was 3/4″.
Then I had more holes to drill, because the nuts require one size, the screws another size, and the screw with the medallion needed yet another size. I did a sloppy job with the holes for the nuts, but that doesn’t matter, because it’s actually not a bad idea if they have a lot of slop anyway. I was much more careful on the side for the screws, and that turned out fine:
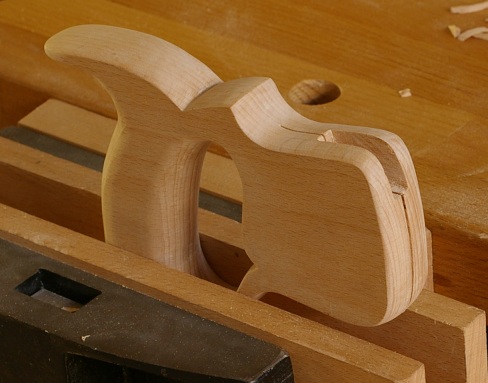
I test-fit everything. It’s all good. So it’s done except for the finish. I washcoated it this morning. Hopefully this time, the finish won’t take forever.
Sooner or later, I had to cut the slot for the blade, and I wasn’t looking forward to it. There is a method of cheating at this in a Lee Valley newsletter article[ed: link updated in 2021], but the only appropriate saw I have for doing this is my dovetail saw, which wasn’t gonna work.
So that meant cutting it “freehand.” And I’m really supposed to be able to do this sooner or later, anyway, because it’s the same as sawing a tenon cheek. Unfortunately, I haven’t been very good at that.
I decided that it would probably be a good idea to practice. So I marked out a bunch of lines on some scrap and sawed away:
The first tries were not encouraging. In fact, at first, I screwed up about seven times versus one instance where it wasn’t that bad. Eventually, though, I managed to relax and let the saw do the work instead of holding with a death grip. I did three good ones in a row. It seemed time.
It took what seemed to be an eternity, but once I had established the kerf (approaching from both sides), it was a cakewalk.
I managed to split the marking line. I hope that this means better tenons in the future.
Next up is cutting the mortise for the back and the holes for the saw screws and nuts. It’s starting to occur to me that this saw handle is now far better than the beat-up saw blade that it’s going to go on.
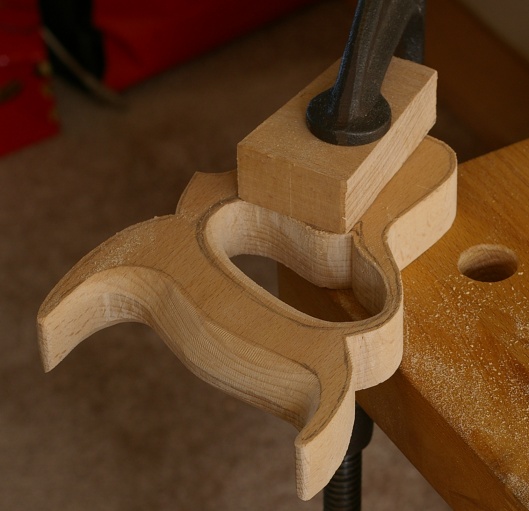
The first step in shaping a saw handle is to mark out the inner lines that you’ll shape up to.
Then it’s time to break out the rasp and file and wish you had a better rasp:
I didn’t use a center line along the edge of the handle this time. I just cut alternately from each side until they met in the center. I kept them even by measuring the depth with my double square. That tool should be dragged out back and shot for being so handy.
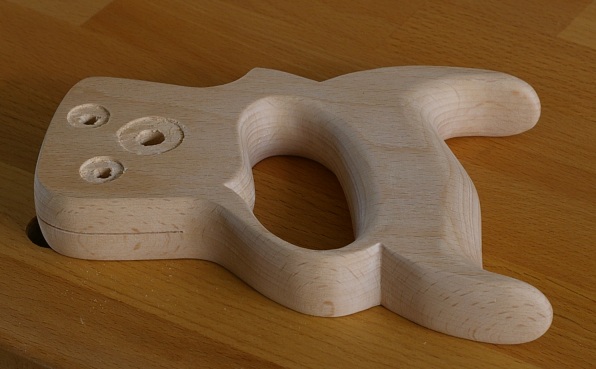
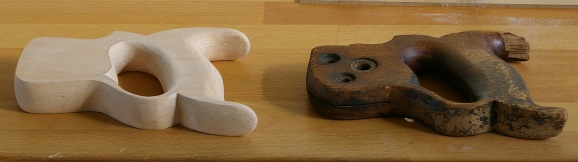
When it was all mostly said and done, except for final sanding, it looked like this (shown next to the old handle):
The next steps are to cut the holes for the screws and the slot/mortise for the blade. I am not looking forward to the slot. It’s where I can really screw up the whole thing in one simple, easy step.
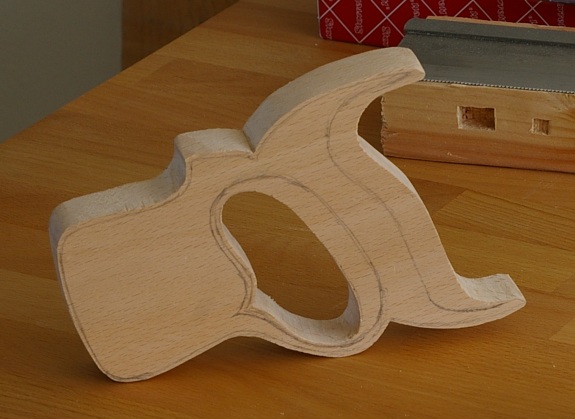
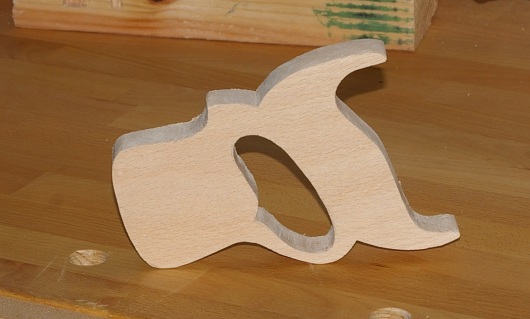
Instead of starting to shape tonight, I decided to clean up the rough saw marks made by cutting out the handle.
That’ll be it for tonight. Somehow I came up lacking in the energy department.
There was some question about “purity” somewhere or other, or in other words, “would I have used a scrollsaw or bandsaw to make this if I had one?” Well, yeah, probably. Remember that Disston wasn’t shy about using machinery to make all of those beautiful early 1900s saws. They weren’t stupid, and they sure had room for some bandsaws.