Small Chest: Finished

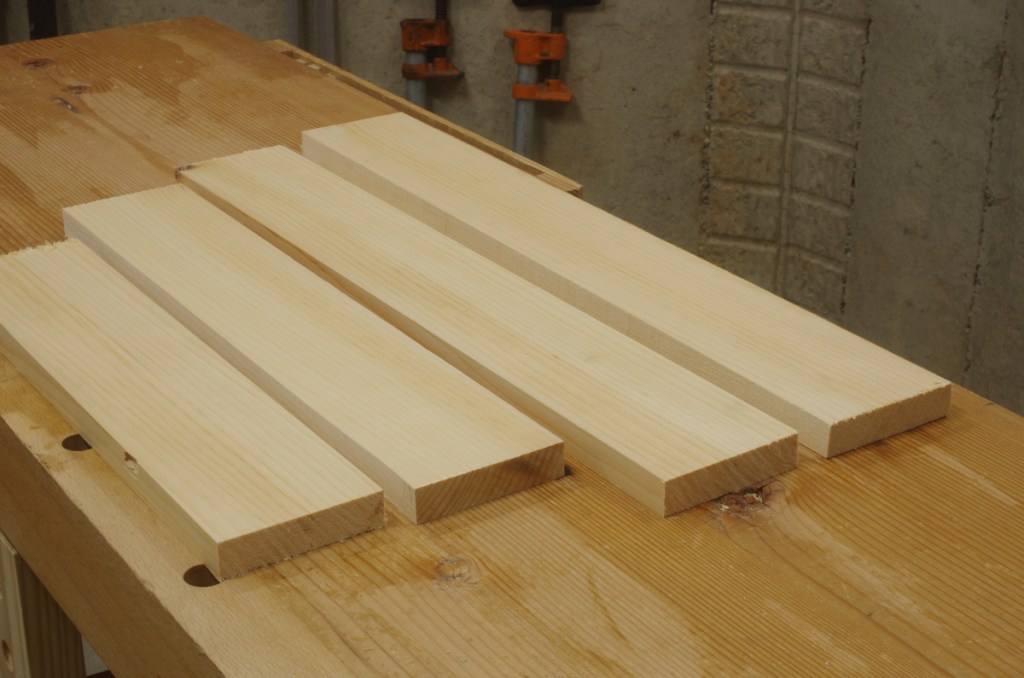
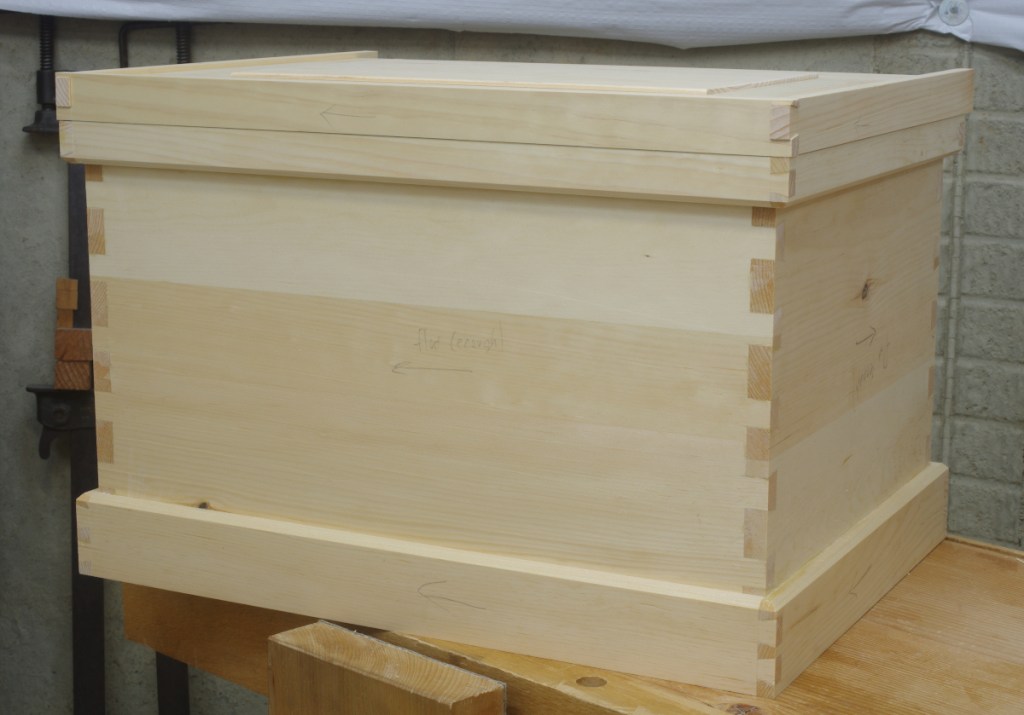
My plan for the small chest project was to try to be like the cool kids and paint it with milk paint. I figured that it would just take a few days for the paint, then I could put down the varnish topcoats and maybe be done with it in, say two weeks. Since it’s now two months later, you can probably guess that it didn’t really go as planned.

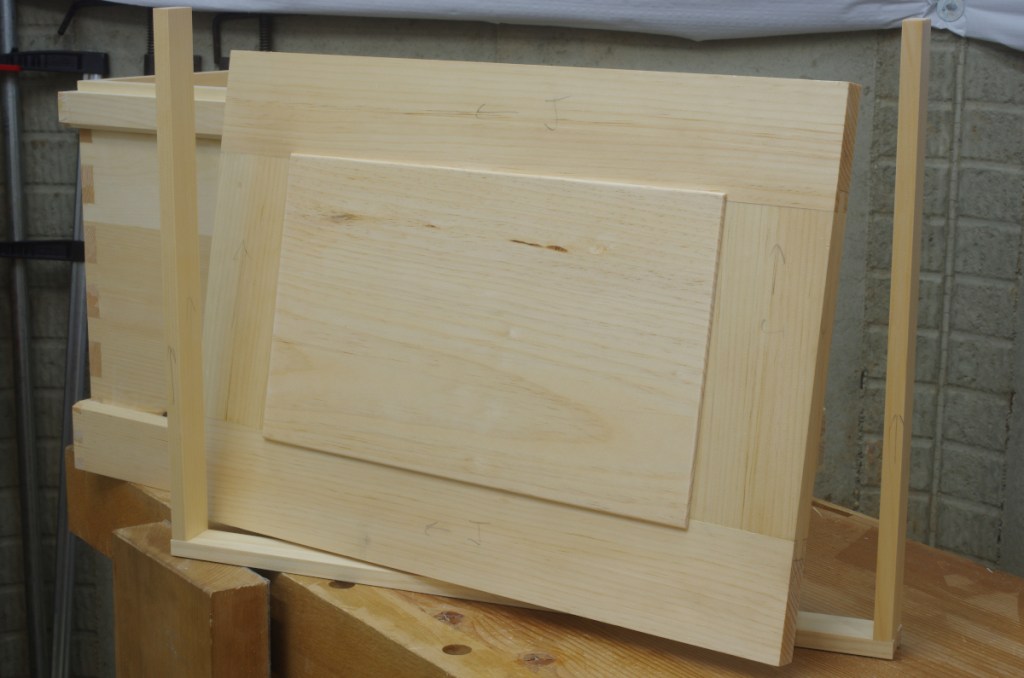
I’ve now figured out that I need to either practice more with milk paint, or just not use it at all and use alkyds or acrylics, which I know a lot better. I kept freaking out about all of the weird stuff that milk paint does, and tried to use water in the same way that you’d use a thinner for varnish and oil paint. I did manage to get the chest body done in the first shot, but I screwed up the lid so badly that I decided to sand down and start again. That didn’t work out as planned, because although I knew that milk paint was really tough, I didn’t quite understand how tough. Eventually, I got it smooth enough and fumbled my way through the lid again. (Detailed descriptions of my sulking sessions have been omitted.) Perhaps I would have liked the lid to come out perhaps a little bit better, but this thing will wear anyway.

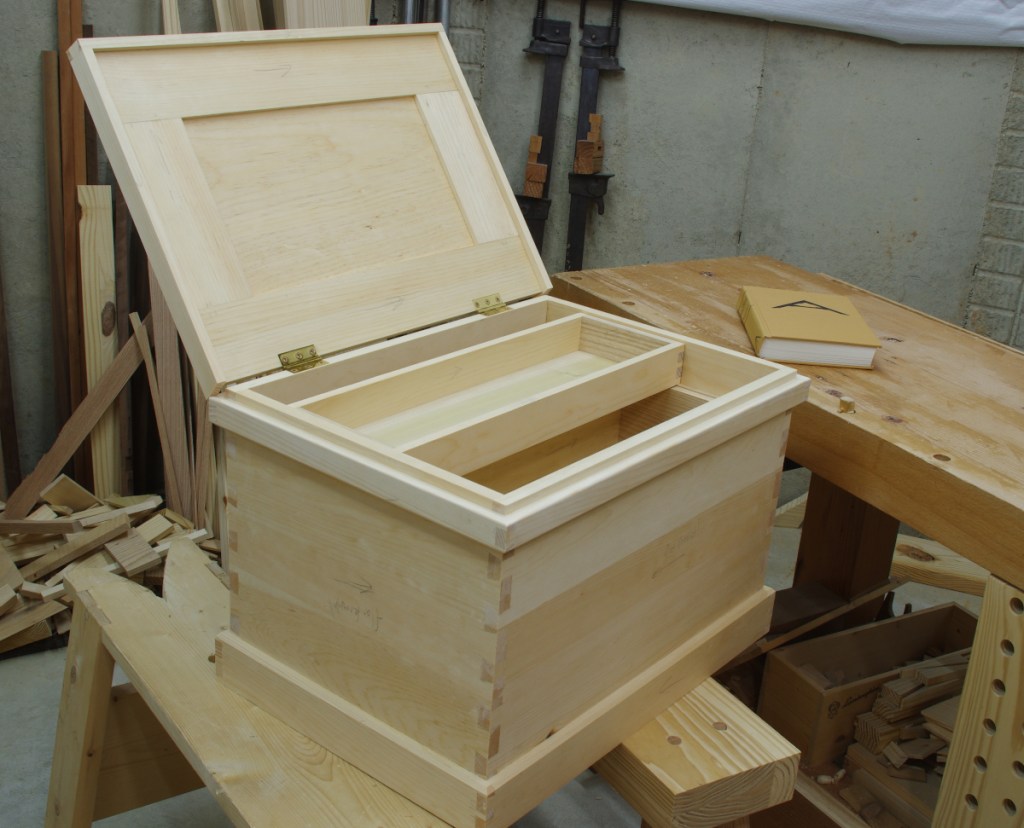
With that behind me, I attached the lid and loaded it up with my desk crap:

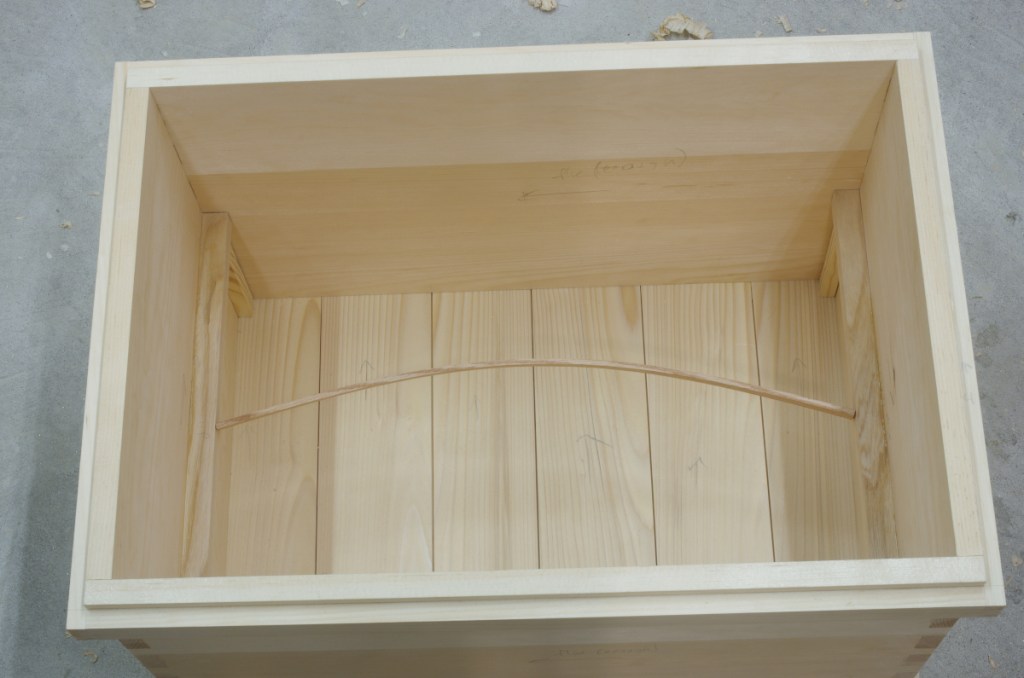
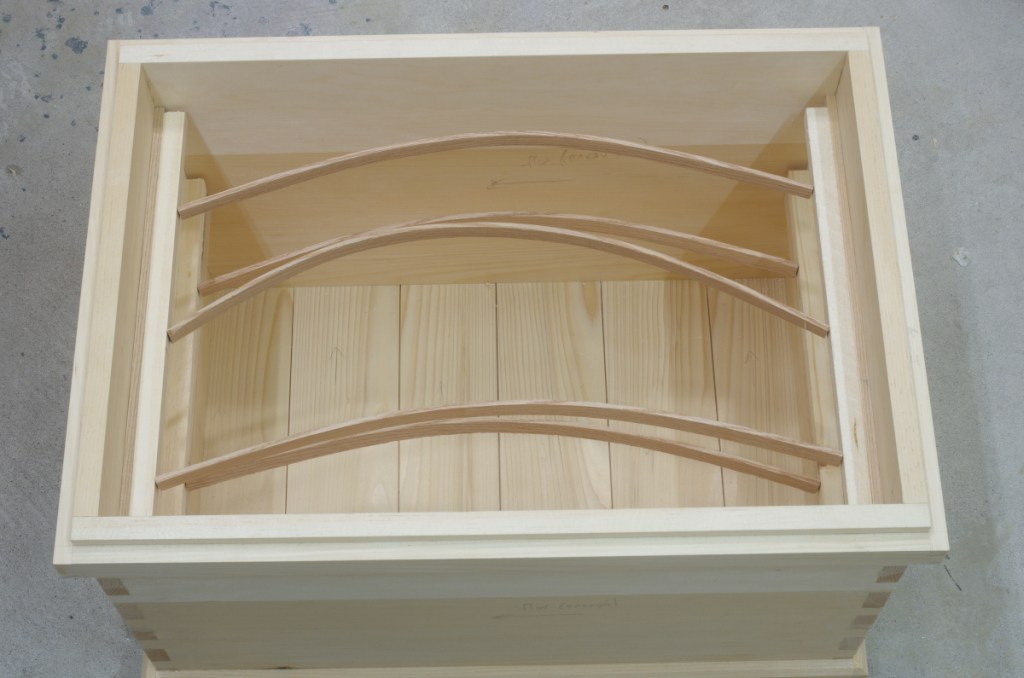
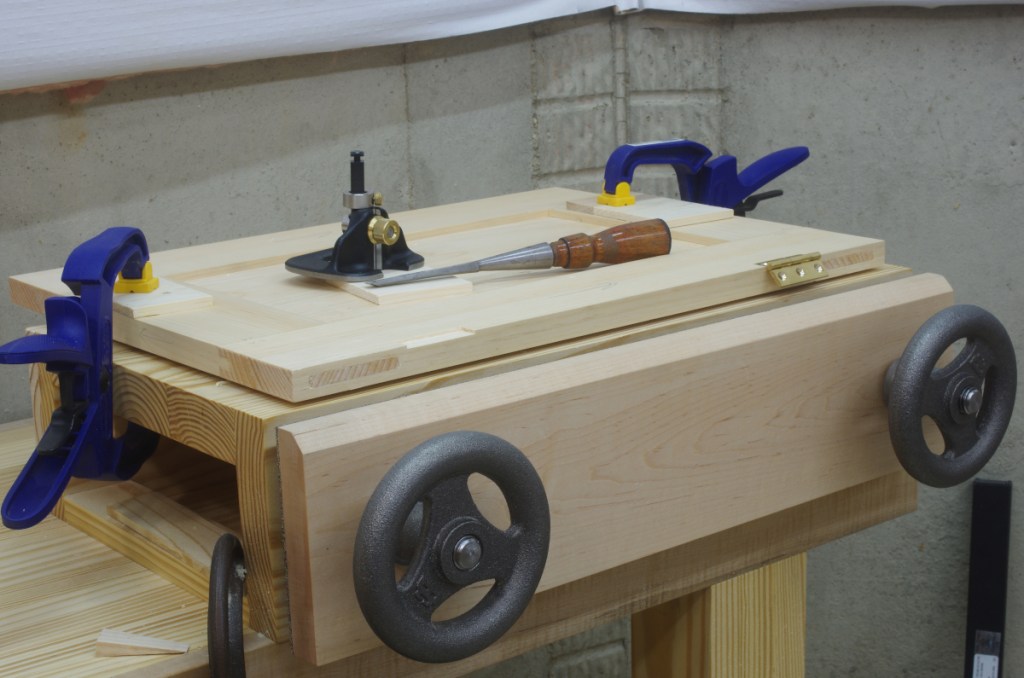
This includes rulers, shears, letter opener, a usb drive, and a screwdriver in the top till, most frequently-used camera stuff in the lower till, with chargers, cables, and who-knows-what-else in the bottom. In this respect, it is a success; this is exactly what this thing was supposed to hold, and my desk has a lot more space now.

I did not decorate the underside of the lid. I probably don’t care.

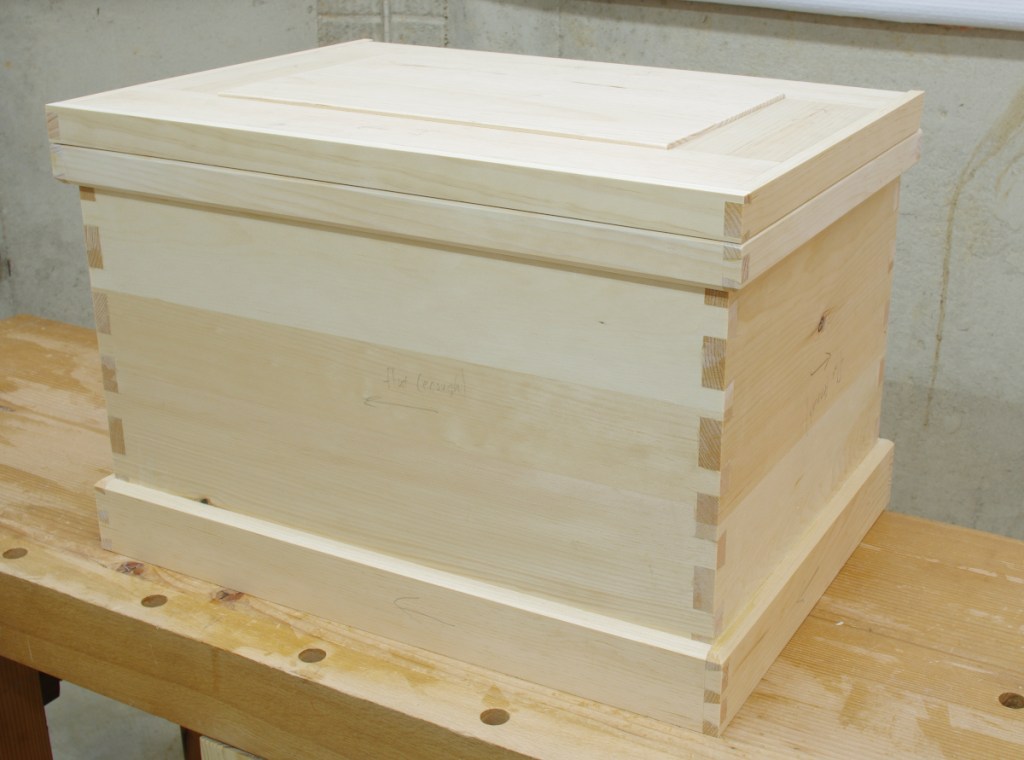
Closed, it looks fairly humdrum. Perhaps a lighter paint than “driftwood” would have made it pop out a little more (and made it easier to paint).

I haven’t bothered to put on any handles. This is small enough that you can grab it by the lower dust seals on either end without much difficulty. If this gets annoying, I’ll add handles. Also, no lock. I’m a little torn about this one. A lock would be traditional, but wouldn’t have much purpose, and I’d probably lose the key and have to watch a bunch of lockpicking videos to open it. A latch might be better.

It doesn’t have a stay chain or cord. However, keeping in mind that the built-in stops at the rear of the upper dust seal can get mangled with use (there’s a Fitzian blog post on Lost Art Press about that), I glued a cork/rubber pad to the impacted end:

This is just a leftover scrap of the “crubber” that came with my Benchcrafted Moxon Vise hardware. This might not actually work, but I figured that it wouldn’t hurt to try.

So that’s done and it’s doing what it’s supposed to do. Come to think of it, I recently finished my latest book and wrapped up a couple of other projects. But let’s not call it completion season just yet. I have at least three other active projects that are in the “overdue” category.

Small Chest: Construction Complete

With the shell pretty much done, the three main tasks I had to complete on the chest project were the till runners, the sliding tills, and minor lid tidbits (hinges and attaching the upper dust seal).

The till runners were easy enough to make, but when it came to attach them, this was one of those times when I really had no idea what I was going to do. ATC and other sources say to nail or screw, then glue them on, and I guess it makes sense to use nails or something to serve as clamps (it’s not like they’d be useful for mechanical strength). But in my case, I wasn’t sure which nails or screws would work.

And then I somehow remembered the idea of a “go-bar” that’s often used to hold surfaces in place when gluing. So I made some spacers to reference off the bottom, cut an oak scrap strip to appropriate length, and tried it out on the lower till, first as a dry run, then with glue:

This worked, so I did the same thing on the upper runners. This time, though, I needed to use more strips and some battens because there was a much larger surface to glue:

I should mention that the runners are made of ash, except for spacer sections of the upper runners in white pine. The only real reason I did this is that I didn’t have wide enough pieces of ash ready to go in order to make them entirely with ash, so I figured that I’d try gluing up what I had on hand to some white pine to see what happened.

There are only two sets of runners because the plan was for only two sliding tills on this chest (recall that it is not intended to hold tools; I have specific ideas for what should go in here). The larger lower till is around 5″ in height, and the upper is around 2.75″.

Tills are just dovetailed boxes, and dovetailed boxes are straightforward:

They have ends made of ash (for wear resistance), with the lengthwise sections in white pine. The bottoms are 1/4″ yellow-poplar. I disobeyed ATC and other sources, going with panel-in-groove bottoms. Nailing or screwing them would have probably been OK, but again, these are a little on the small side. However, I did use 1/8″ grooves and cut a rabbet on the bottom so that the bottoms would still sit flush and not waste any space:

I also didn’t care to close up the grooves on the ends of the tills. These are invisible when installed in the chest, so I care as much about that as I do the rears of drawers.

The final little bit of construction was to fit the hinges:

The bench-on-bench strikes again. It was really nice to be able to slide down the rear (the first time I’ve done that since I built it), put this thing flush on the top, and work at this height. This went fine, and just to annoy everyone who needs an annoyin’, I used Robertson-drive bronze wood screws. (I don’t think anyone will actually notice, though.) The only real complication with the hinges (the British-made ones from Lee Valley) were that for some reason, the countersinks were too small for the screws (despite being advertised to work), and I had to expand the countersinks. Glad I had a HSS countersink.

With the lid hinged on, I was finally able to attach the upper dust seal to the lid, round off the top of the mating lower part, and put everything together:

Yep, only two hinges. That’s fine for something this size.

Closed, it looks like this:

So now pretty much all that remains is to prep it (sand), paint it, and put some stuff in it. I suppose that I might also put some batten strips on the bottom. Stay chain? Eh. Huh, would nitrile-infused cork be a possibility on the rear of the stops?

Small Chest: Shell Mostly Complete

After doing that tongue-and-groove stuff, I nailed on the bottom of the chest:

I guess I sawed off the ends with a panel saw. I don’t remember. In any case, I’ve been looking through not just the “ATC,” but also “The Woodworker” articles on traditional chests, and noted that some of the articles in the latter had said to use screws on the bottom. I went with cut nails, especially encouraged by the fact that I actually have some cut nails on hand.

Then it was on to the plinth and lower dust seal. These are just dovetailed bits and pieces and are pretty much standard fare. Pictures of those are a little later down.

The lid frame and panel presented another typical situation: determining which boards to use for the frame and panel. You normally want frames to be rift- or quartersawn because they’re more stable, and of course, those cuts are difficult to find if you’re just looking superficially (which is close to what I was doing when I bought most of the white pine that I have on hand). Fortunately, I had this one:

At first glance, this looks like a board with a lot of knots and an obnoxious cup. But slice out the center part, make some cuts here and there, and you get this:

That kind of riftsawn cut is what I was looking for.

I made the frame using through mortises (something I rarely do), did the joinery for the upper dust seal, and am now close to finished with the outer shell:

In a case of not following directions, there’s a small knot on one side here. It doesn’t show much sign of wanting to fall out, but if it does, I could repair it, or something. Because this is not a tool chest, it may not be important.

A look at the lid:

The upper dust seal is not attached or trimmed to final dimensions. This is because to really finish off the lid, I need to install the hinges, which I do not have at the moment. These are allegedly in transit.

I’ve already selected the wood for the sliding till runners and the sides of the tills themselves. I haven’t decided if I want to make some kind of divider in the bottom yet. Again, this isn’t for tools, so I don’t know if that kind of compartmentalization is appropriate here.

But it looks like I’m getting somewhere. In theory, this project shouldn’t take much longer.

Tongue-and-Groove Without Match Planes

In my small chest build, I started working on the bottom. This is usually done with a series of tongue-and-groove or shiplap joints. I prefer tongue-and-groove, but although I do have a set of match planes (and a Stanley 45), they are for 1/4″ grooves, and I’m working with stock where 3/16″ would be more appropriate.

Match planes are great for pumping out a lot of tongue-and-groove joints. To do it at almost the same speed, I could spend $30 on the Veritas tongue-cutter for my plow plane in that size. But none of this is necessary, and I didn’t feel like waiting around for that cutter to arrive anyway. So I set out to do it with the plow plane. Doing so requires three cuts instead of the two that you’d need to do with match planes; the tongue is nothing other than two rabbets.

You start by plowing the groove side, which is the same no matter what:

It’s best to plow all of the grooves at the same time, so that you don’t have to constantly readjust your plane.

Then, with the groove side still up, adjust the fence so that the cutter sits right on top of the “outer” side of the groove (the side opposite the fence), with the sides of the blade and groove flush:

This is where I have to say that I really like the Veritas small plow. I could do this with my Stanley #45, but moving and locking down the fence on that thing is finicky and difficult to do with precision.

Now, flip to your tongue side of a board, and (here’s the important part) clamp a scrap to the side that you’re going to cut, flush to the top. Then cut this side of the tongue:

The reason for the scrap is so that your depth stop (which is usually on the side opposite the fence) has something to hit when the cut is complete. Yes, I made the mistake of forgetting to do this on my first attempt.

Again, it’s best to cut all of your boards at the same time. Then, put a board’s groove side up again, and set the fence so that the cutter rests on the “inner” side, like you did before:

This one is more difficult to see, so feel free to use any optical method of cheating that comes to mind.

Then flip back to the tongue side, and cut this second rabbet that makes the tongue:

You probably won’t need to include the scrap this time, because the depth stop should register against the tongue itself.

It’s possible that you might feel that the fit is too tight when you’re done. In that case, just adjust the “inner” side with a rabbet plane. I’m using my miniature shoulder plane because I recently said that I seldom use it, and I feel guilty for that. Or something.

If you’ve got a lot of these to make, one possible time-saver is to reset the fence to the trimmed side after you adjust the first tongue.

That’s more or less it. And I now have everything ready for the bottom of my small chest:

Small Chest: Starting

My next project is a scaled-down down version of the traditional English tool chest, for use in my office as a place to store the junk that always seems to pile up on my desk. Call it “The Conformist’s Doodad Chest” or whatever. Though it will resemble the original form, let me be clear: I don’t intend to use it for tools. It’s not big enough for that purpose, at least not for woodworking. It’s half the length of the ATC as originally published, but has only 1/6th the volume. The stock I’m using isn’t quite as thick; it’s not intended to be beat around a shop.

Coincidentally, Joe just finished a tool chest about the same size, of which he will be detailing the build process soon.

As I was preparing the stock for the shell, I realized that I probably ought to make a new shooting board because I was doing stupid improvised stuff like this:

I started on the shooting board, but it will be a topic for another day, maybe.

You have to make a lot of dovetails for these chests, and I used my new bench-on-bench to make them. So far, so good, and I soon had the sides of the chest made:

I glued them up yesterday, so now I have the shell with untrimmed dovetail ends:

That scribbling reads “flat (enough).”

Now, I suppose that since I have to make a bunch of skirts and tills and stuff, it’s time to stop kicking the shooting board can down the road.