
With the shell pretty much done, the three main tasks I had to complete on the chest project were the till runners, the sliding tills, and minor lid tidbits (hinges and attaching the upper dust seal).
The till runners were easy enough to make, but when it came to attach them, this was one of those times when I really had no idea what I was going to do. ATC and other sources say to nail or screw, then glue them on, and I guess it makes sense to use nails or something to serve as clamps (it’s not like they’d be useful for mechanical strength). But in my case, I wasn’t sure which nails or screws would work.
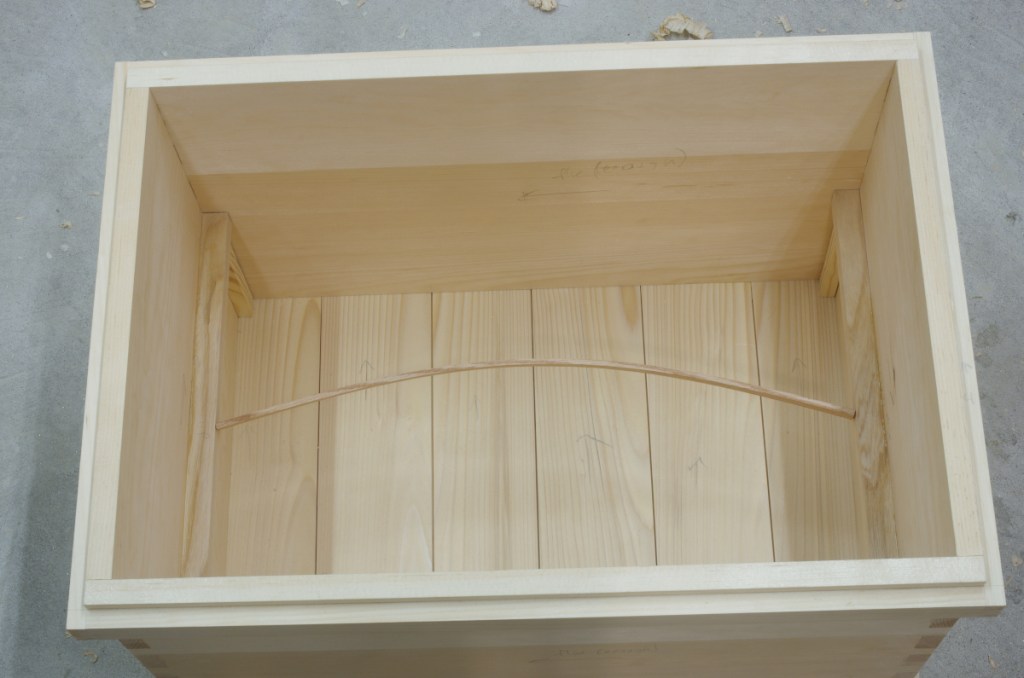
And then I somehow remembered the idea of a “go-bar” that’s often used to hold surfaces in place when gluing. So I made some spacers to reference off the bottom, cut an oak scrap strip to appropriate length, and tried it out on the lower till, first as a dry run, then with glue:
This worked, so I did the same thing on the upper runners. This time, though, I needed to use more strips and some battens because there was a much larger surface to glue:
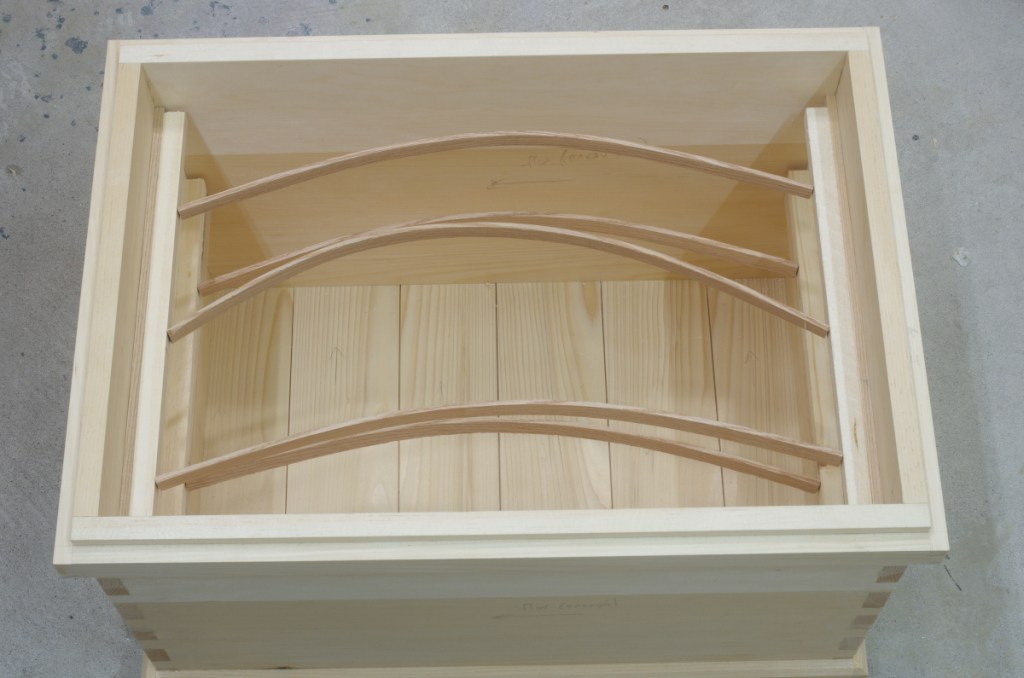
I should mention that the runners are made of ash, except for spacer sections of the upper runners in white pine. The only real reason I did this is that I didn’t have wide enough pieces of ash ready to go in order to make them entirely with ash, so I figured that I’d try gluing up what I had on hand to some white pine to see what happened.
There are only two sets of runners because the plan was for only two sliding tills on this chest (recall that it is not intended to hold tools; I have specific ideas for what should go in here). The larger lower till is around 5″ in height, and the upper is around 2.75″.
Tills are just dovetailed boxes, and dovetailed boxes are straightforward:
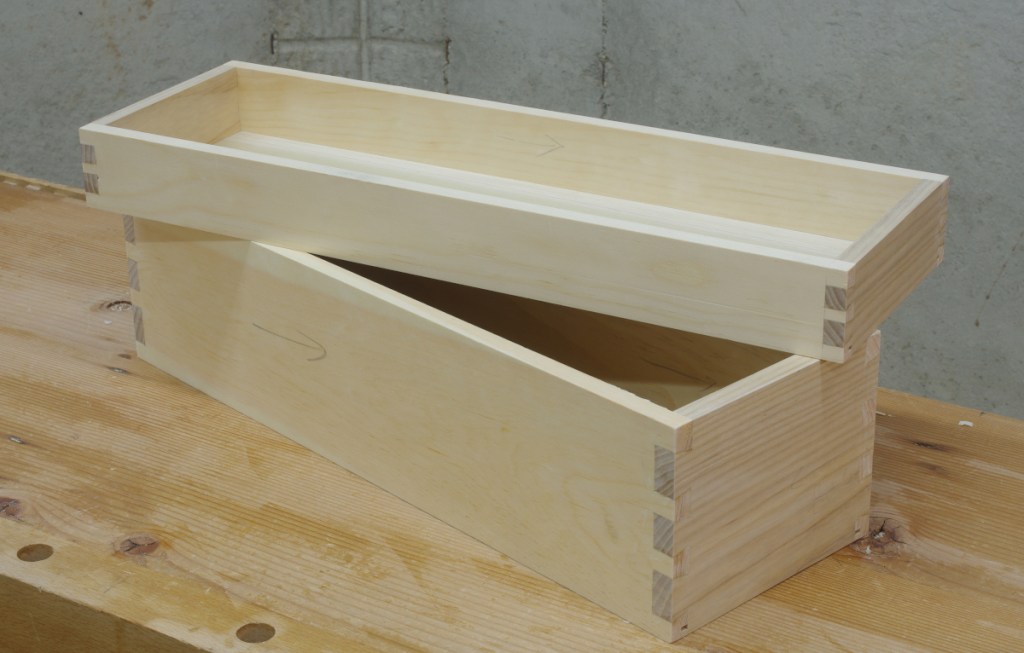
They have ends made of ash (for wear resistance), with the lengthwise sections in white pine. The bottoms are 1/4″ yellow-poplar. I disobeyed ATC and other sources, going with panel-in-groove bottoms. Nailing or screwing them would have probably been OK, but again, these are a little on the small side. However, I did use 1/8″ grooves and cut a rabbet on the bottom so that the bottoms would still sit flush and not waste any space:
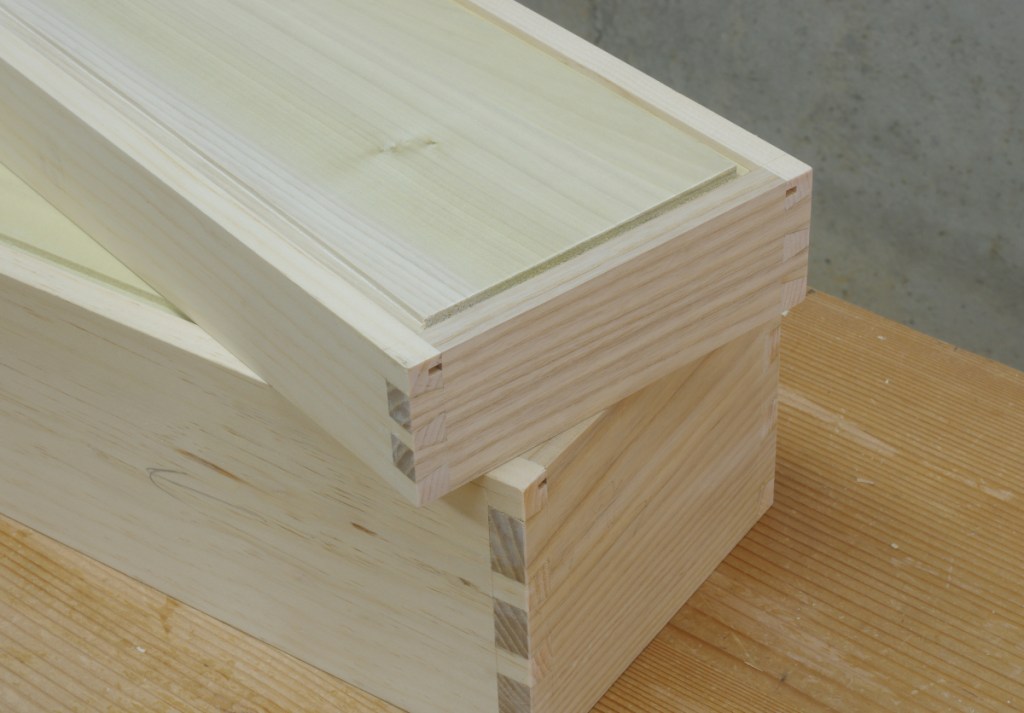
I also didn’t care to close up the grooves on the ends of the tills. These are invisible when installed in the chest, so I care as much about that as I do the rears of drawers.
The final little bit of construction was to fit the hinges:
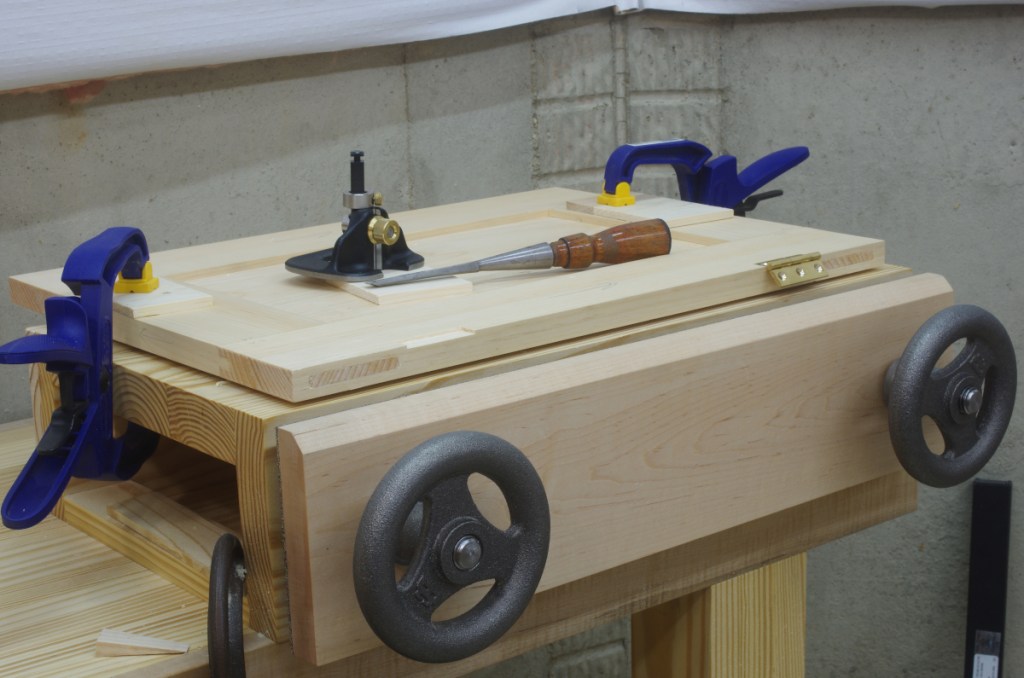
The bench-on-bench strikes again. It was really nice to be able to slide down the rear (the first time I’ve done that since I built it), put this thing flush on the top, and work at this height. This went fine, and just to annoy everyone who needs an annoyin’, I used Robertson-drive bronze wood screws. (I don’t think anyone will actually notice, though.) The only real complication with the hinges (the British-made ones from Lee Valley) were that for some reason, the countersinks were too small for the screws (despite being advertised to work), and I had to expand the countersinks. Glad I had a HSS countersink.
With the lid hinged on, I was finally able to attach the upper dust seal to the lid, round off the top of the mating lower part, and put everything together:
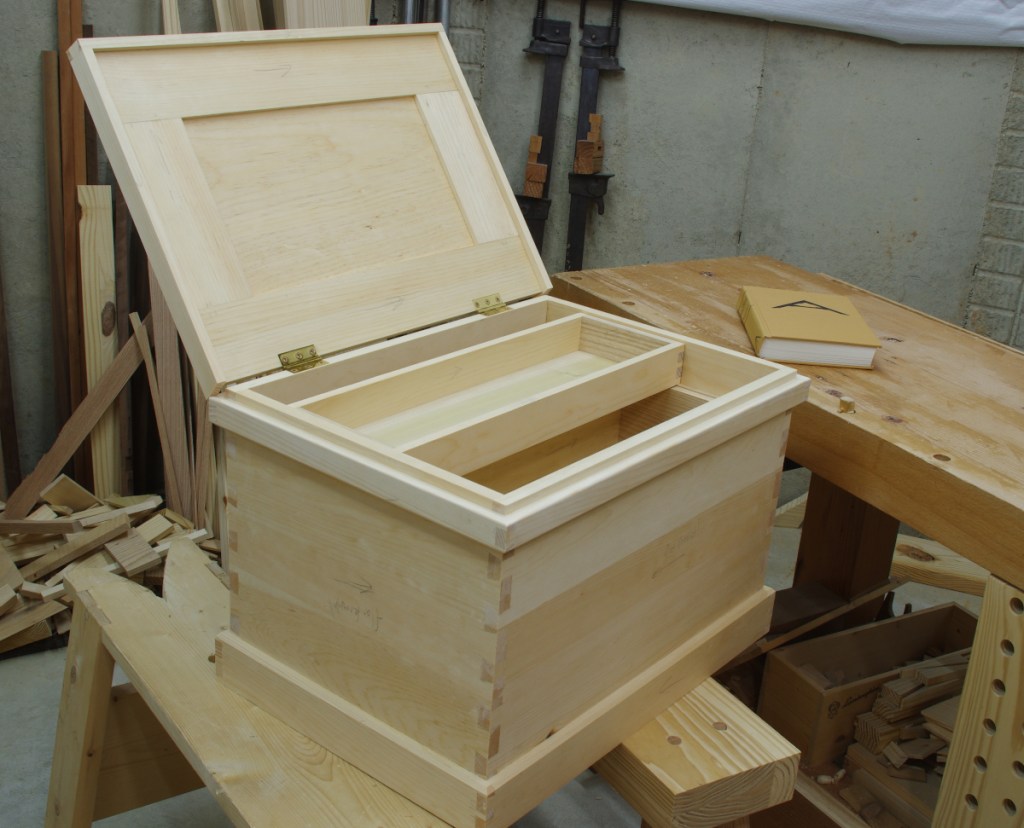
Yep, only two hinges. That’s fine for something this size.
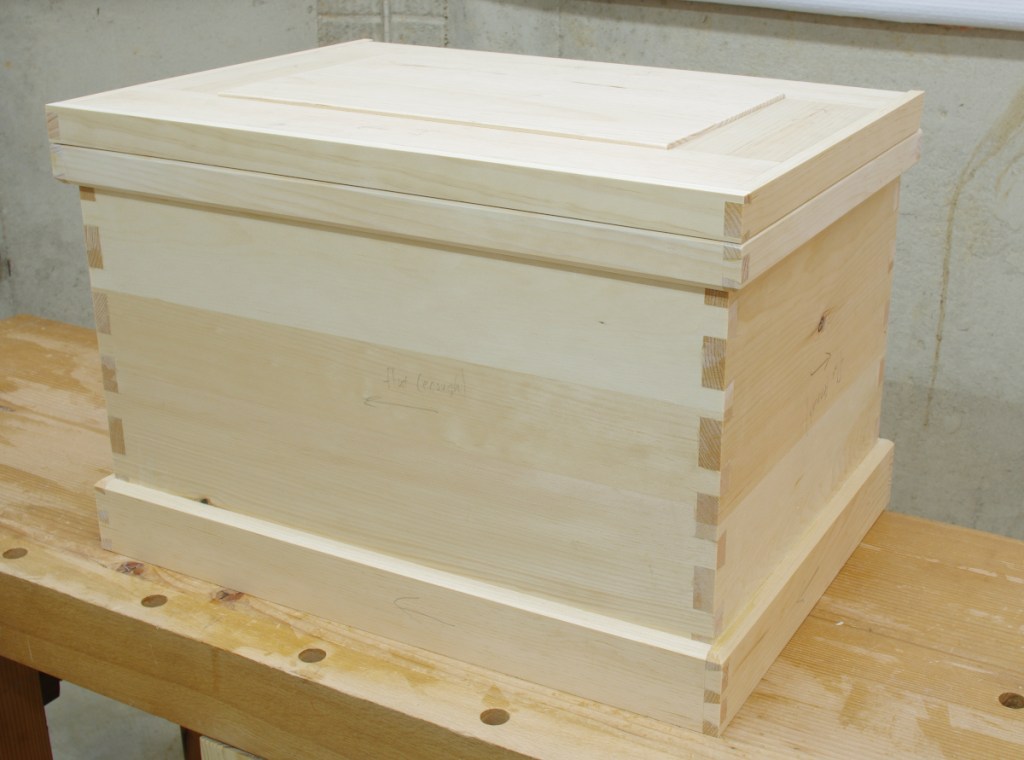
Closed, it looks like this:
So now pretty much all that remains is to prep it (sand), paint it, and put some stuff in it. I suppose that I might also put some batten strips on the bottom. Stay chain? Eh. Huh, would nitrile-infused cork be a possibility on the rear of the stops?
