Squaring up small workpieces has been a pain for me as long as I can remember. It’s not unique to me; several old publications also mention the problem as well as making a longer shooting board for just this thing.
So I made a prototype. It got the job done, but it wasn’t easy to set up, and I had trouble keeping the longer pieces held in place with one hand as I was planing with the other.
It seemed to me like there were things that they don’t tell you, and perhaps not coincidentally, there is an article in The Woodworker (C.H. Years) Volume II (pp. 497-498) titled “Things They Don’t Tell You: Shooting Board Technique.” Does it address the above question? Well, no, but that’s not to say that it’s useless; I’ll get back to that in bit.
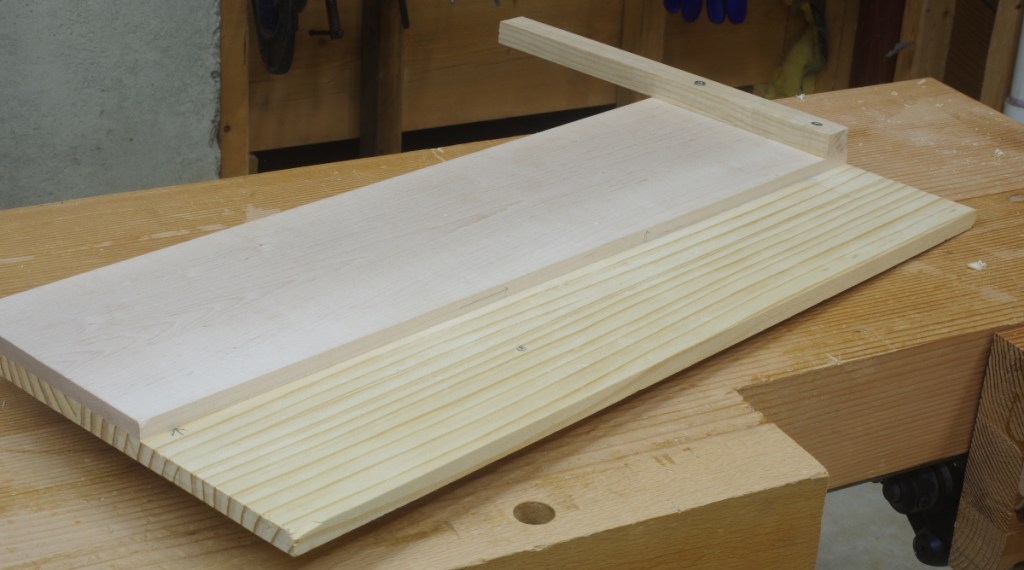
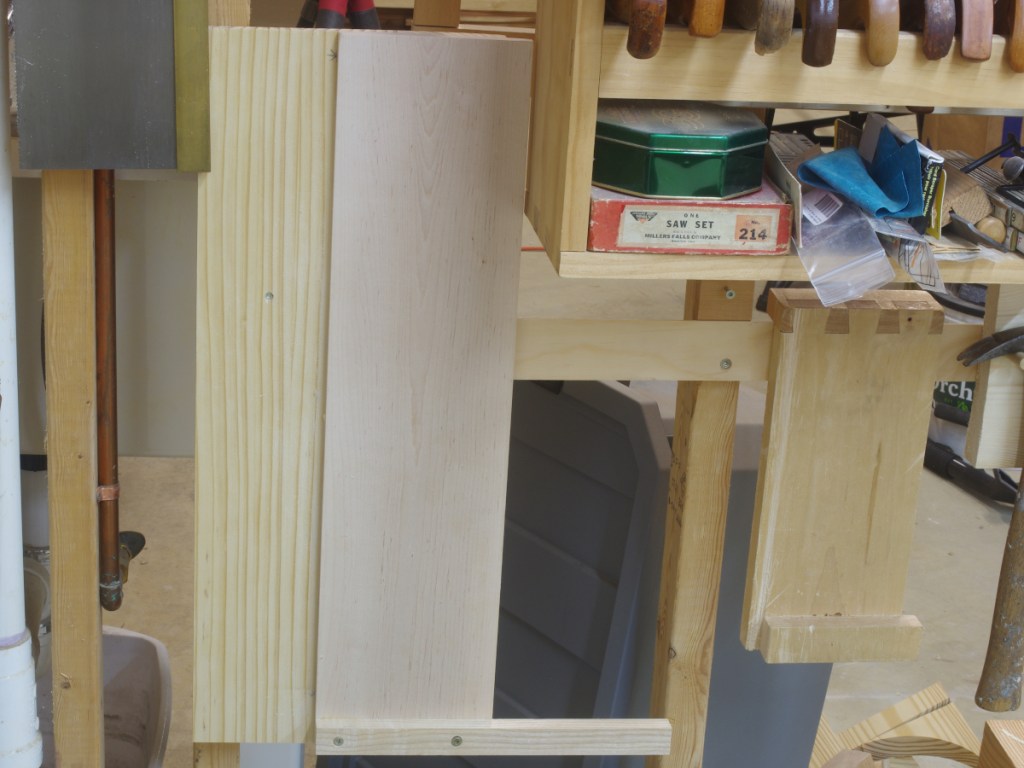
After several months of consideration, I made a new long shooting board that is a bit less traditional than my usual fare:
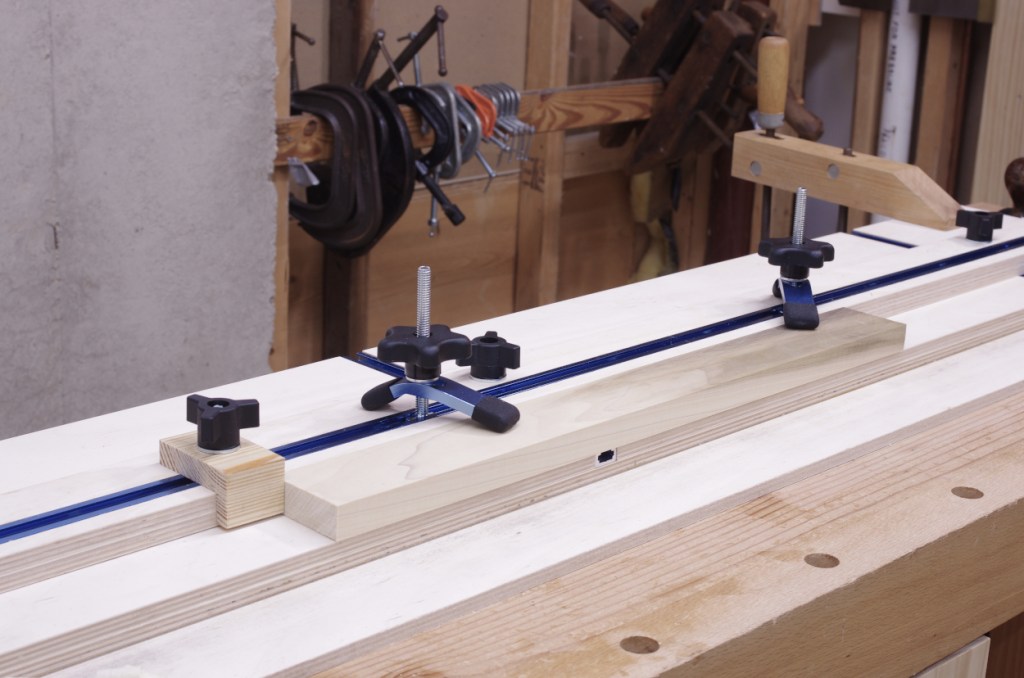
That’s right: Plywood, T-tracks, jig hardware. Knobs and screws and stuff. You know, standard fare in the realm of power-tool fanatics. But other than my bandsaw and drill press for a few odd jobs, I used hand tools to make it.
I made a video as I was building, also explaining where I got some of the ideas, and how it works in practice, so if that sounds like something you want to know, here you go:
Essentially, I got the idea of a modified tapering jig in my head, and it wasn’t going to leave until I built something.
There are a couple of tidbits that I didn’t put into the video because they were not terribly captivating (or, at least, I am not yet talented enough to make them appear so), but if you’re interested and literate, here we go:
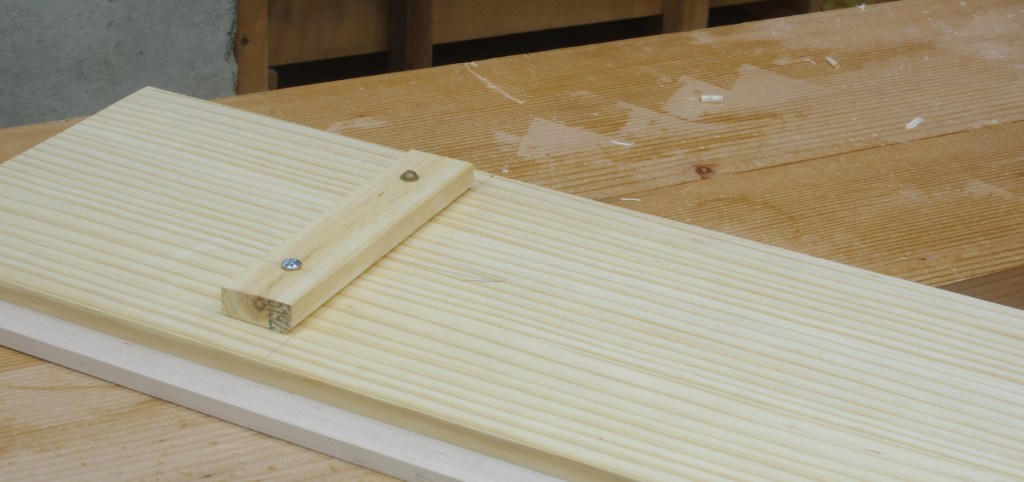
The Fence Angle
I gave the fence a very slight overhang. When I say “very slight,” I mean it:
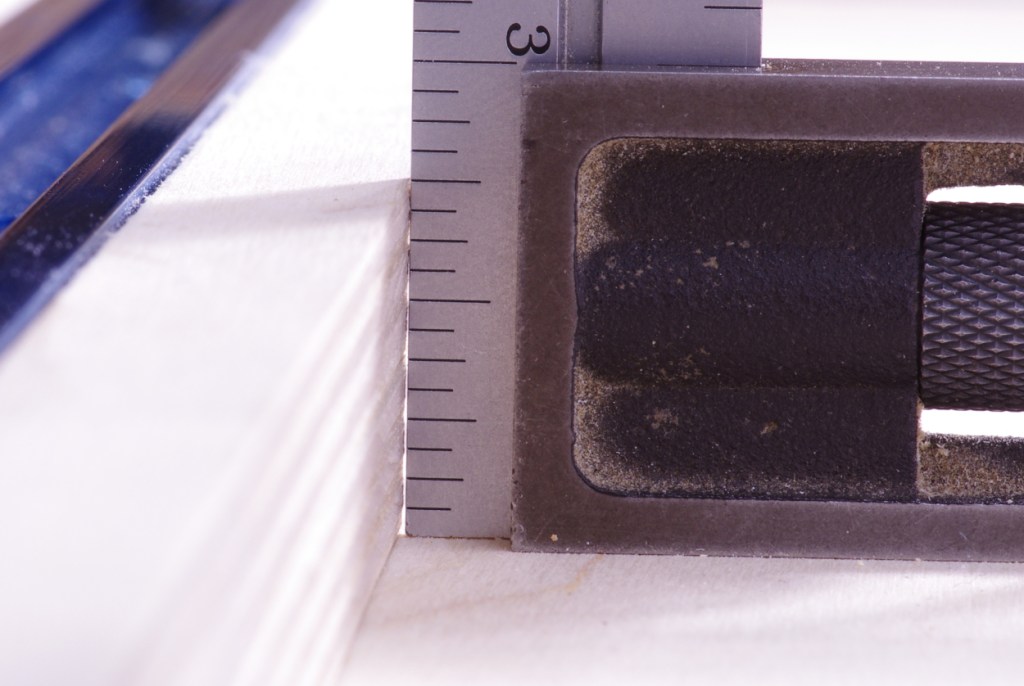
This is to discourage stuff from slipping and riding up the fence. There isn’t anything special about the angle, I just didn’t want it to be tilted in the other direction. There are probably other options, such as lining that edge with sandpaper.
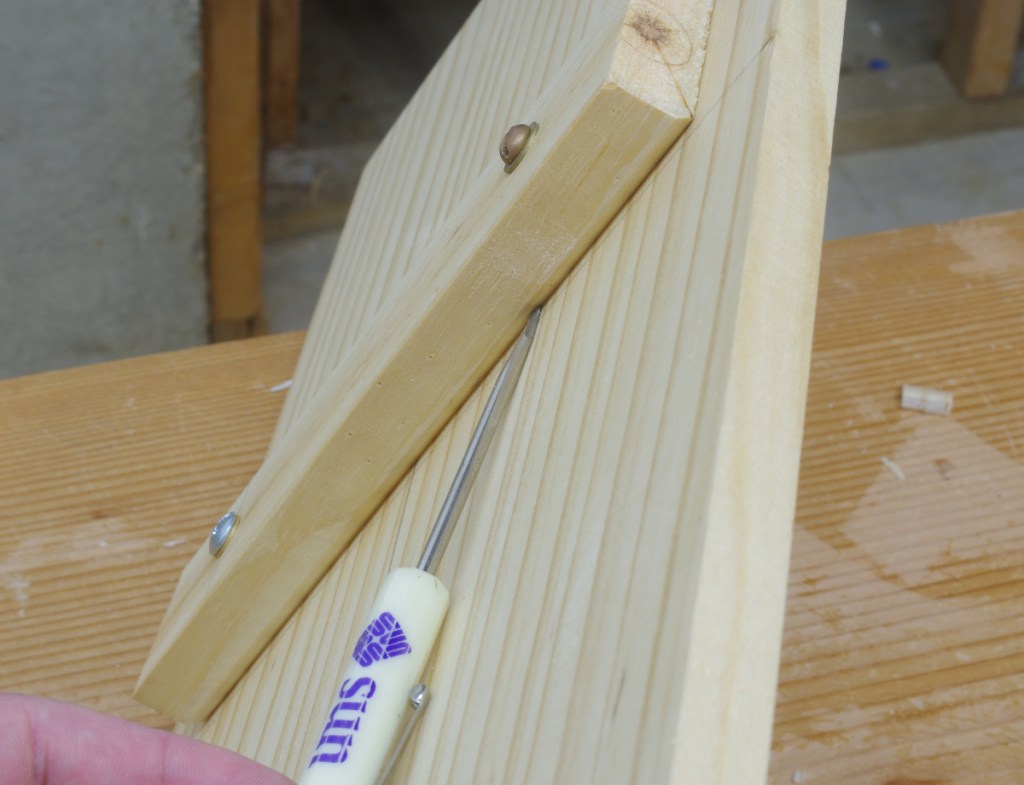
You might be wondering why the fence edge seems to undulate a little. This is because the glue in plywood can be murder on edge tools:
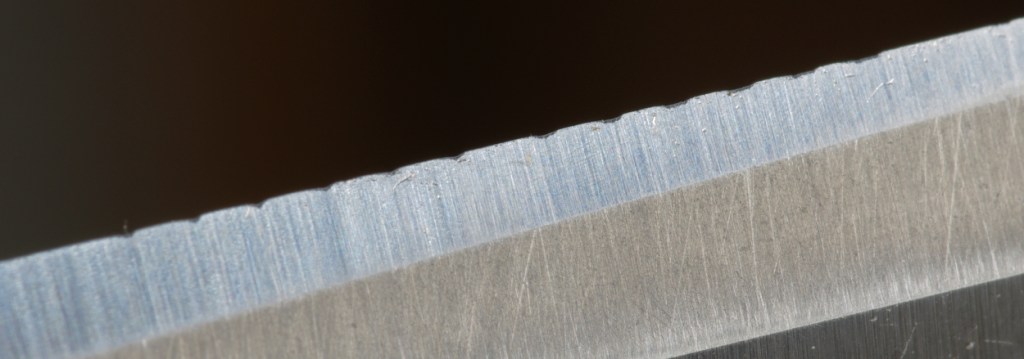
I mention this in the video; obviously, you don’t want to make a regular habit of subjecting your blades to this kind of abuse. Really, if you have to use plywood all the time, just get a track saw or something. But for a one-off like this, you can just go back to your coarse stone, raise your burr, hone, and get on with your life (possibly with a little bit of cringing in the interim).
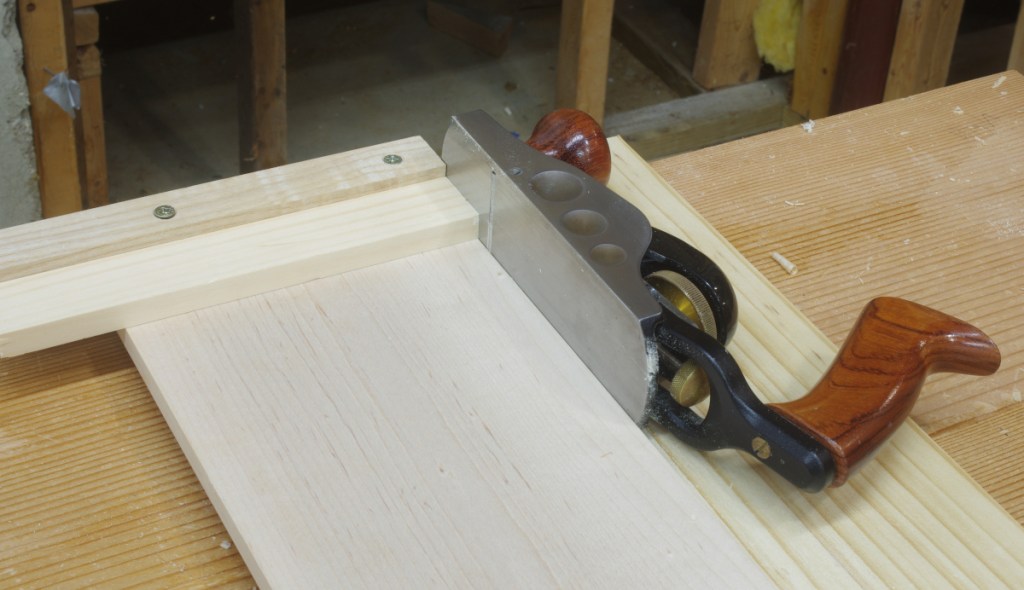
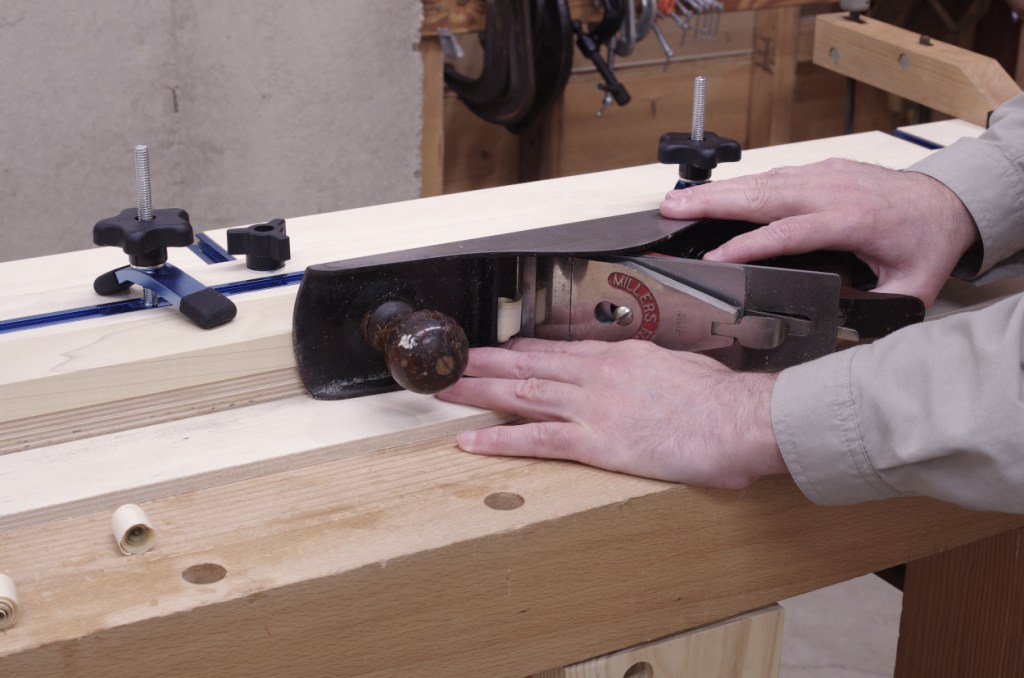
The Plane
I’m using a Millers Falls No. 18, a Stanley #6-equivalent that I wrote about a while back. Another possibility would have been a #5-size jack plane.
However, this brings us back to the Things They Don’t Tell You article (let’s call this TTDTY:SBT). It states that plane soles are usually not square to their sides. This would have applied to almost any kind of Bailey-style plane of times past, and mine is no exception. So you can’t just set the plane for an even cut and expect it to cut square in a shooting board. The article doesn’t give any rectifying advice than the usual blurb of “oh, if you’re edge-jointing, just flip the other board for the supplementary angle effect” (and hope the grain runs in the correct direction, which is a TTDTY).
There’s a simple solution for most metal planes: The lateral adjust lever. Put the plane on its side, put a square next to it, and adjust until square.
But what if I were really obsessed about the square sides thing?
Other Planes
So let’s say that I had all of the money in the world and could get another plane for this shooting board. What would I get?
You might think that I’d go for one of the contemporary versions of the Stanley #51, like the Lie-Nielsen No. 51 or the Veritas Shooting Plane. But I’m not so sure. For one, they are made in left-and right-handed versions. You need the left-handed version to go from right to left, which is what I found felt the most natural with the long board (as a right-hander). A normal bench plane like mine can just be flipped on either side to go in either direction.
The other thing about those planes is that they are really meant for shooting end grain; their blades have very low angles achieved by skewing the blade. If you happen to hit an unlucky grain direction, crazy stuff could happen.
Incidentally, TTDTY:SBT says that a low-angle block plane works well for end grain, with photos illustrating bench planes for edges.
I think that just the usual #5 or #6 bench planes from Lie-Nielsen or Veritas would be just fine for an extravagance. Perhaps the best plane would be some sort of crazy 16″ mitre plane, which doesn’t really exist.
Another idea is that if a normal bench plane could be conveniently attached to a wooden base with a couple of nice ergonomic handles, it would slide really nicely and feel a little less weird. But this is not enough of a problem for me to matter.
Straight, Flat Cuts
TTDTY:SBT describes differences between shooting an edge with the grain versus endgrain. It asserts that when shooting with the grain, you want the workpiece to overhang a bit, and let the plane’s sole do the work of getting the edge straight. You are not expected to run the cut until the plane stops (presumably because the guiding edge of the shooting board is not expected to be straight).
However, with the plywood, I was able to get the guiding edge reasonably straight, and I demonstrate that in the video. As long as it stays that way, I don’t see any reason why I can’t use that for most purposes.
But for edge jointing, I likely will not do it this way. In the video, I also go through the process of planing down to a line. For edge joints, I’ll want something more along the lines of so-called sprung joints, and that’s easy enough on the shooting board.
Other Fence Ideas
I had originally played with the idea of trying to lock down a thin, wide panel by putting it on top of the fence. That didn’t work; the plywood fence was too flexible.
But I don’t want to give up on this idea. I think that perhaps I can just make a simple half-length fence out of a piece of bowed solid wood, and it might be able to lock down a panel (or a piece of veneer, or whatever) with relative ease. Maybe I could put a piece of sandpaper on the underside, too.
Plywood.
Having used plywood to make a few shop appliances in the past year, you might wonder if I’ve gone plywood-gaga. I hope not. I was even thinking about making this out of quartersawn southern yellow pine, but I didn’t have enough of that on hand. Eventually, practicality won out: I made the shooting board (plus a tapering jig and a drill press table) out of a single 5×5′ piece of 3/8″ baltic birch plywood.
With this project, I think I’m done with plywood for a while.