
After I made my panel clamps, I’ve now used them several times and have been able to work around some of the issues that came up. Here’s a partial shot of the latest project getting its final glue-up (this is big–roughly 7×2 feet (2130x610mm) in area:
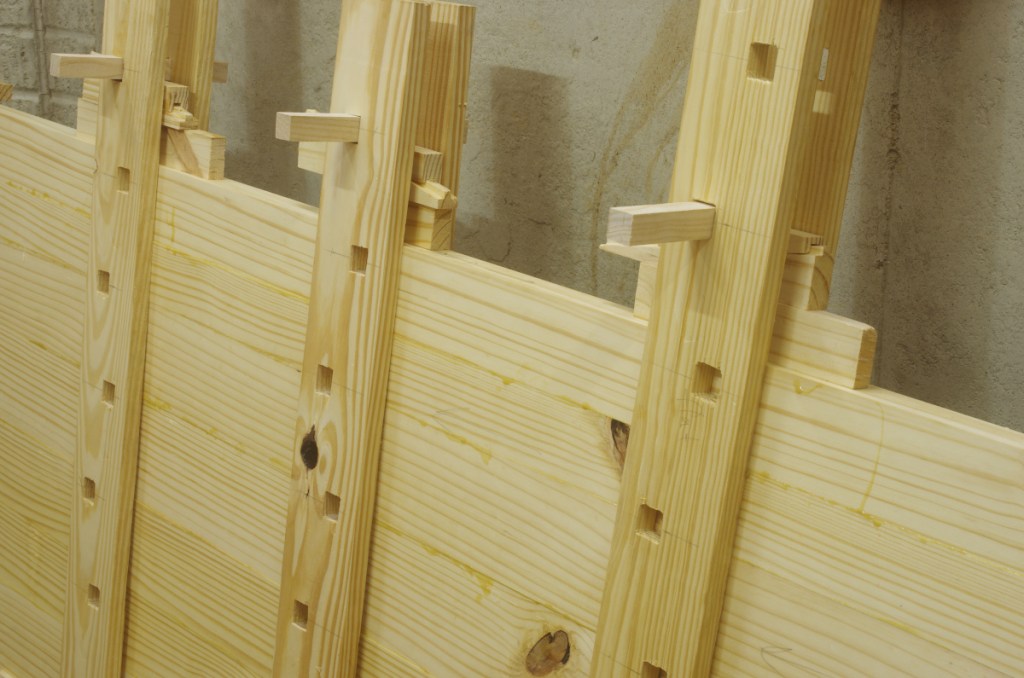
I have four clamps–three long ones and a shorter one that I made earlier as sort of a prototype. I used all of them on this project.
Let’s address the the two comments that on speculation of “stuff that might go wrong” that I got last time.
First, Lionel asked if glue squeeze-out is a problem; can you glue the work to the clamps? The answer is yes. I said that if this were a problem, I’d just wax the insides, and that’s exactly what I did. The wax eliminated the problem.
Then, Matt asked if I used a single wedge, would it tend to wear/dent stuff into the pegs? I tried it, and it does indeed mush into the pegs (especially when they are southern yellow pine).
On that note, I wasn’t terribly happy with the way that the single or double wedges were working. In particular, all sorts of things can happen when you try drive them in:
- The force of the mallet blow can shift and tilt the entire clamp over just a bit.
- On double wedges, it can be tricky to hit one wedge without loosening and dislodging the other wedge.
- On double wedges, it’s pretty easy to hit them so that they go askew of each other, and then they can slip out.
- If the clamps are too close together, it can be difficult to find enough room to get your mallet strike started.
- Fussing around with the wedges during glue-up (especially when you don’t have anyone to help you) takes precious time. The liquid hide glue that I use gives me a little more time, but still.
One of the speculative ideas that I had last time was I could add a hook to the upper wedge, so that I’d only need to hit one end of it. I did this, with one other change:
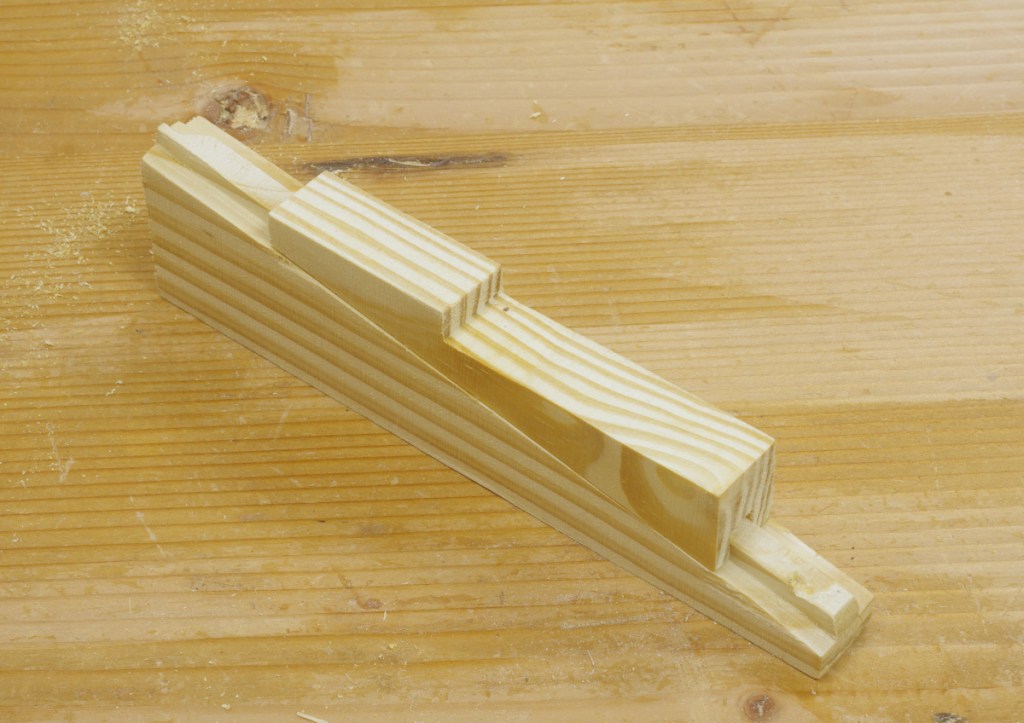
I planed a groove into the top and a matching tongue into the bottom with some old wooden match planes I picked up in Alameda many years ago. (Note to self: regrind those plane blades, they’re in awful shape.) This eliminates the slipping askew and generally makes it much easier to get the wedges set up.
With that in place, it was much easier, but I still had some difficulty finding the room to set the wedges at times, and didn’t really have a feel for how much I was tightening the joints. So I came up with this dumb hack to do the final tightening:
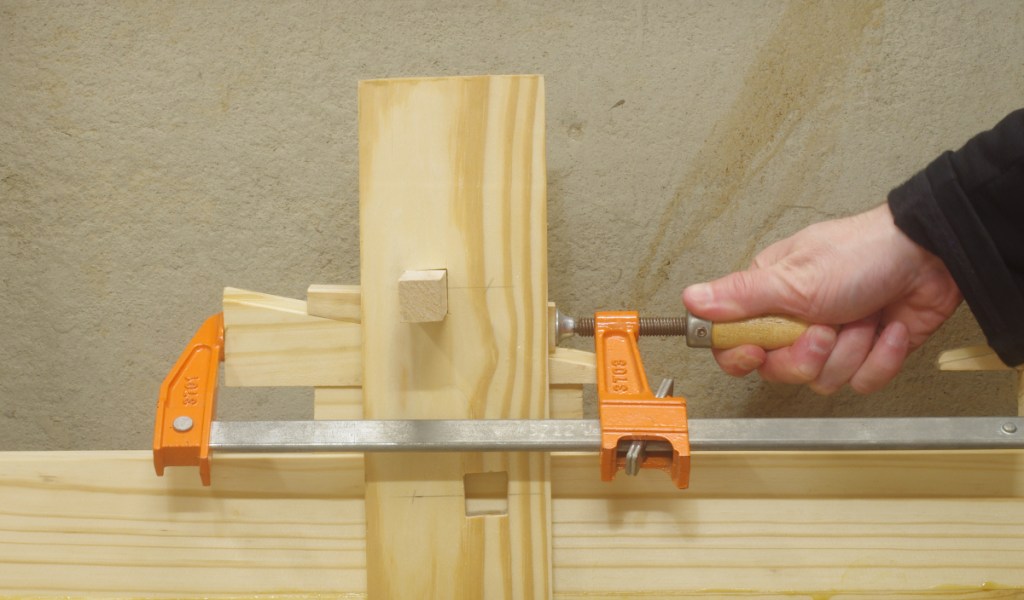
Even though using a little F-clamp like this might look like it could back the hook off of the peg, it hasn’t happened to me in practice; it just shoves the lower one into place. In any case, this made the job a lot easier.
In addition, I made new pegs out of ash to discourage dents from forming in them. I suppose that I could do that with the upper wedges as well, but that hasn’t caused any problems (after all, the upper wedges aren’t supposed to slide).
So now what do I think of using them?
Overall, I’m pretty happy. One of the things that I like the most is that you perform glue-up against a wall with the work sitting on its side. This makes it a lot easier to get things in place, and it’s also relatively easy to do a dry run of the glue-up and clamping, or at least get a good idea of what’s going to happen. Once you have everything in place, you can easily check both sides by just tilting it one way or the other. And because it’s already against a wall and not on a bench or anything, you don’t have to move it afterward to reclaim your space.


