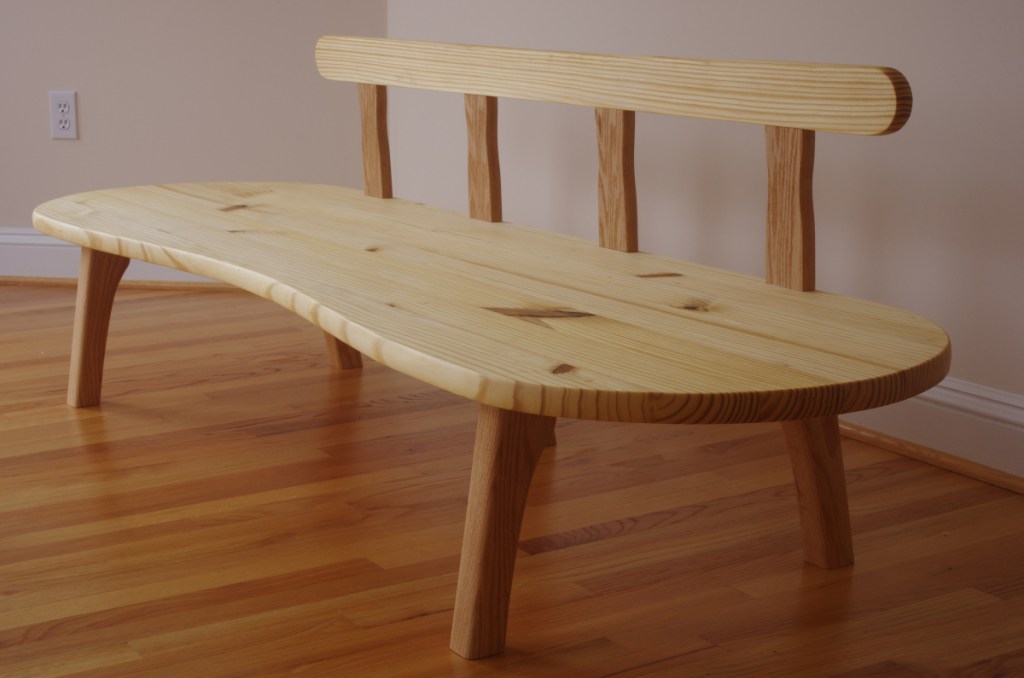
The only remaining task after gluing in the daybed legs was to glue in the railing, which brought us to this point:
It’s hard to notice, but the rail has a slight concavity on top, to echo off the front of the platform.
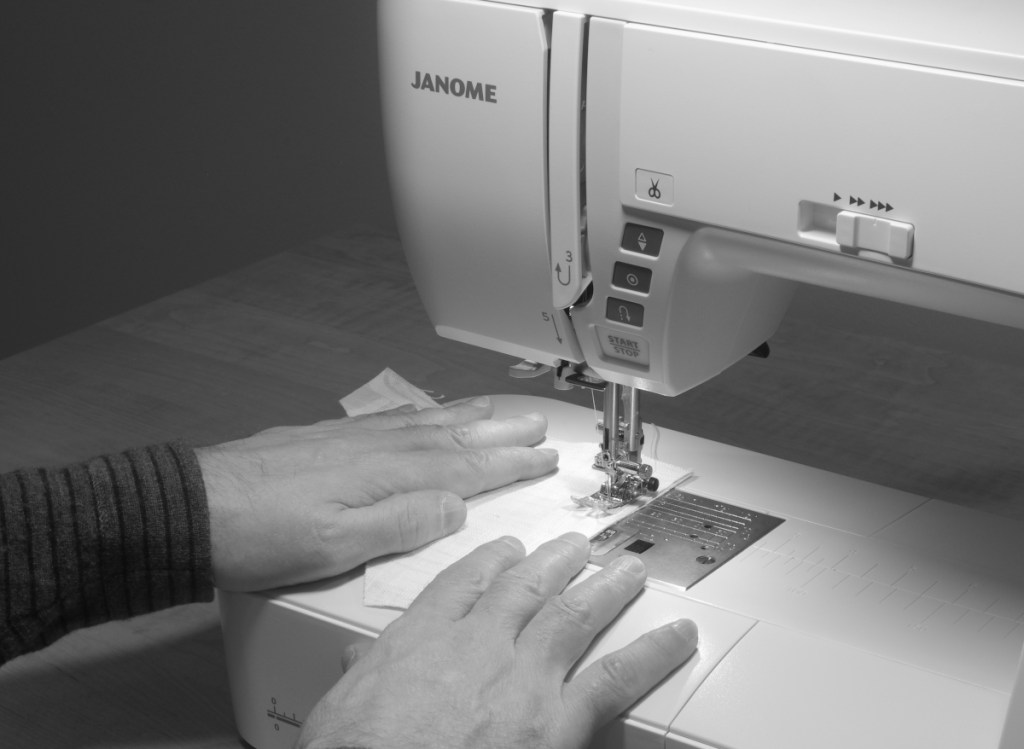
Well, that’s all fine and good, but almost no one wants to lounge around on a slab of wood, right? I haven’t really mentioned anything about the cushions, except that I’d finished them. I don’t have any photos of that process. It’s not exactly woodworking, and I don’t approach sewing projects in the same way that I do woodworking. So you’ll just have to settle for me sewing together two scraps of the cushion fabric:
Grayscale to make it look more “old-timey-looking,” when in reality, I was just too lazy to deal with the white balance down there.
Levity aside, I’d like to thank The Funky Little Chair for making a great video showing how to make cushions. I’ve never done anything like that before.
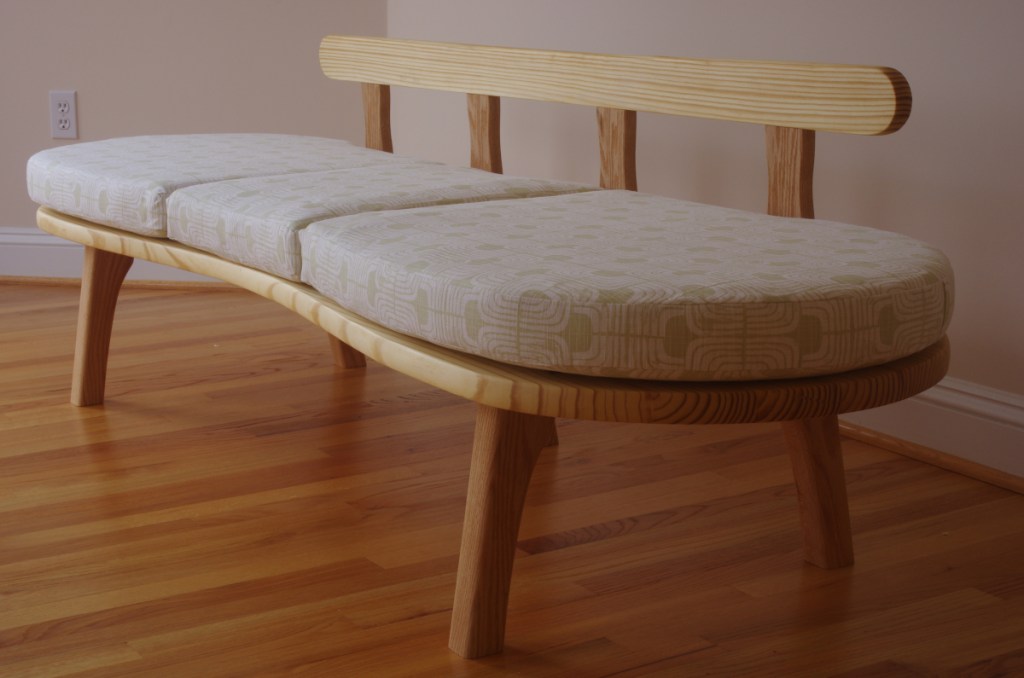
I could have made my life easier if I’d done square cushions first instead of a curved thing with weird little cutouts in the back. But I managed, so here’s the final piece:
Strangely, even though I’d only made a very rough drawing of this before starting, it came out almost exactly as I envisioned it. That doesn’t seem like it should happen very often.
To recap, this is southern yellow pine with red oak legs and railing supports. The raw material cost wasn’t terribly high; I think the foam might have been the biggest single-ticket item. The main problem with materials is finding what you want. The wood is one thing, but if you’ve never shopped for fabric before (while trying to get your spouse to agree on a selection), there’s a whole new world of fun waiting.
I’d originally intended the daybed project to have tapered-tenon legs and railings, but after I thought about the design a bit and what I wanted to accomplish (and with the help of a spectacular failure with the tapered reamer), I decided to use normal mortise-and-tenon joints. Well, sort of normal–I decided to use angled twin tenons.
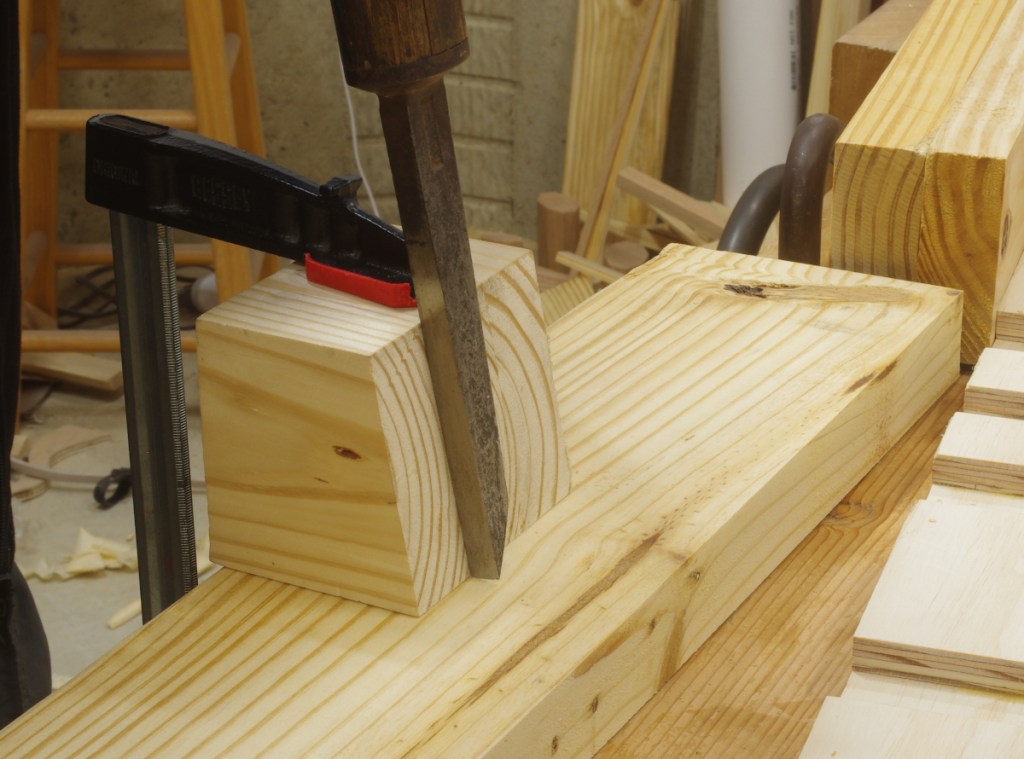
I don’t have many photos of the process of making these, but the biggest difference is that, because the mortises are the weirdest part of this, I cut the tenons first. I marked the tenon thicknesses using the width of my mortise chisel–something that I almost never do. Then I marked one side of the “outer” mortise” and use a block cut at an angle (10 degrees) to guide the chisel. Here is a simulation of how that worked:
With the first mortise made, I then inserted the tip of one of the “outer” twin tenon into the mortise, and gave the end of a leg a good whack. This put an indentation of the other tenon into the platform, and then I knew where to line up the block to chop the second mortise. Surprisingly, this worked; I was not terribly optimistic about it.
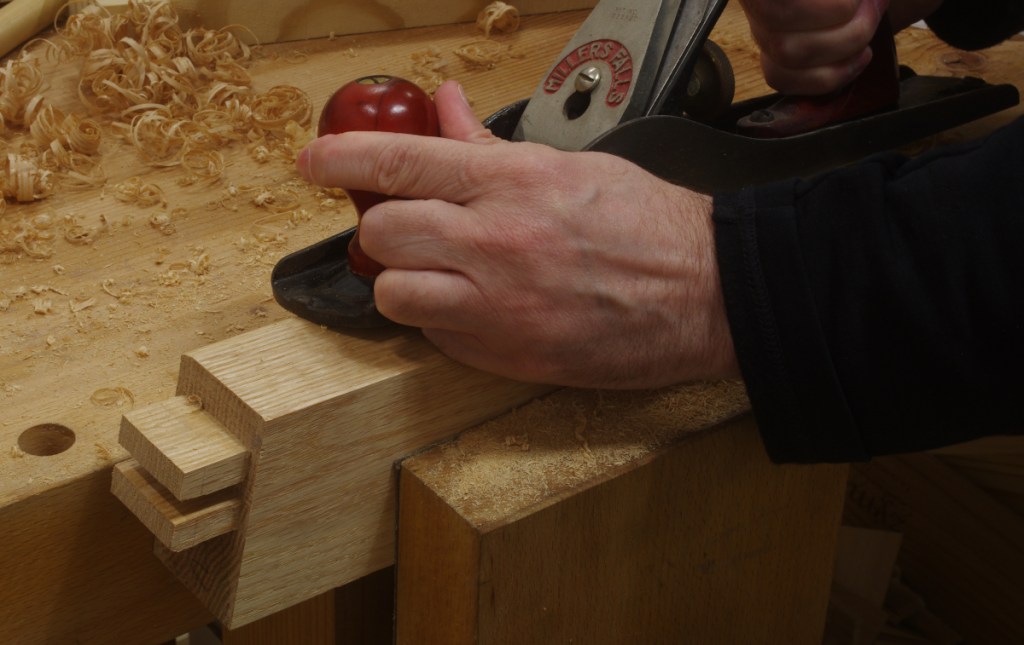
In any case, with the legs made, it was time to shape them. I cut out the rough shape on my bandsaw because when you have one, that’s what you do. Then it was time to do the medium-grade shaping. Doing the “front sides” was easy because those are straight; I just used a jack plane like this:
I followed that up with a smoothing plane. Hmm, look at that, you can actually see the twin tenons in this photo.
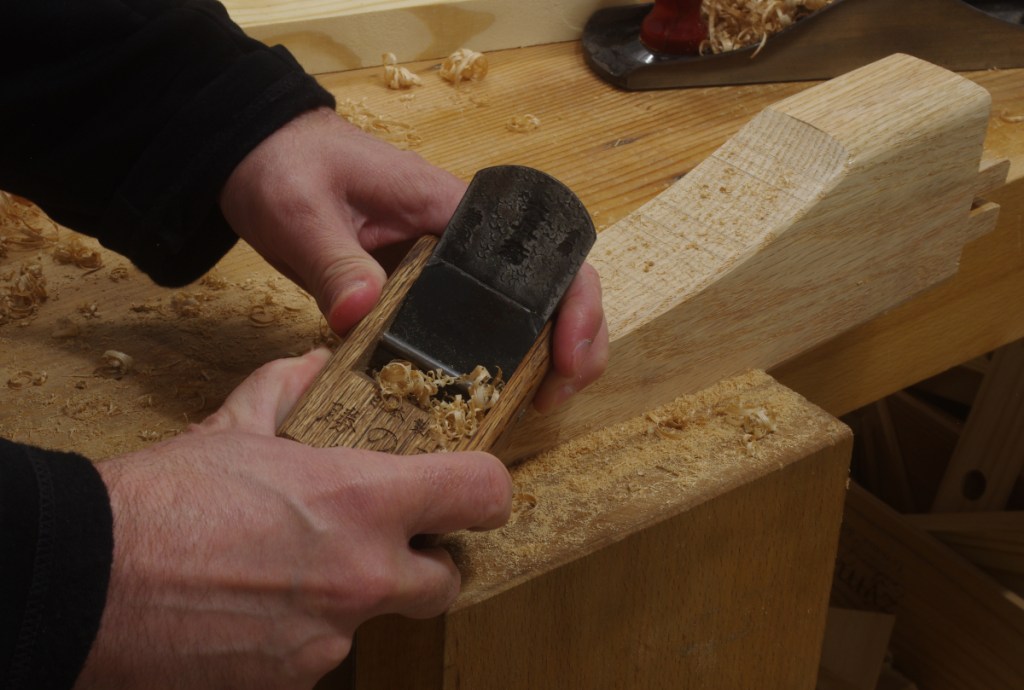
In any case, the rear sides of the legs were to have concave curves, which excluded the jack plane. However, I did have a small compass plane that I got in Taiwan several years ago (Japanese blade, Taiwanese body), and was able to use that for much of the work:
But once that reached its limit, it was rasp time. The shaped legs looked like this:
The next steps were to sand the legs smooth and finish them. I don’t have any photos of that. I used a tung oil/varnish blend.
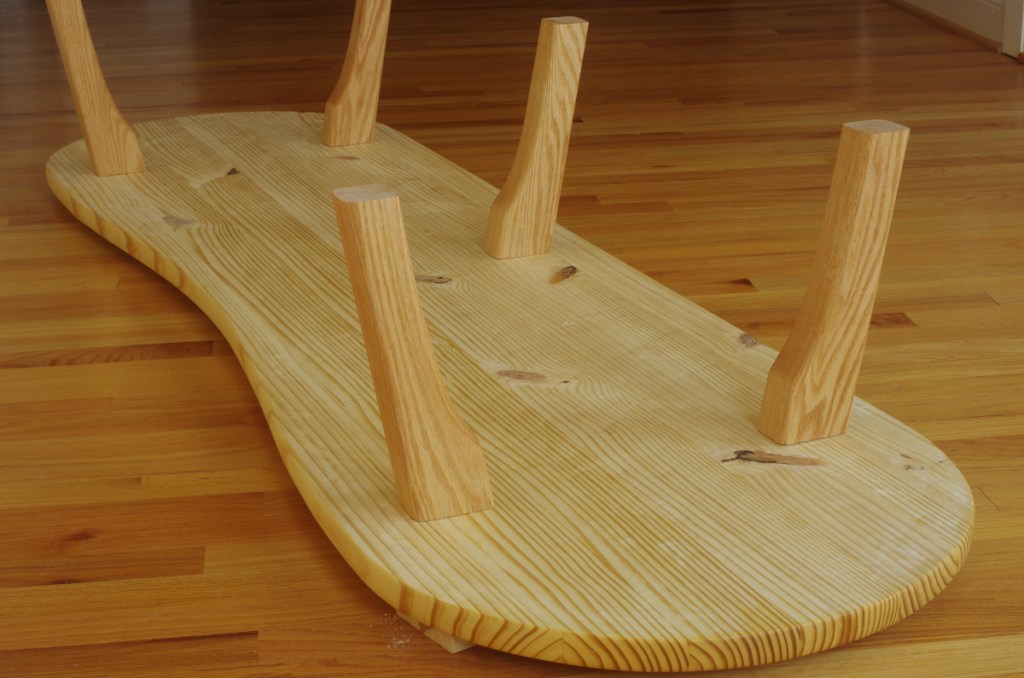
After that, they sat for a long time until today, when I glued them into the platform of the bed:
This project is almost done. The other wooden component is the railing, which is done but not glued on. Otherwise, there are three cushions that go on the top, which I’ve also completed but won’t address in this post.
All of that fussing around with making those clamps has finally gotten me ready to get started in earnest on my next project: a daybed/”couch”-like thing for an area of the house that currently has zero furniture. I had a sort of “vision” about how I wanted it to appear one day, and knew that I had to build it before someone else in the house bought one, because what I imagined seemed pretty neat, at least at the time. And when I read what Roubo had to say about them (yes, it’s in there), I became more convinced.
I wanted this to go a lot more quickly, but getting the large platform glued up took much longer than I had wanted–I had to make a whole bunch of stuff, including the clamps, before I could get to where I am now.
The first operation on the glued-up platform (after planing it off) was to shape it. I started with the ends, which are to be semicircular. I don’t have any trammel points to make a beam compass for such a large radius, so I just drove a couple of small nails into a board at the appropriate distance and used that to scribe it out:
As made, the radius of this improvised beam compass was a little too much, but to correct it, I just tapped one of the nails to bend it inward. I marked over the scribe line with a pencil.
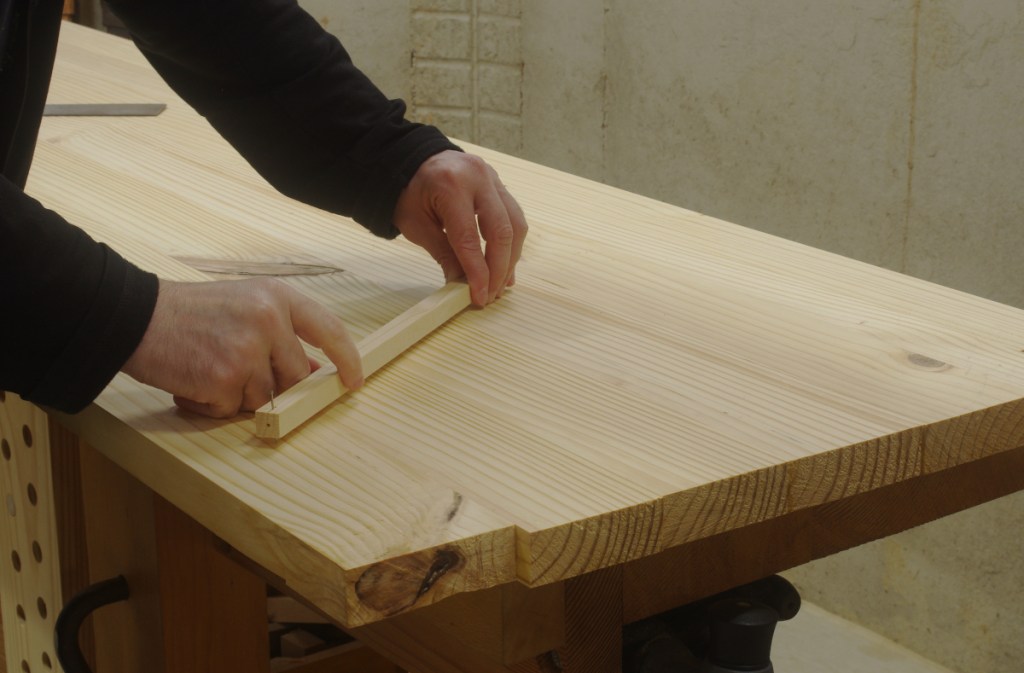
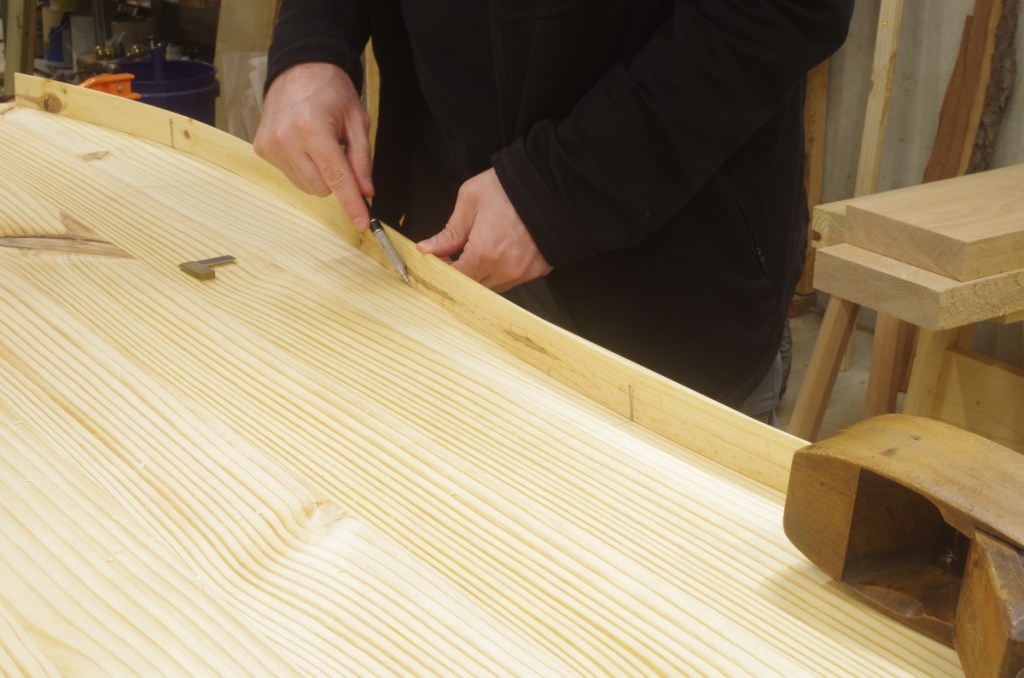
Then there was a curve to lay out on the front. I guess I’ve been watching too much “Tally Ho,” because I tried to imitate Leo’s curve marking with a batten tacked into place:
I wasn’t sure if this would work, but it did. There were a few options for curve shape, mostly dealing with the tangent angle at the point of inflection in the middle. I chose a fairly mild one.
So I had one side done, and to do the other, I traced that side’s lines onto some of the paper that I use for making patterns, then cut along the lines on the paper, flipped it over, and transferred the lines to the other side of the platform.
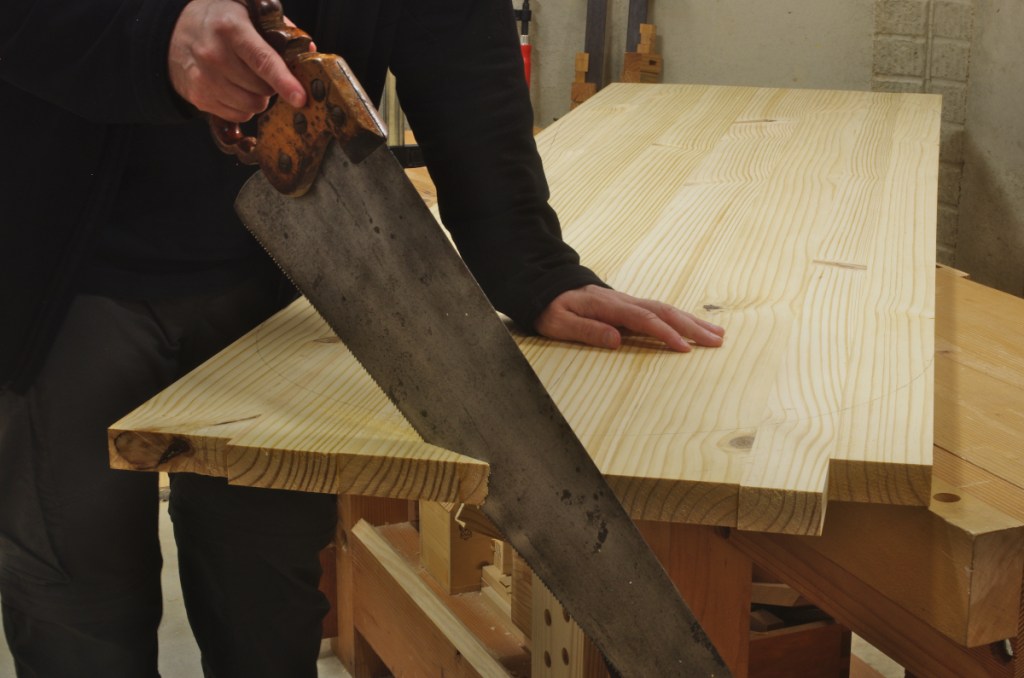
Then it was time to start removing wood. I always get a little nervous the first time I cut into a panel (especially one that I’ve spent so much effort on gluing up), but it had to be done:
I removed as much as I could with a saw, working my way around the ends and trying to get as close as possible to the line. The cuts on the long grain were more challenging, so I used a drawknife to get rid of most of that material:
I finished the initial shaping with my Shinto saw rasp, and had this:
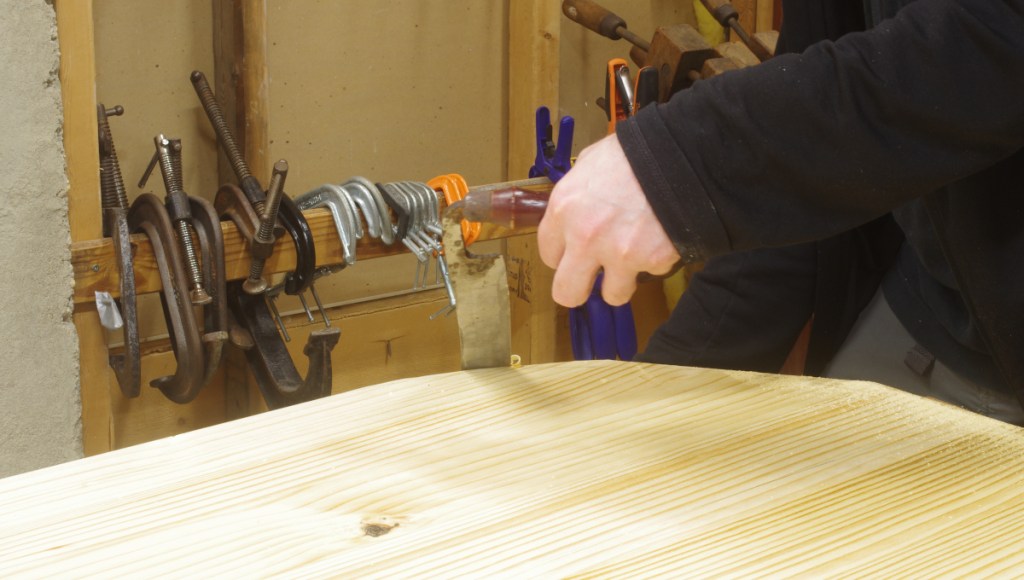
The front curve was somewhat tricky because it’s concave; I sawed a relief cut in the center and took out most of the waste with the drawknife and a chisel. (Note: Southern yellow pine is not particularly easy to use a drawknife on, but there’s worse.)
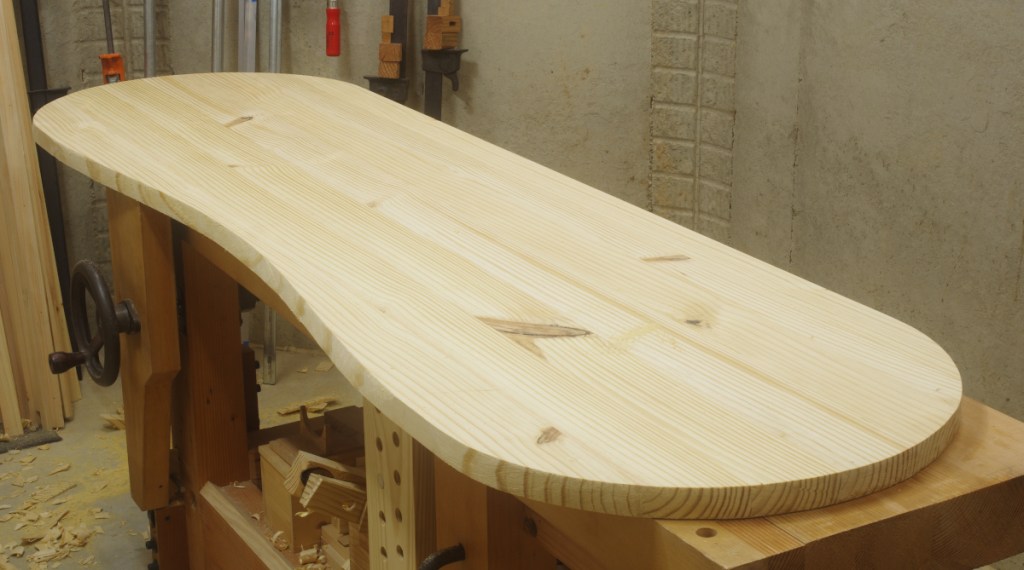
It came out as planned. Pay no attention to the ugly knots in the middle; those will not be visible with a cushion on top. I would have preferred clear wood, but due to multiple factors (the proximity of the nearest source of large southern yellow pine, the inconveniences of the source at the time that I went to buy it, not to mention the obnoxious process of picking through the pile alone on a steamy hot day in the middle of a pandemic), I settled for straight, mostly-quartersawn boards that would yield a clear perimeter, which is the only part of the wood that will be visible.
There isn’t much remaining work on the wood to do. I have to make the legs and the railing, do the final profile of the edge, and finish it. During finishing, I’ll make the cushion (hopefully I’ll have some sort of an idea about what I’m doing there).