The new twin-nightstand project is coming along. After some quality time with saws and planes, I had all of the external frame pieces milled for each piece:

In the center are eight sticks of yellow-poplar that I salvaged from an old bed frame. They’ll be used for the rear of the nightstands. Looking at the timestamps of the photos, it looks like it took (gasp) almost two weeks to produce this stack. That’s just the speed you’ll experience when you’re working by hand, have at most an hour and a half to work each day, and maybe aren’t the quickest person around. (Would a bandsaw greatly facilitate the speed? You bet it would.)
The next step was to come up with a frame map, as I did for the previous nightstand. Because there are so many components in this piece, it’s best to keep close track of them. And again, as I did in the previous version, I made a really ugly but still-workable and accurate drawing:
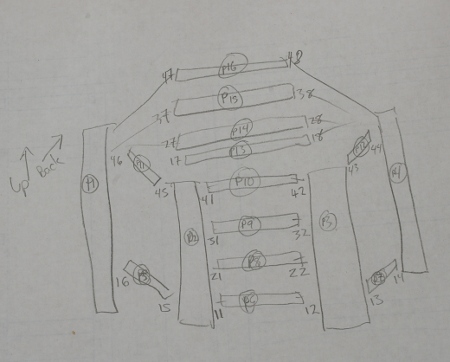
There are two kinds of labels here. One begins with a P, meaning “piece,” so P1 is the far left leg in this case. The others, which are simply numbers, label joints. The joints are in four vertical levels in the piece, so I decided to have the lower-level joints start with 1, the next with 2, and so on. Then, the second number denotes the position. In this drawing, the x1 joints are in off the right side of the front left leg. So joint 11 is the lowest one of these, and 21, 31, and 41 are directly above. Naturally, in this system, there will be plenty of holes–for example, there are no joints 25 or 35.
Finally, because there are to be two identical nightstands, I decided to add a letter A or B to the end to identify each one. So you’ll have all sorts of labels like P3A and 43B.
Whew. But that wasn’t the hard part. That honor went to planning which piece would go where:

If I recall correctly, the components for piece A are on the right and piece B’s are on the left. In any case, it was tricky. Because the components came from different offsets into a single flatsawn board, the cut profiles were different. The ones from the center were more or less quartersawn in flavor, but most were riftsawn in one way or the other. The worst part was that two of the legs had very tangential grain on their sides because they came from the center of the board. To produce a consistent look, I decided to put both of those legs on one side, and use matching rails between them. The reason? You can’t look at both sides at once, and in the end, I can always choose to hide that side against the side of the bed if it looks too ridiculous. In any case, that will be on nightstand A, and I’ll try to show that when all of this is done.
I wasn’t just trying to match the grain on each side, though. I decided to try out the arrangement of shoji described in Toshio Odate’s book, where you arrange the pieces so that the core of the tree is pointing inward (bark side out). Because this is a 3-D piece, I also tried to place the legs and rails so that the cores would face the interior of the nightstand. It didn’t look so bad to me, so maybe this traditional arrangement has a bit of merit.
With everything arranged, I labeled each piece and its orientation, put half of the pieces away, and started work on the actual joinery. One week later, and I’ve finished the 24 mortise-and-tenon joints of the exterior frame of nightstand A:

Hey, how about that, it doesn’t seem to look too bad and it took a lot less time than I thought it would. Now it’s B’s turn.
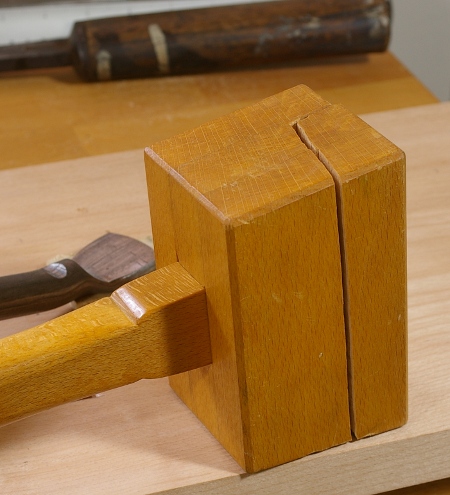
Or, it will be B’s turn when the Thagomizer recovers from its run-in with a holdfast. I broke it in a different spot this time, a clean shear across the top:
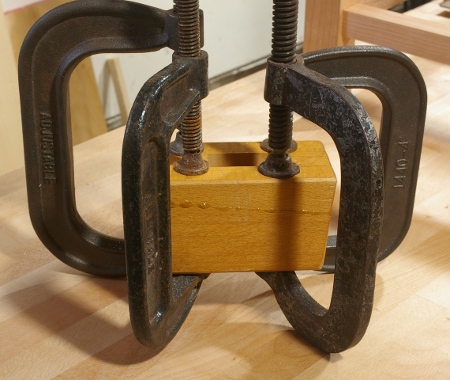
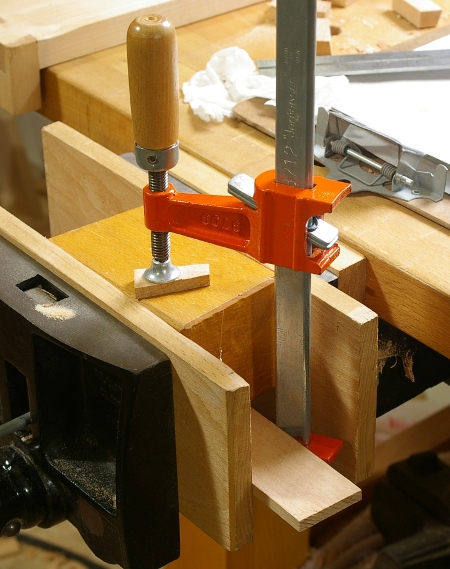
Of course, it had to wait until I was working on the next-to-last mortise. I finished that one and the final one with it still broken (it hadn’t split down the middle). Then I removed the head, gunked on and spread the hide glue, and clamped it together. Yeah, I’ve thought about making a new mallet one of these days, but I just don’t have the time right now to be dorking around with tools (sigh). Maybe when this project is near an end and in the finishing process.