
With the legs made, it was time to move on to the stretchers. The method I used was a combination of knockdown and mortise-and-tenon joints. I first made the joints with very short tenons. These are primarily for quick alignment of the joint during assembly.
Then I bored holes square into the legs and had them come out right in the center of where the mortises were. (In reality, I did this before making the joints, but you get the idea.)
The idea is to slip a bolt into the hole and into a captured nut in the stretcher.
The trickiest step was to bore precisely into the endgrain of the tenon pieces. To do this, I assembled the joint, secured it with clamps, then went through the existing hole down into the tenon piece below:
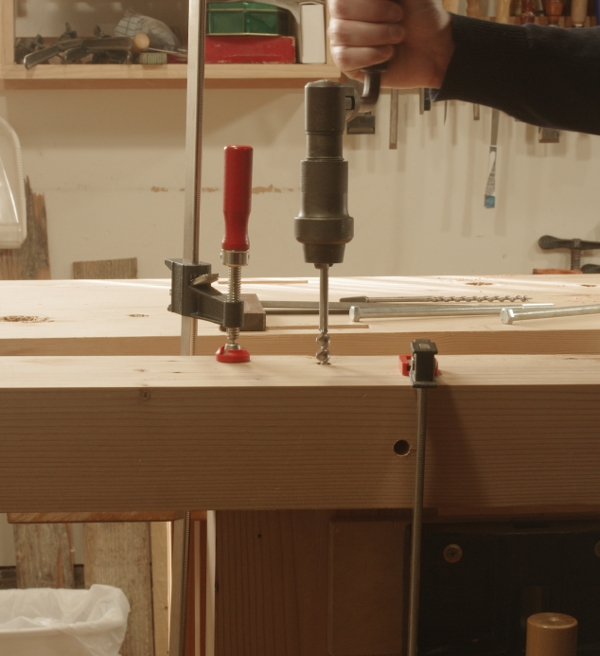
I was surprised at how quickly the Jennings bit flew through the endgrain. I recall having a lot of trouble with endgrain when I did the first bench, but I suppose that having a halfway decent complement of bits and knowing how to sharpen them goes a long way.
Next was to make the mortise for where the captured nut would go. I hit it first with my Irwin 20 (1.25″) bit in my 14″-sweep brace (maybe you could call it the Irwin Workout from Millers Falls):
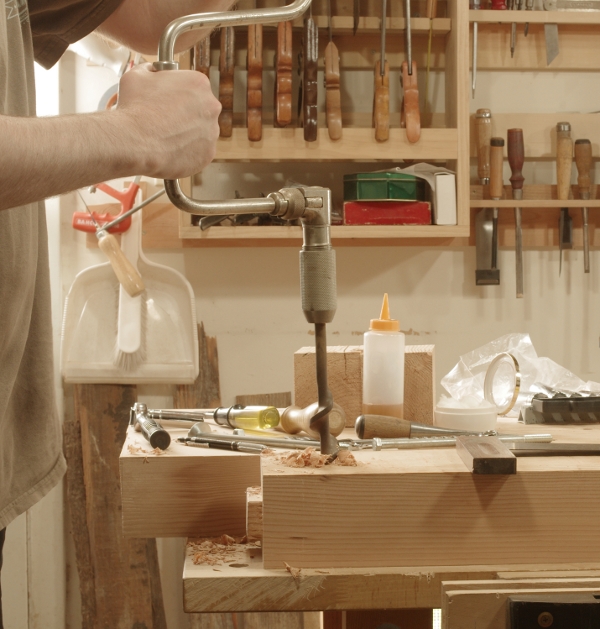
I didn’t go all the way–the captured nuts will not be visible from the outside of the bench.
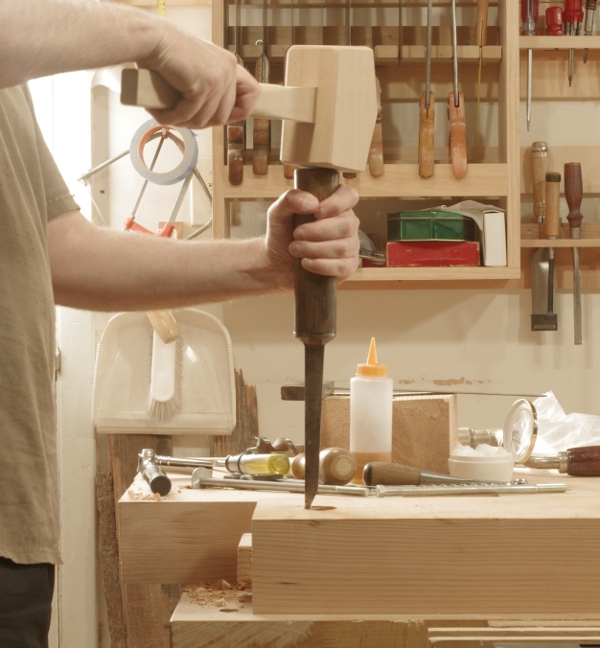
Then I made one side of the hole flat for the nut and washer to register against. This was an easy job with a big “pigsticker” mortise chisel:
Finally, here is how the joint appears in the end with the bolt, nut, and washer in place:

If this looks a little ugly, it is. This side of the stretcher faces the inside, where no one can see it. Therefore, I didn’t bother with anything other than rough planing (especially important to me, given how quickly this wood dulls blades). The mortise shape is somewhat interesting, and that’s something to maybe file away. But on the other side (the face side), it looks like a normal (tight) mortise-and-tenon joint.
Next: Leg vise.
