
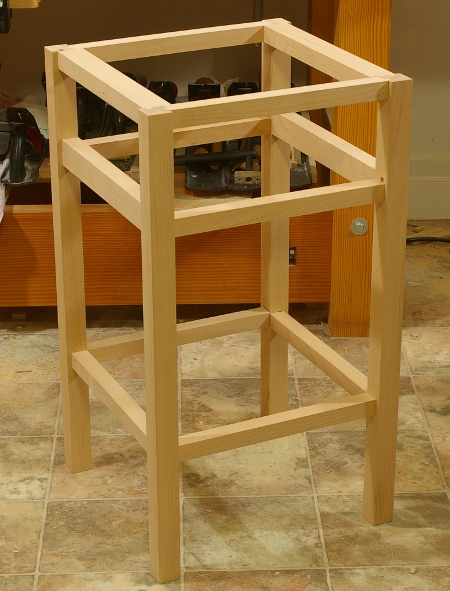
The nightstand project requires 24 mortise-and-tenon joints for the external frame, four for the drawer runner supports, and four more for the decoration on the front. I’ve cut all of these except the ones for the decoration. Here’s a shot of a test-fit of the external frame (without the runners):
My speed improved significantly while making all of these joints. When I started the first one, it was taking me as long as 45 minutes to make one. Most of the time was spent paring off little bits of the tenons, most annoyingly, on the shoulders. By the time I did the drawer runner pieces, I was doing them in under 30 minutes. (Yeah, the pros do them six times faster, but I’m not a pro.) What’s more important to me than speed is accuracy, and that improved tremendously, too. All of my tenons now seem to fit right off the saw. The only paring I need to do is still that little bit on the shoulders, but it’s going faster now. I’m using the mystery chisel for that because a 1.5″ chisel has a lot of registration area. It really seems to be holding its edge well.
I also managed to cut myself with my dovetail saw. Ouch, I didn’t realize it was that sharp.
This project’s joints are a motley bunch. I’m using different offsets at different locations to try to maximize contact based on constraints of panel and corner placement. Some have haunches to improve alignment. Here’s a shot of the middle frame layer, the one that the drawers will rest upon, showing the drawer support runners that I just finished up today:
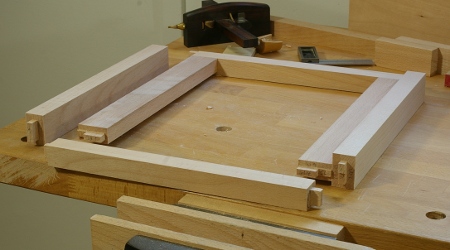
The runners, back, and right side are depicted in their intended final configuration, and the front and left sides are not attached. When finished, the sides will have rabbets with grooves for where the side panels will rest, and the rear will have a groove for the rear panel.
This is a shot of the current state of the parts and parts-to-be:
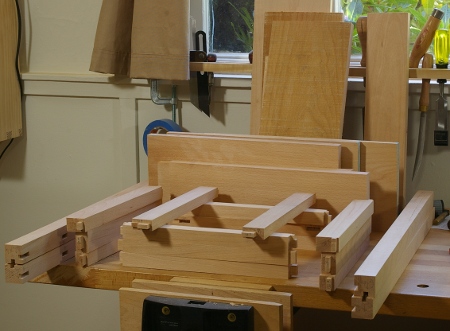
The mostly-complete parts (18 of them) are in the front, and the number of pieces in the back indicate that I still have a fair amount of work to do here:
- join the top
- join and rabbet the shelf
- mill the pieces for the drawer and make the drawer
- mill the panels
- groove the frame for the panels and shelf
- make the drawer pull (wood for drawer pull not shown here)
- glue up everything
- varnish
What to do next? Well, I’d better pick something. I do have a deadline for this piece. It’ll be either the decoration or joining the shelves, I think.
