
Shortly after moving into our new place, a combination of old age and hamfistedness conspired to snap off the edge of one of the kitchen drawers.

Clearly, the drawer is nothing special and lacks in the aesthetics department, but when the landlord came over and we talked about what to do about it, we decided that it would probably be easiest just to repair this thing rather than to replace all of the kitchen cabinets (which would be nice, but would require lots of planning and disruption in our lives). So I said that I could make a new front, but he’d have to paint it. He said that would be great and he’d pay me for my work.
It was straightforward. The front consists of a board with rabbets on both ends and a groove (dado-y-like thing on the original). When I knocked out the old front, I found one possible contribution for its deteriorated state: There were a total of 17 nails holding the sides in. Looking at the other drawers in the kitchen, there were only two per side.
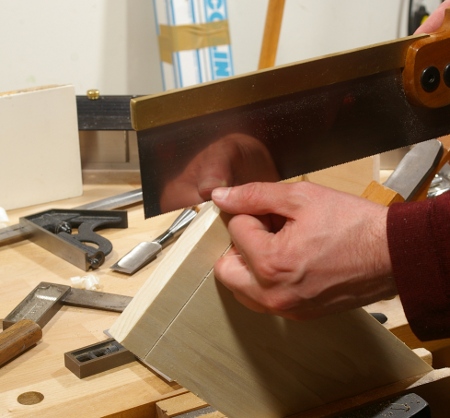
After milling the board (yellow-poplar sapwood–I’m being really extravagant here) to size, I marked out the rabbets and decided just to saw them instead of using a rabbet plane, since these were relatively large and cross-grain:
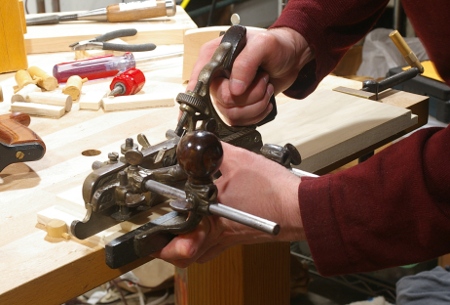
Then I plowed the groove for the bottom panel. This was perhaps the most time-consuming part of the process because I had to fit the longer arms of the #45 to get the fence at the right distance:
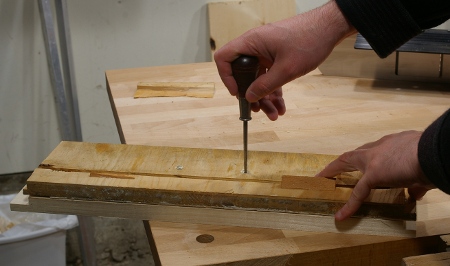
The next step was to mark the holes for the handle. This was a straightforward process of lining up the original on top of the replacement and poking an awl through the original holes:
Now if I’d been paying attention to what I was doing, I would have also drilled the holes at this point. But for whatever reason, I made it hard on myself and forgot to do this until I had the front attached.
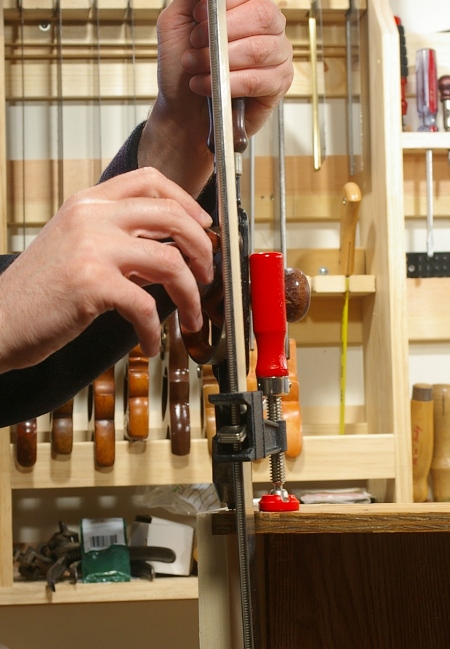
I figured that I’d attach the front with two nails per side, and predrill small holes to reduce splitting and stress. It was a nice application for a Millers Falls #5 (hiding behind the F-clamp in this photo):
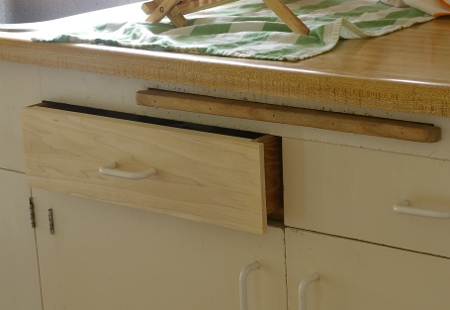
After putting the nails in and (awkwardly) drilling the holes for the handle, I test-fit, shaved a little bit off here and there with my block plane, and it was done:
Now it awaits the landlord’s paintbrush. (Hmm, might be time to clean off that area above the cutting board, eh.)
This was a very quick and cheap fix for a silly little problem. I expect that it will hold for as long as it needs to. Now I can get back to work on more “serious” projects.
