
I cut out the handle with a combination of a dovetail saw, a coping saw, a chisel, and a low-angle block plane. I would do a few things differently when marking next time, but it’s not like it’s a big deal.
The mallet components now looked like this:
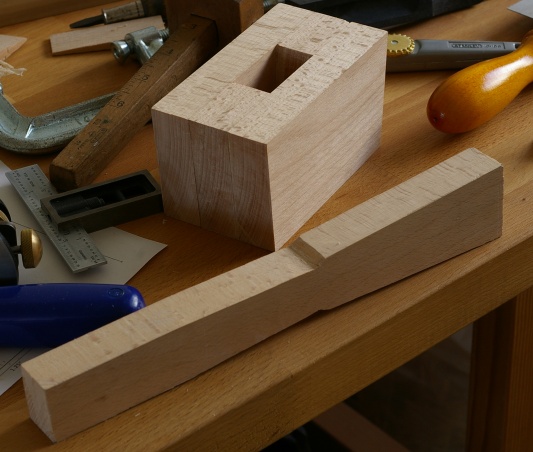
Not bad. The handle fits the head, and it definitely feels like something you can whack stuff with. Except for those nasty sharp edges. I marked out the cross-section on the end of the handle and set about it with a spokeshave:
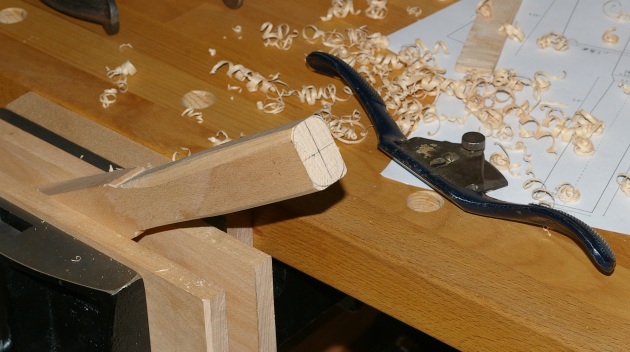
This was the first time I used a spokeshave! That was fun. Though I might want to try getting my Stanley #151 in working shape. It’s not easy to adjust the depth on the #51 I was using, but then again, it wasn’t that bad.
There was the very edge of a knot on one side of the handle, so that made it difficult to avoid tearout. So I used a little sandpaper to even out that part, and now we’re getting somewhere:
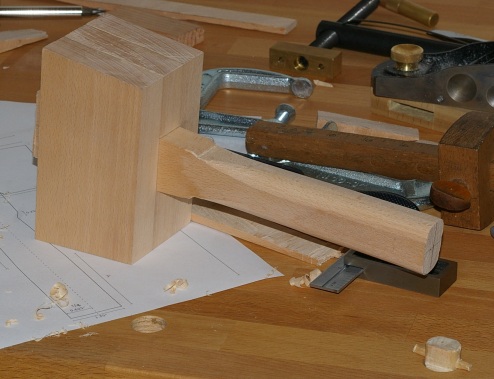
Still left to do is chamfer some edges, even up the head faces, and apply a finish. I have decided against an additional bevel on the top of the head, partly because I like the ray-fleck pattern, and partly because I feel lazy.
